Category: TACTICS
Browse 289 TACTICS intel files for Deep Rock Galactic and Rogue Core, including tactical guides, mission notes, and field analysis.
 OP
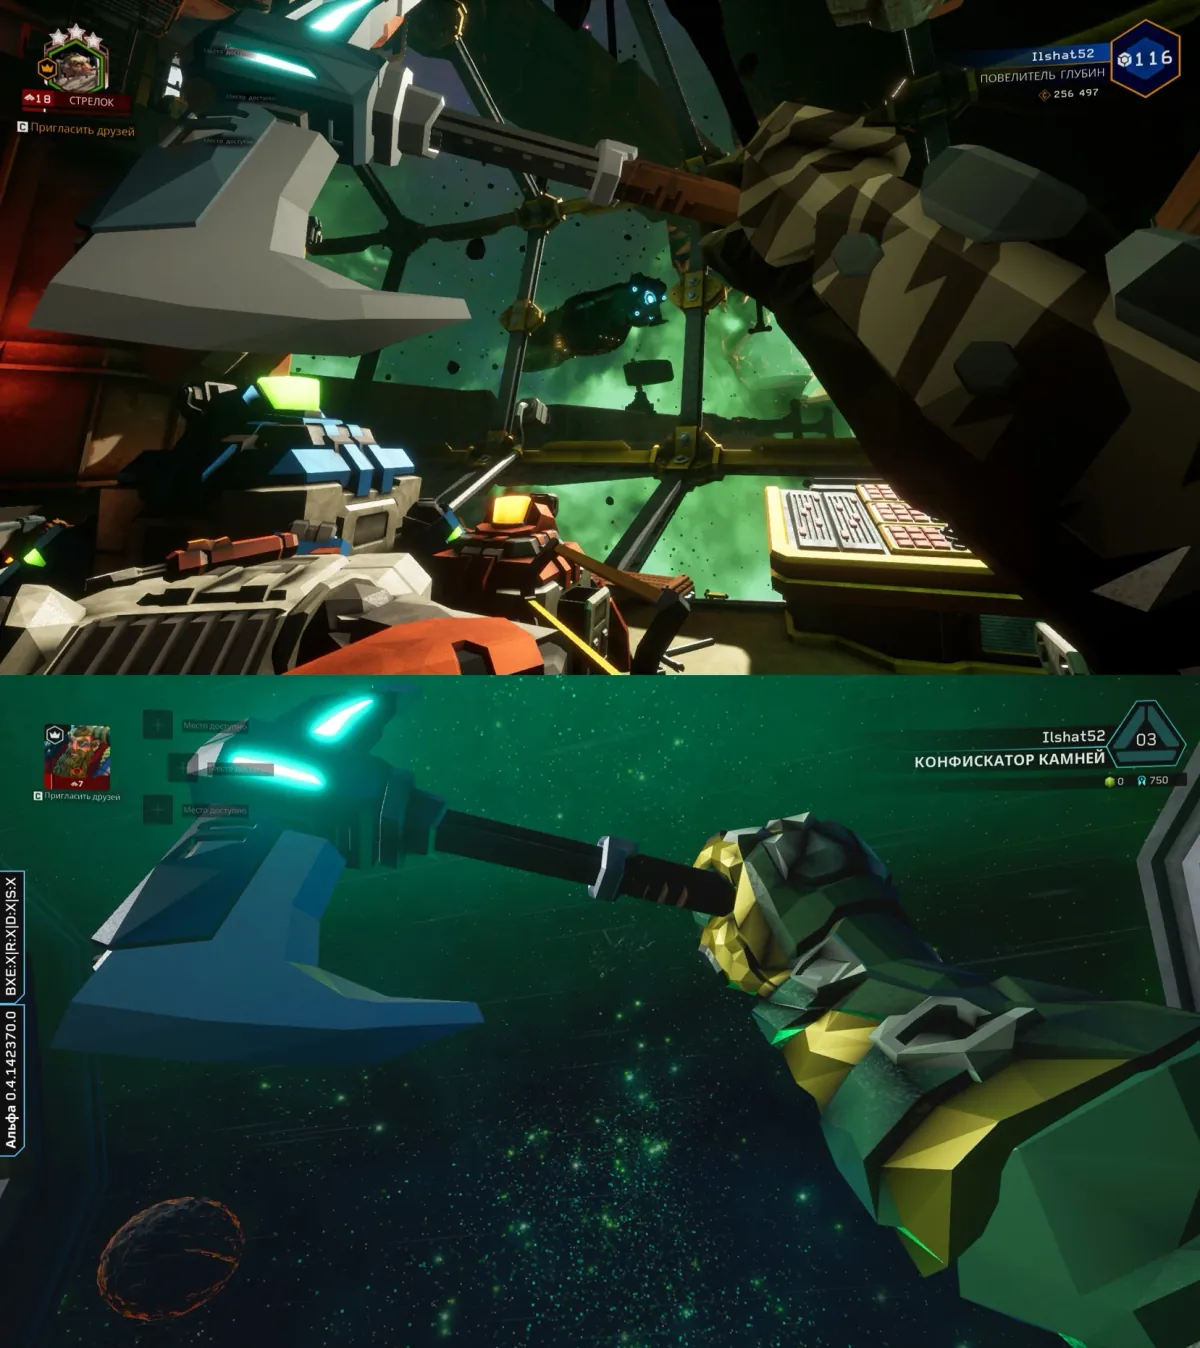
OP How to Safely Revive Teammates in Deep Rock Galactic
Master safe teammate revives by clearing threats, using terrain, and prioritizing your own survival. A well-executed revive keeps the team fighting and prevents mission failure on Hoxxes IV.
 OP
OP Returning to Deep Rock Galactic From Rogue Core: What to Expect
Coming back to Deep Rock Galactic after a stint in Rogue Core? This guide highlights core differences and how to re-adjust for maximum efficiency and fun.
 OP
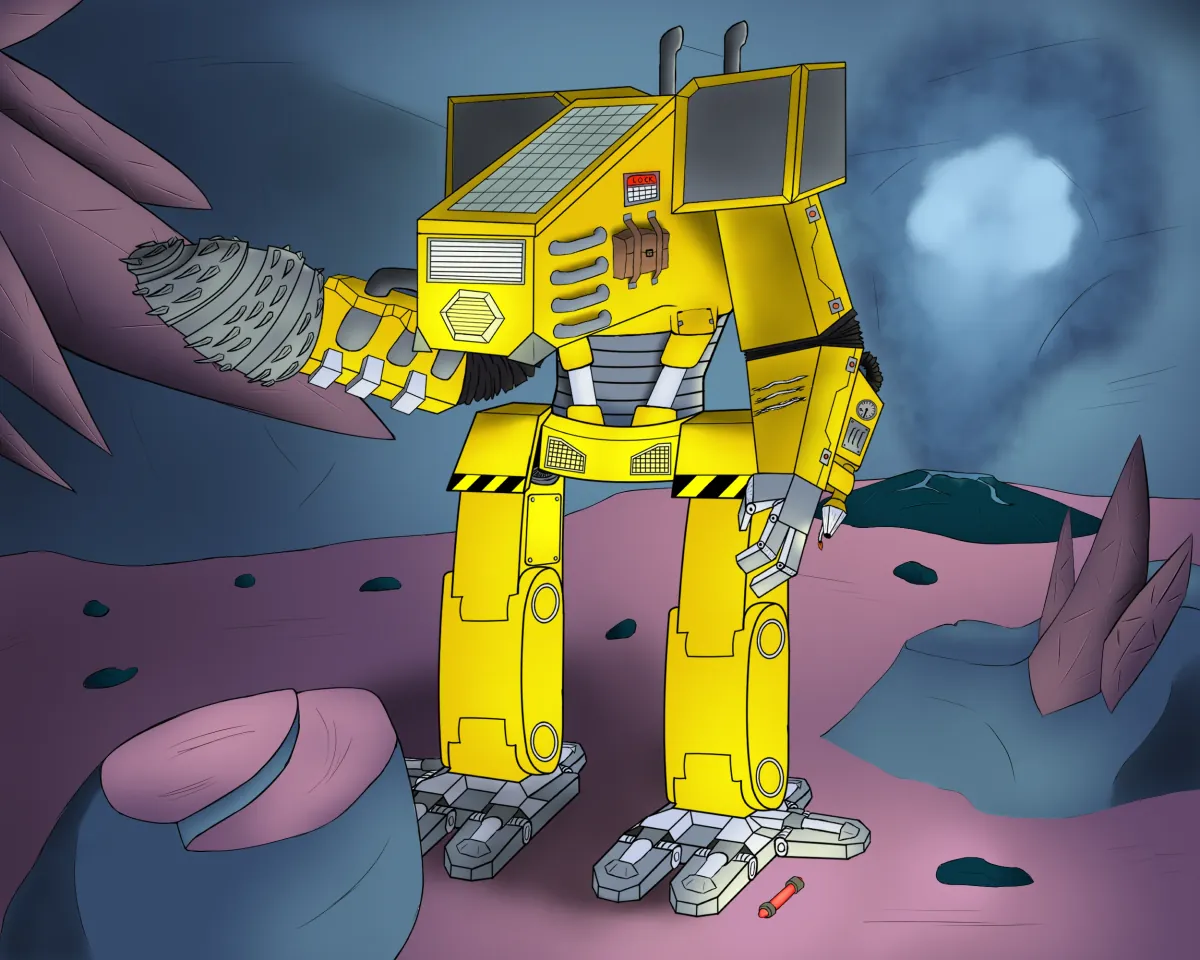
OP How Mech & Vehicle Missions Could Impact Rogue Core Mining
Prepare for potential mech and heavy vehicle missions in Deep Rock Galactic and Rogue Core. Understand new tactical considerations for mining and combat.
 OP
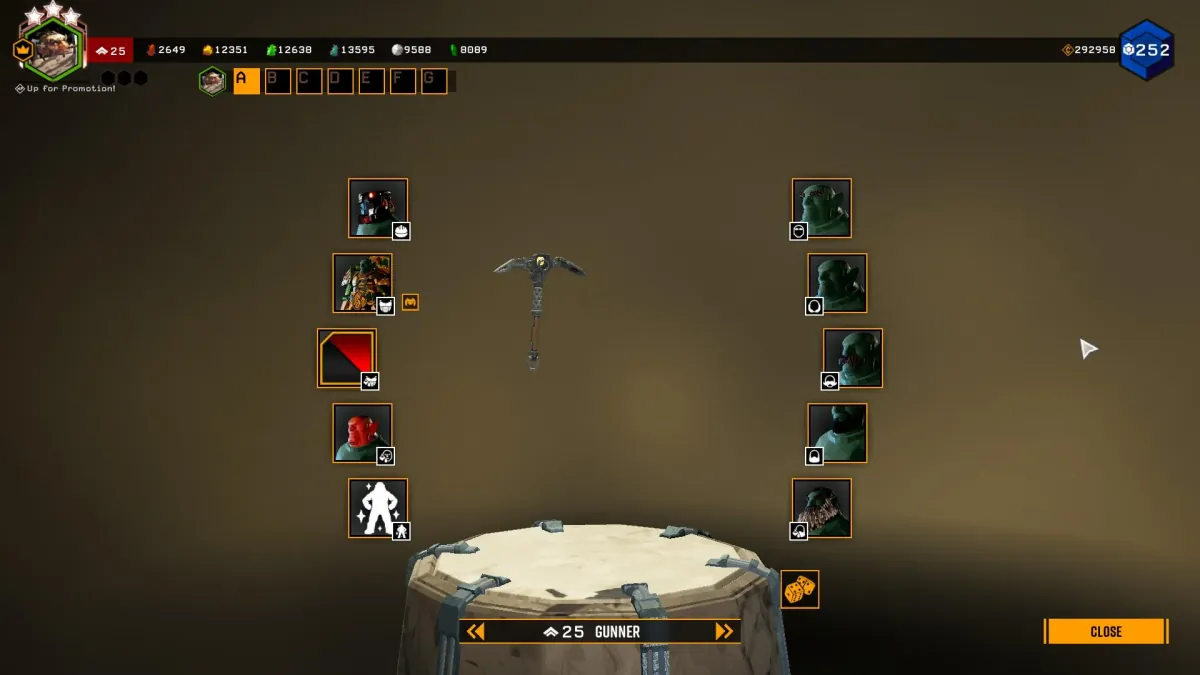
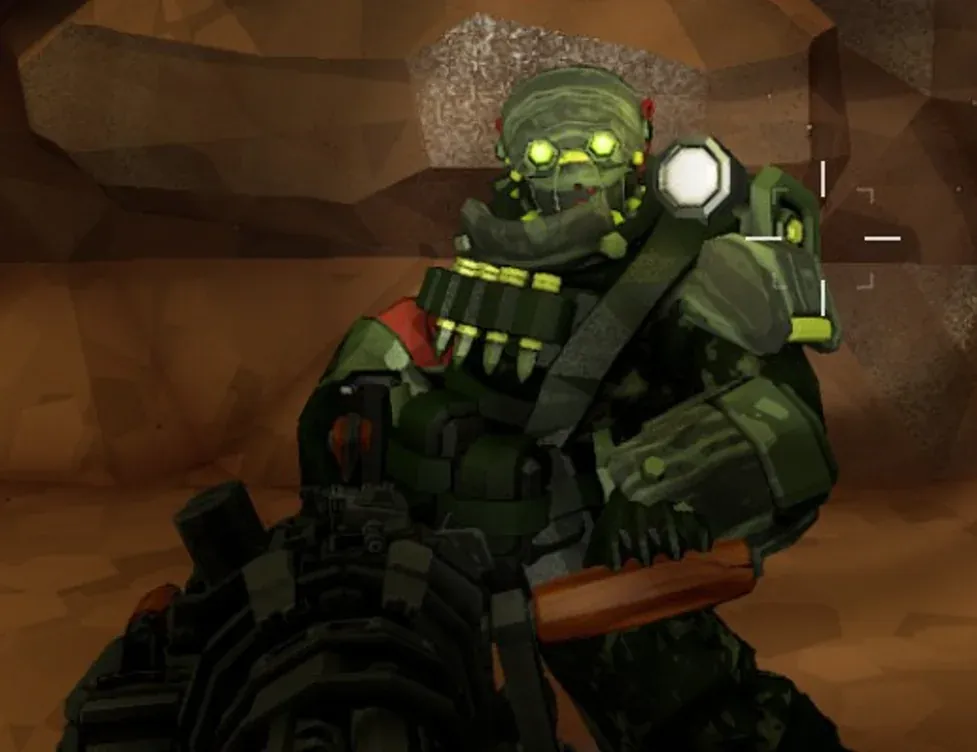
OP Rogue Core Reclaimer Guide: Your New Mission Partner
The Rogue Core Reclaimer is your vital operational interface in Rogue Core, serving as both mission objective and critical support unit. Mastering its evolution is key to deep dives.
 OP
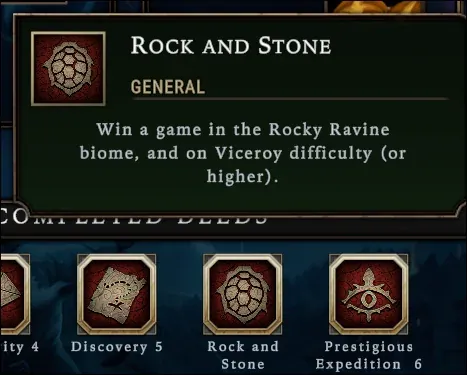
OP DRG Armor & Helmet Unlock Guide: How to Get Cosmetics
Learn all methods for unlocking new armor and helmets in Deep Rock Galactic. From Cargo Crates to the Cosmetic Shop, discover how to expand your DRG armor & helmet collection.
 OP
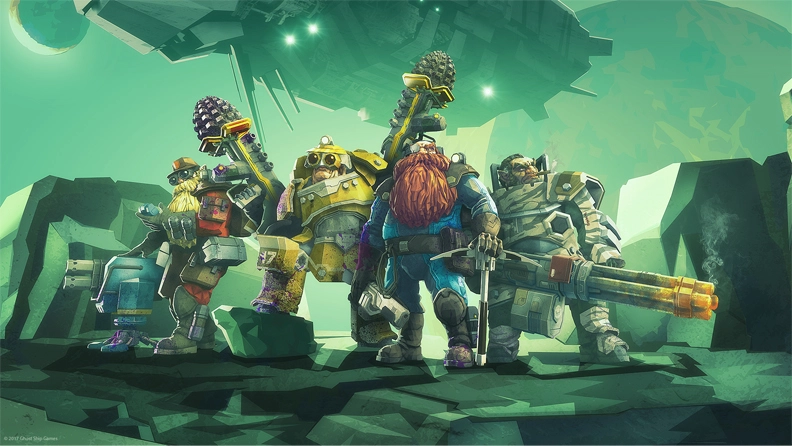
OP Why Deep Rock Galactic Miners Say Rock and Stone
Learn why Miners shout 'Rock and Stone!' in Deep Rock Galactic. It's more than a greeting; it's a vital communication tool for teamwork, morale, and survival.
 OP
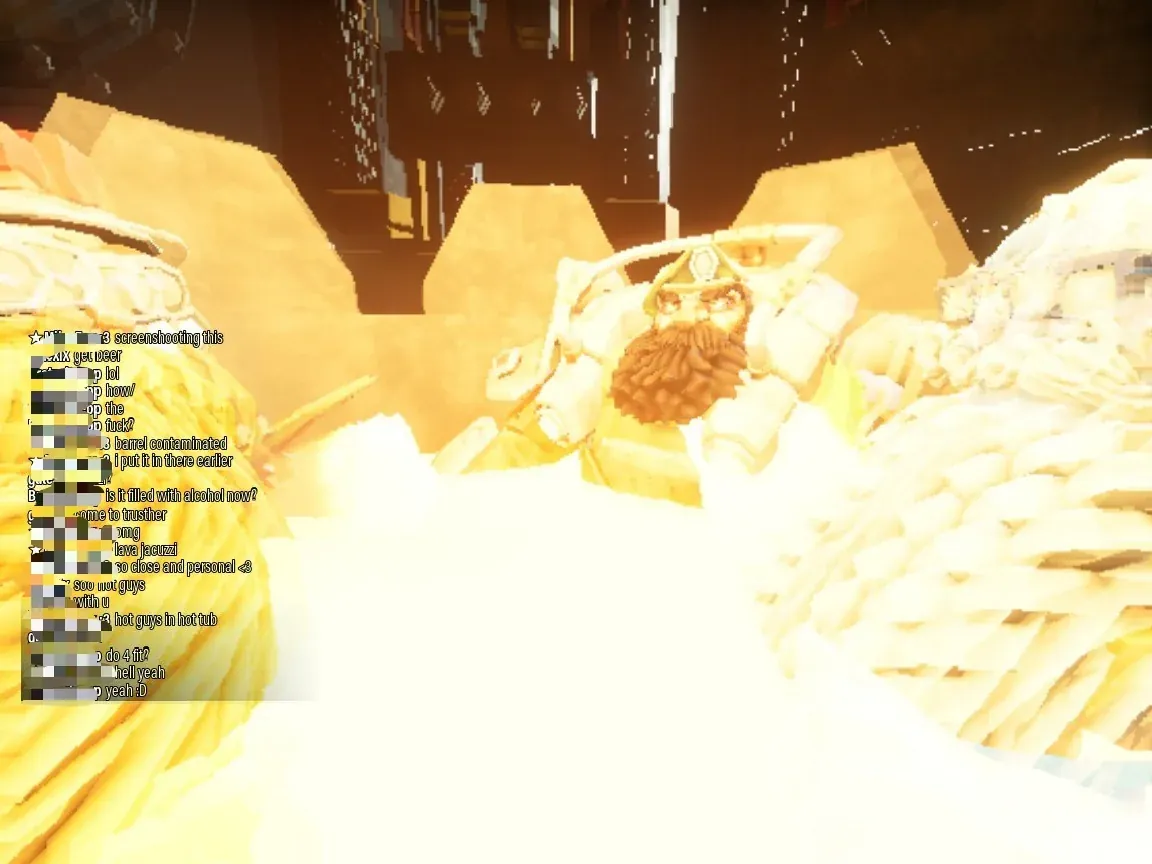
OP Deep Rock Galactic FPS Fixes for Low-End PCs
Fix inconsistent Deep Rock Galactic FPS and stuttering on older PCs. Optimize graphics settings, drivers, and game files for smoother mining operations.
 OP
OP DRG Hazard Awareness: Don't Get Comfortable
Always maintain situational awareness on Hoxxes IV; danger lurks even in seemingly safe spots. Lowering your guard invites unexpected swarms or environmental hazards.
 OP
OP Driller Traversal Guide: Efficient Tunneling & Mining
Master efficient Driller tunneling for faster objective completion and safer team movement. Learn optimal digging paths and resource management.
 OP
OP Deep Rock Galactic Hoverboarder Achievement Guide
Master the Hoverboarder achievement in Deep Rock Galactic. Learn the easiest method for a 120-second ride on Hoxxes IV, crucial for your perk points and rank.
 OP
OP Driller Rescue: Digging to the Drop Pod
The Driller can terraform difficult terrain to reach the Drop Pod, even if it lands on a separate level. Master crucial Driller Rescue tactics for successful team extraction.
 OP
OP Deep Scan Warnings: Surviving Unexpected Threats
Deep Scan missions often hide dangerous surprises, requiring vigilance and strong teamwork. Learn how to spot early warnings and overcome unexpected Deep Scan challenges.
 OP
OP Deep Rock Galactic Class Roles & Team Synergy Explained
Mastering Deep Rock Galactic class roles is crucial for survival on Hoxxes IV. Learn how each Dwarf contributes and synergizes to dominate any mission.
 OP
OP Driller Satchel Charge Tactics: Maximizing Explosive Swarm Clear
Master Driller Satchel Charge tactics for efficient swarm clear and terrain manipulation. Learn best practices to maximize explosive damage against large enemy groups.
 OP
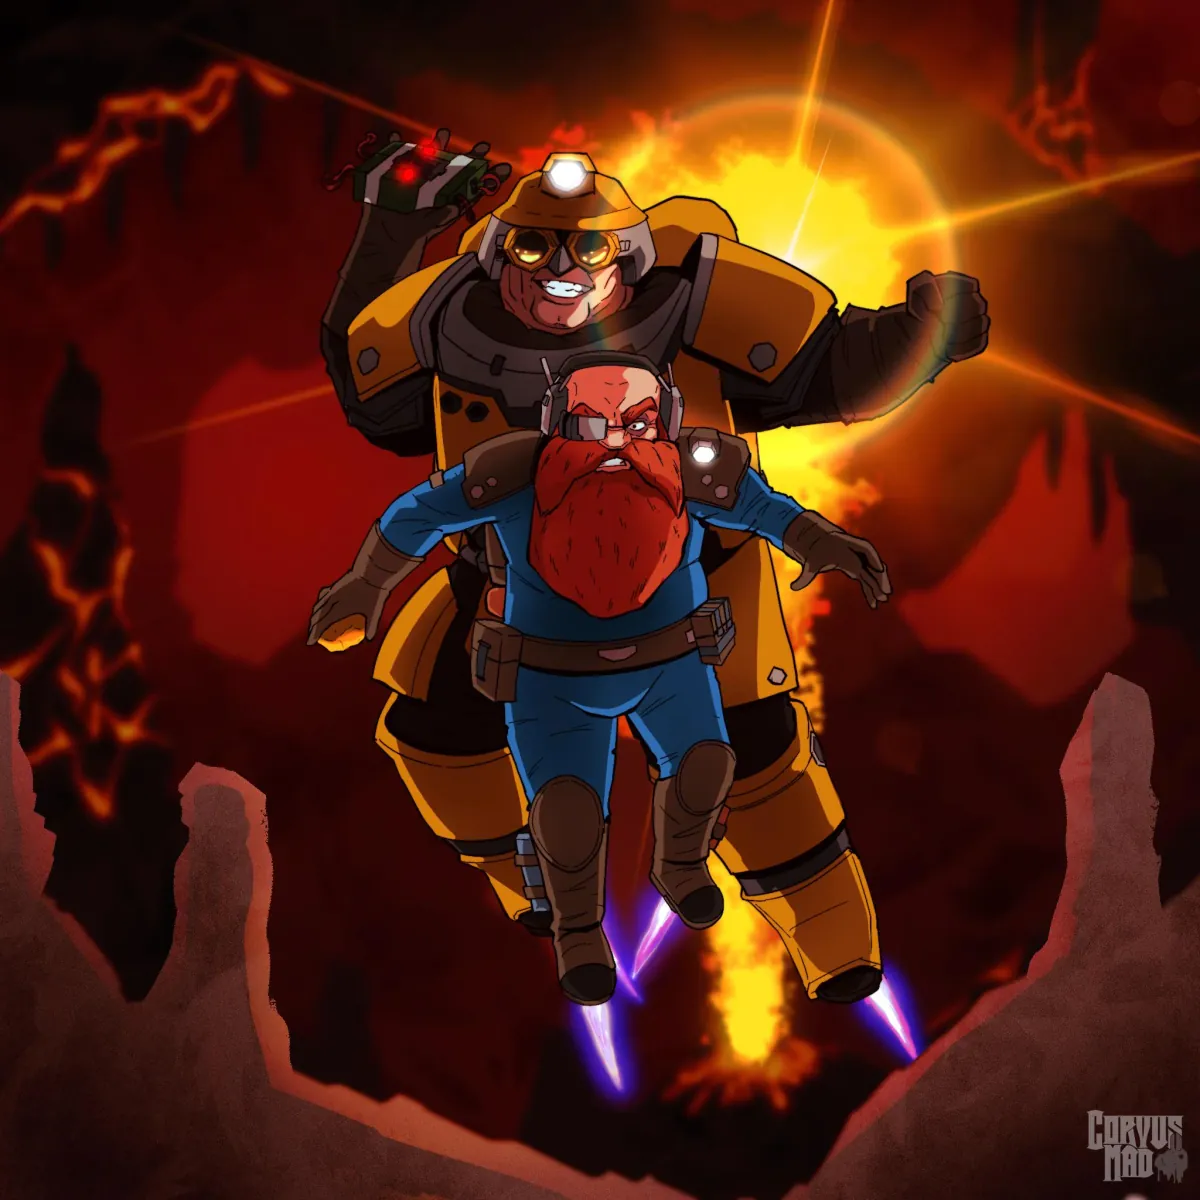
OP Deep Rock Galactic Driller Identity: Master of Close Quarters
Master the Driller's destructive close-quarters combat style. Learn how to leverage their unique weapons and drills for maximum swarm control and terrain manipulation.
OP Engineer & Scout Drop Pod Extraction: Prevent Leaving Dwarves Behind
Master Engineer and Scout synergy to ensure every Dwarf makes it to the Drop Pod, even in tough Point Extraction missions. Leaving a miner behind costs experience and loot.
 OP
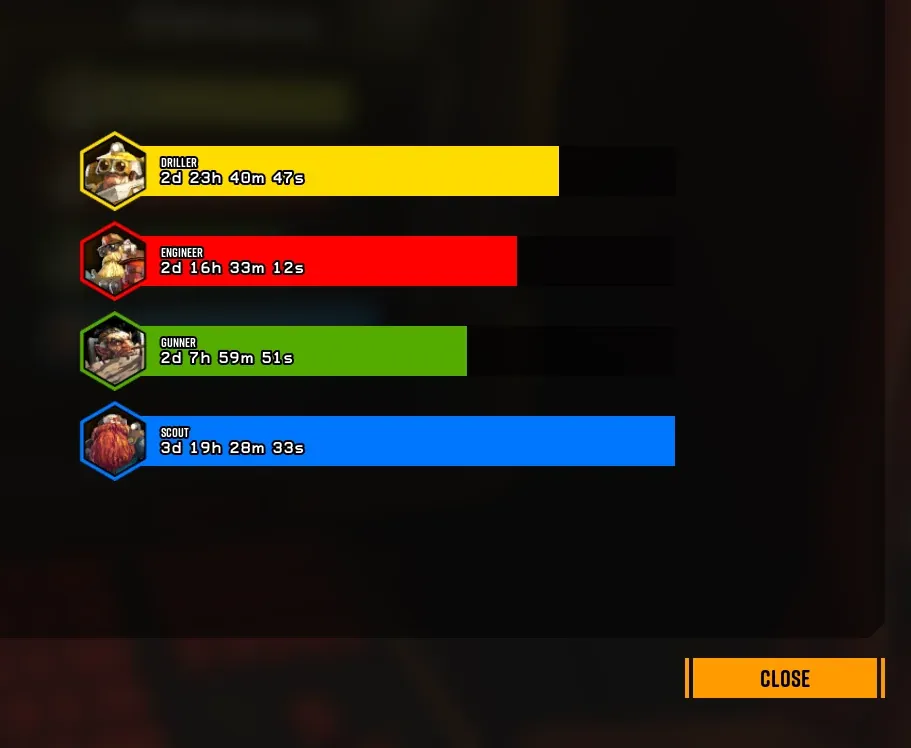
OP Deep Rock Galactic: Class Balancing vs. Specialization Explained
Decide whether to balance all your Deep Rock Galactic classes or specialize in one for better overall mission readiness and personal progression. This guide explores the pros and cons of each approach for new and veteran Miners.
 OP
OP Deep Rock Galactic: Original Crew Class Synergy Explained
Learn how the four core Deep Rock Galactic classes combine for optimal class synergy. Understanding each Dwarf's role is crucial for survival on Hoxxes IV.
 OP
OP Weekly Deep Dives Guide: June 11th Missions & Warnings
Get the tactical breakdown for this week's Deep Dives on June 11th. Prepare for Pit Jaw, Cave Leech, and Exploder infestations across all stages to survive.
 OP
OP Gunner Swarm Clear Tips: Maximize AoE Damage
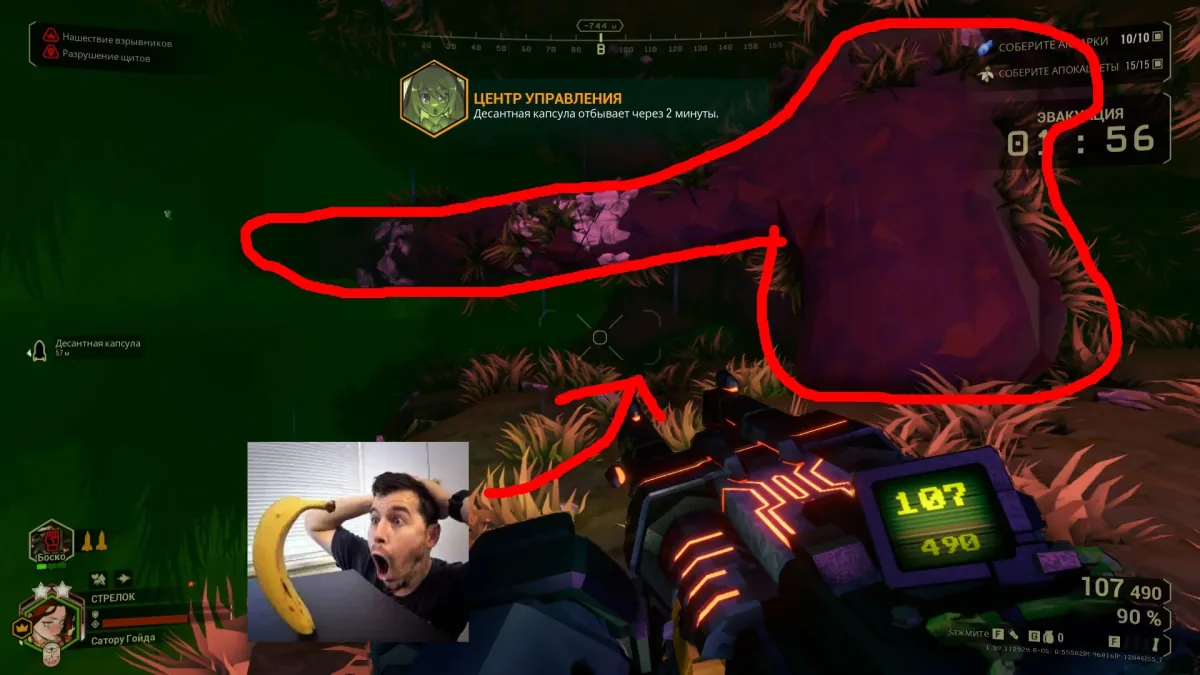
Master clearing large Glyphid Swarms as a Gunner with optimal positioning and weapon choices. Maximize area-of-effect damage to protect your team.
 OP
OP Rogue Core Reclaimer: Managing Energy & Supplies
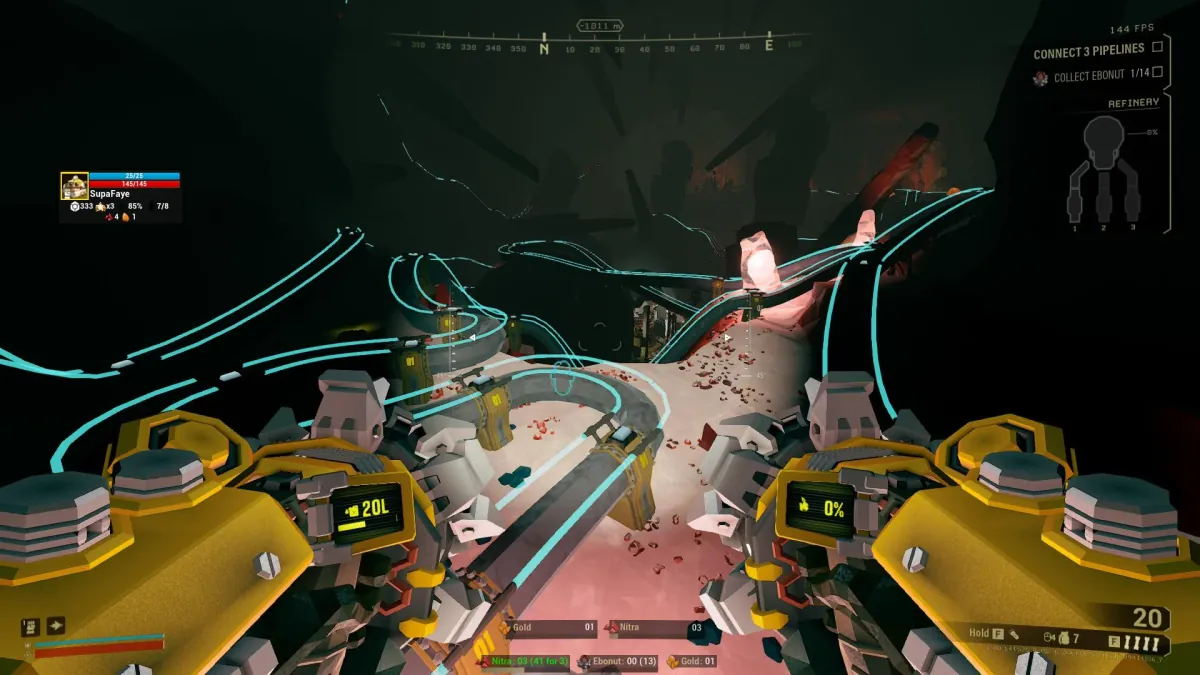
Mastering the Rogue Core Reclaimer means understanding its energy and supply systems. Efficient resource management is key to deeper dives and surviving escalating threats in the Core Outpost.
 OP
OP How to Get the Deep Rock Galactic Roller Coaster Achievement
Unlock the Roller Coaster achievement in Deep Rock Galactic by mastering Driller pipeline placement and teamwork. Coordinate your ride for a speedy 120-meter trip.
OP Deep Rock Galactic Multiplayer Etiquette Guide: New Miner Tips
Master Deep Rock Galactic multiplayer etiquette to ensure smooth runs with any team. Learn key social rules and tactical considerations for successful co-op mining.
 OP
OP Deep Rock Galactic Molly Stuck: How to Resolve Pathing Issues
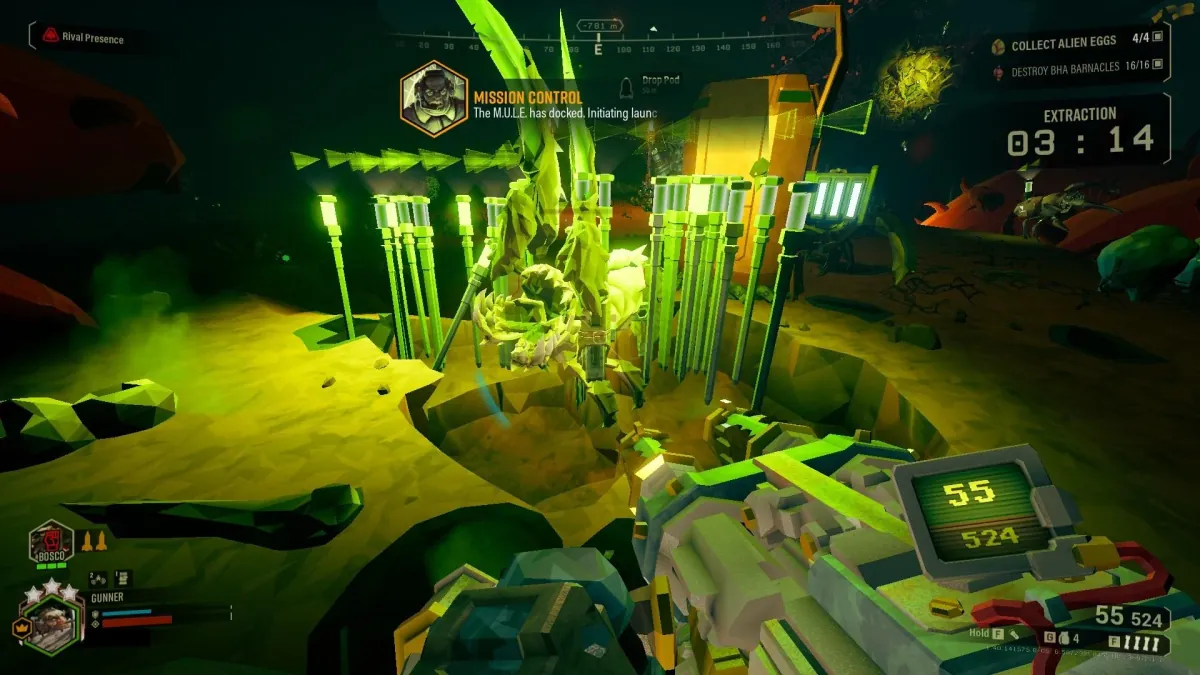
Molly's pathfinding can sometimes lead her into trouble, getting stuck on terrain or supply pods. Learn how to clear her path and ensure smooth mission extraction.
 OP
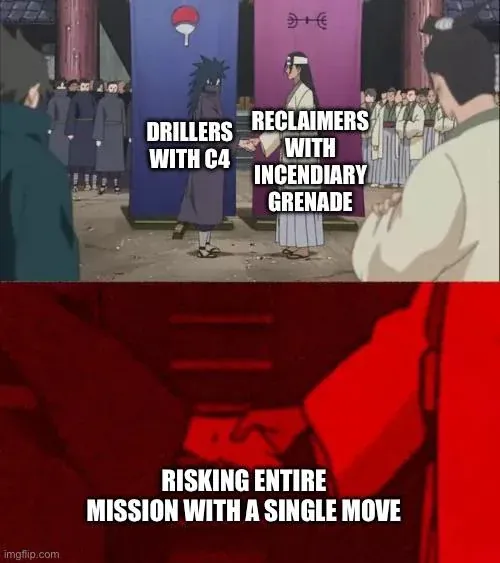
OP DRG Two Engineers: Pros, Cons, & Team Synergy
Running two Engineers creates unmatched defensive power and area denial, but demands careful resource management. Leverage platform bridges and coordinated turrets for superior control.
 OP
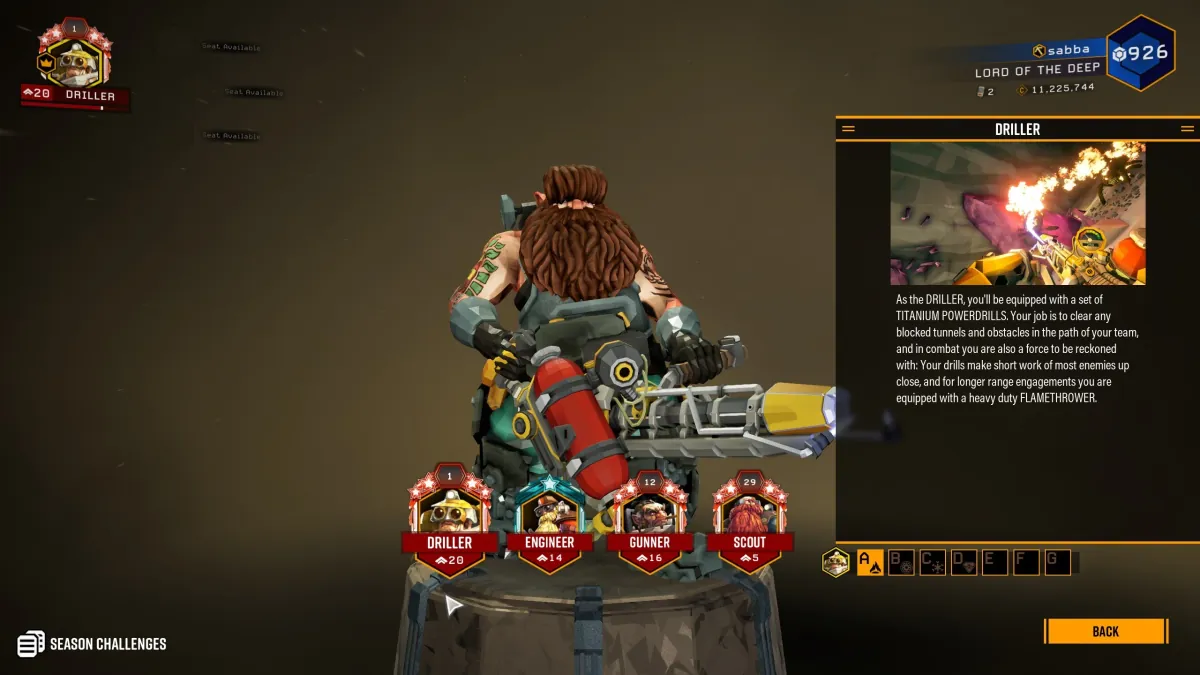
OP Deep Rock Galactic: Why You Should Play All Classes
Learn why playing and promoting every Deep Rock Galactic class improves your overall skills and team effectiveness. Unlock new strategies and fully master Hoxxes.
 OP
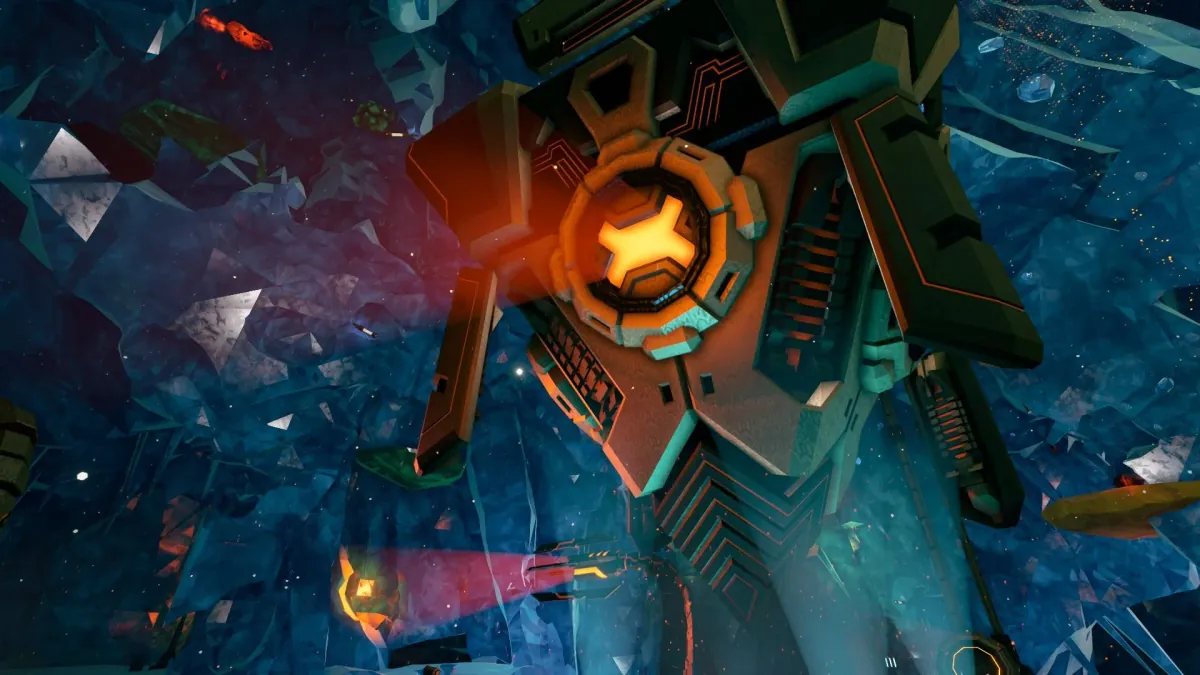
OP Rogue Core Aberrations: Countering Elite Enemy Variants
Mastering Rogue Core Aberrations is key to survival against evolving threats. Learn to identify and counter dangerous elite enemy variants before they overwhelm your team and end the mission.
 OP
OP Deep Rock Galactic: Surviving Knockouts and Reviving Teammates
Prevent losing objectives and team wipes by understanding knockdown mechanics. Learn how to survive critical damage and tactically revive fallen teammates in Deep Rock Galactic.
 OP
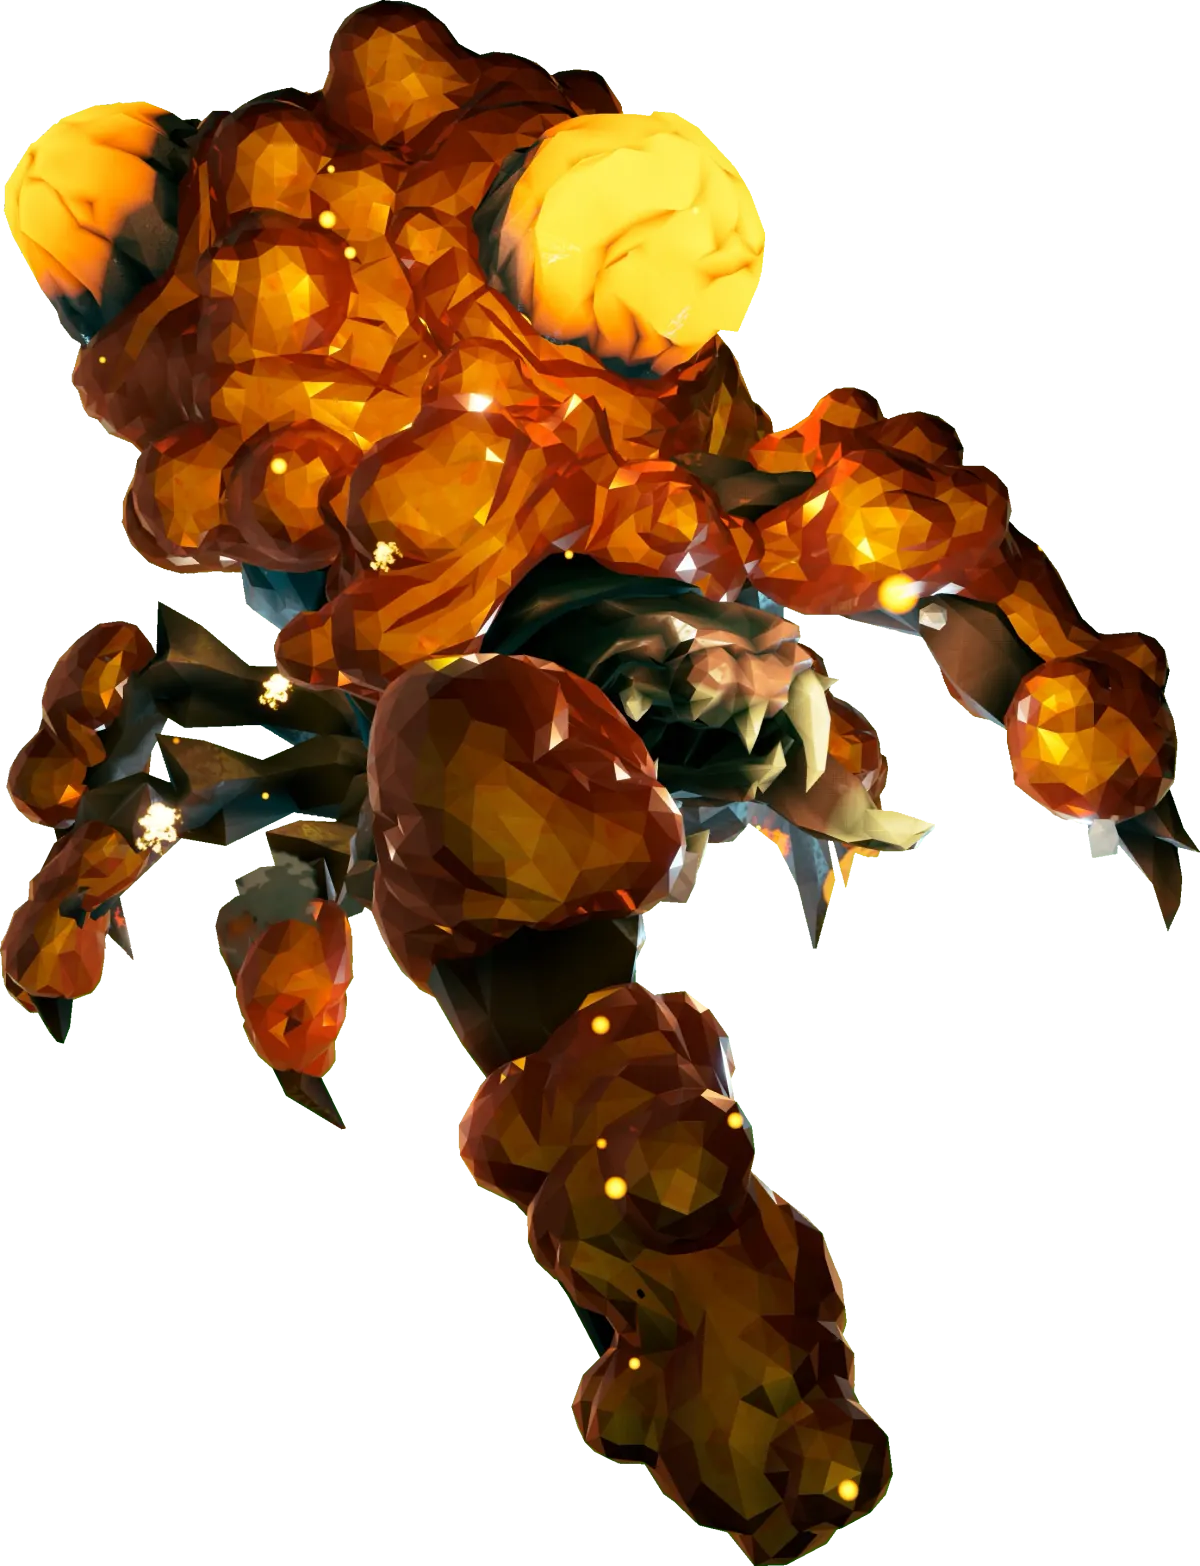
OP How to Kill Crassus Detonator for Max Gold
Maximize gold from a Crassus Detonator by luring it into tight spaces before detonating it. Avoid freezing for optimal gold yields from its unique explosion.
OP Deep Rock Galactic Lost Pack Guide: How to Find Them
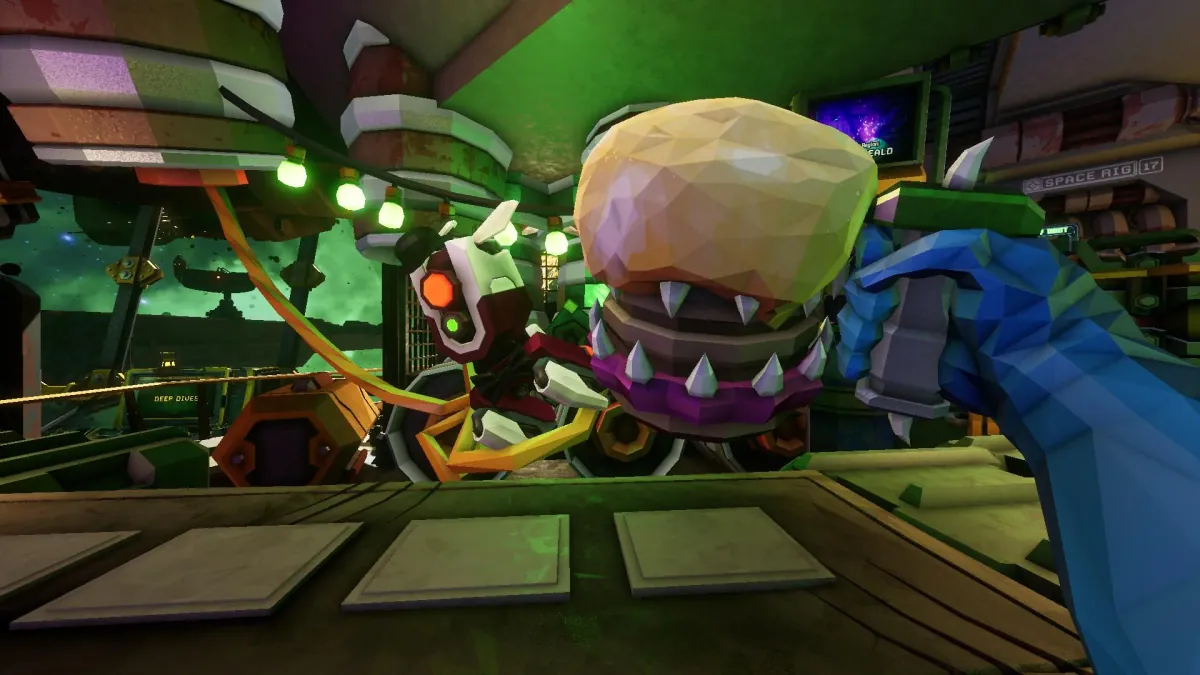
Finding a Deep Rock Galactic Lost Pack is purely random, but diligent exploration significantly boosts your discovery chances. Learn how to locate these valuable cosmetic caches.
 OP
OP How to Use Rock and Stone for Team Communication
Master effective team communication in Deep Rock Galactic. Use 'Rock and Stone!' calls to signal crucial info, boost morale, and coordinate missions. Essential for DRG Teamwork.
 OP
OP Driller Tunneling Tactics: Solving Problems With Your Drills
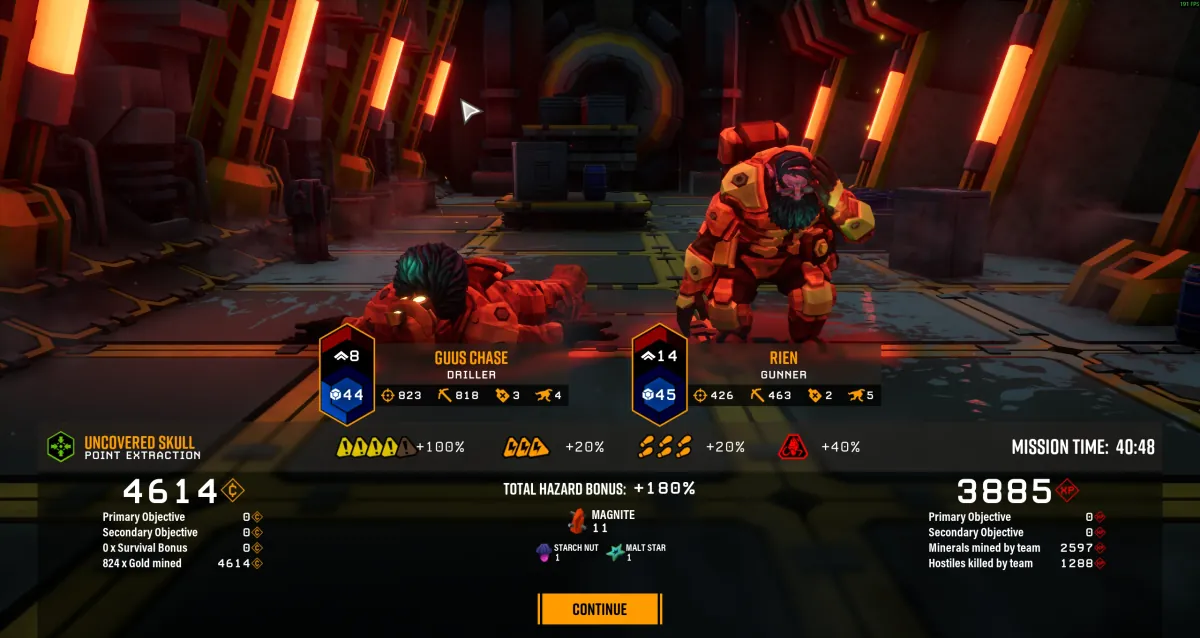
Master Driller tunneling tactics to overcome any obstacle on Hoxxes IV. Learn how strategic drilling solves navigation, combat, and mission objective challenges.
 OP
OP How to Handle Endless Swarms on DRG Hazard 4
When Hazard 4 swarms feel endless, focus on kiting, environmental control, and efficient ammo usage. Unusually high pressure on Aquarq missions often means poor defensive positioning.
OP Industrial Sabotage Guide: Class Tactics for Success
Master Industrial Sabotage with focused class tactics for every Dwarf. Learn optimal positioning, target priority, and how to exploit robot weaknesses to secure victory.
 OP
OP DRG Mission Tier List: Difficulty Ranking & Tips
Understand the community-voted Deep Rock Galactic mission tier list for optimal resource gathering and minimal hazard. Prioritize your assignments based on efficiency and risk. Avoid low-reward objectives.
 OP
OP Electrocuted Status Effect: How It Controls Swarms
The Electrocuted status effect slows enemies significantly and boosts all incoming damage. Master this critical crowd control and damage multiplier against swarms and priority targets.
 OP
OP Bosco Escort Duty Tips: Protect Doretta Effectively
Learn how to effectively use Bosco to protect Doretta during Escort Duty missions. Prioritize critical threats and keep the Drilldozer alive against Glyphid swarms.
 OP
OP Glyphid Ossium: Weaknesses and How to Counter Them
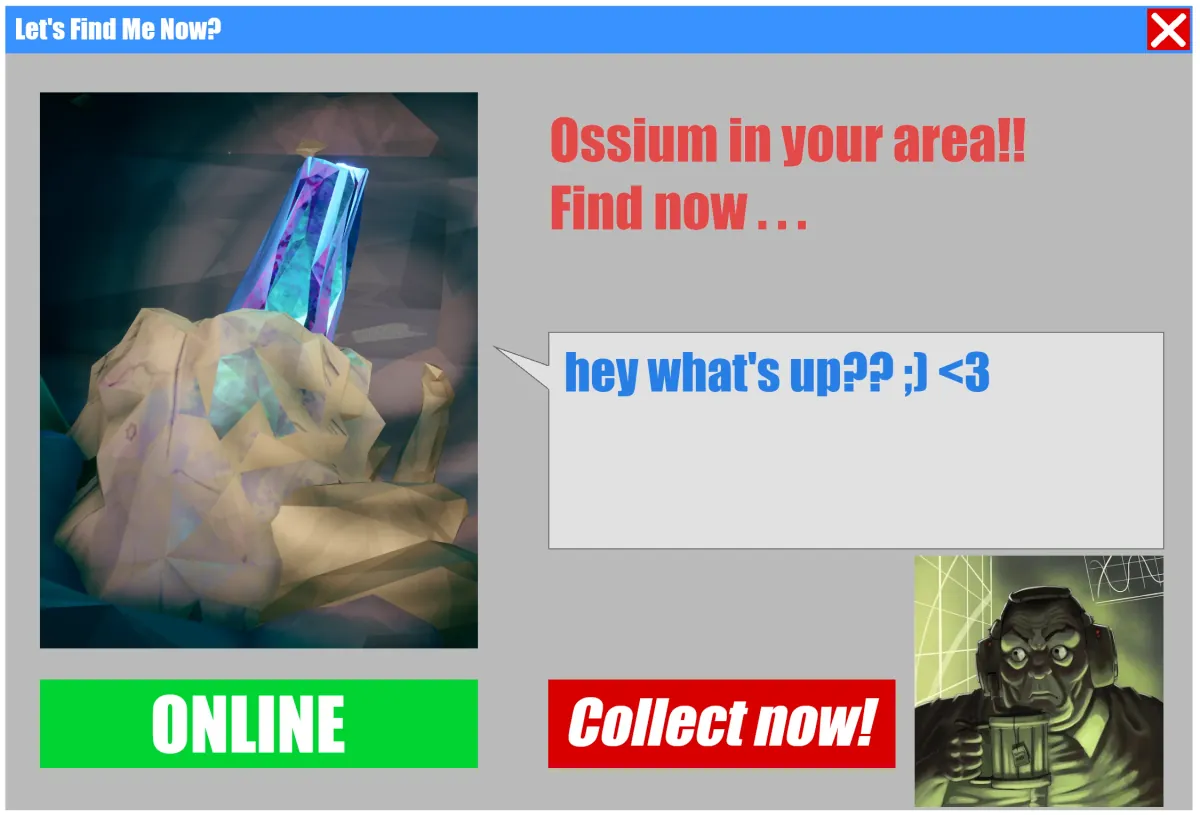
Expose Glyphid Ossium weaknesses and best counter-tactics to swiftly eliminate this armored threat. Proper weapon choices and positioning are vital to avoid its devastating charges.
 OP
OP DRG: Mining Through High Threat Encounters & Objectives
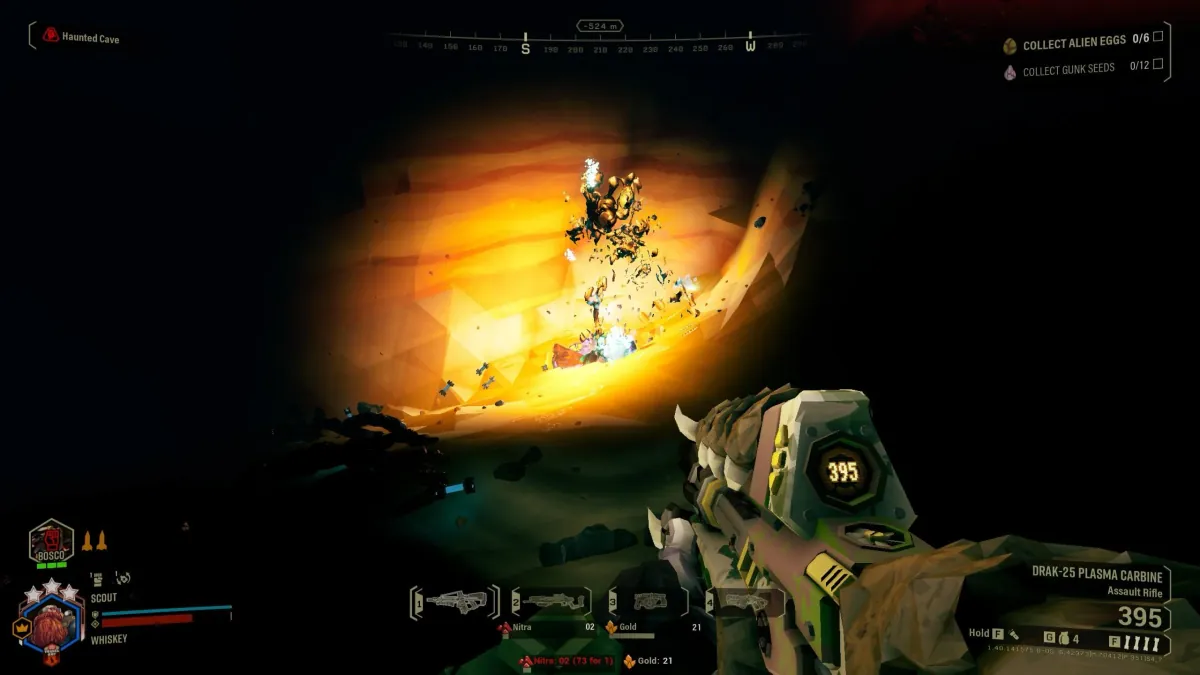
Learn to effectively manage major threats without losing mission progress in Deep Rock Galactic. Prioritize mining and objectives even when huge enemies appear, ensuring mission success.
 OP
OP How to Deal with Multiple Crassus Detonators
Learn optimal tactics for handling multiple Crassus Detonators to maximize gold and minimize team casualties. Prioritize controlled explosions and area denial.
OP Deep Rock Galactic Solo Endgame: What to Do After Promotions
Feeling 'done' with Deep Rock Galactic after promoting? This guide offers tactical ways for solo Miners to find purpose, tackle higher difficulties, and explore diverse builds beyond initial assignments.
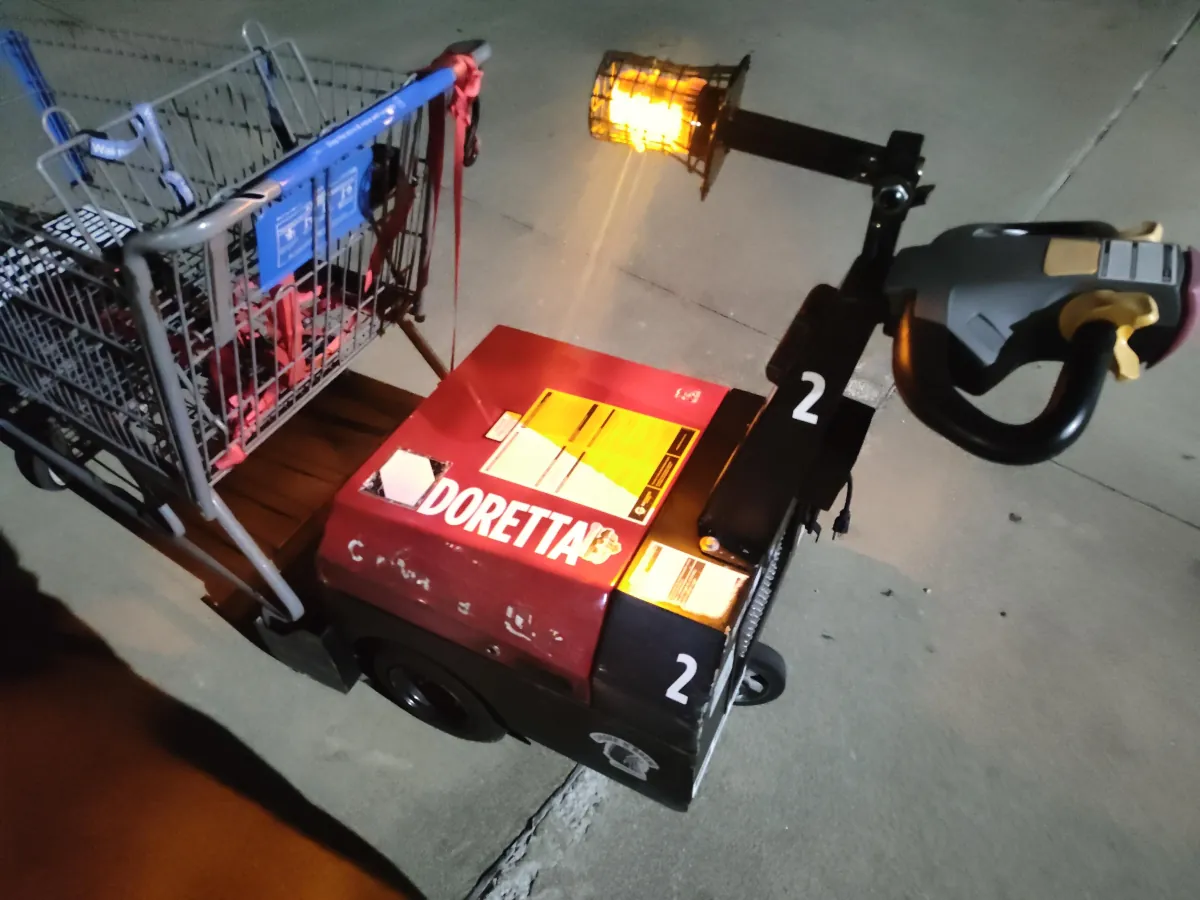 OP
OP DRG Molly Tips: Maximizing M.U.L.E. Utility
Learn how to best utilize Molly, your reliable M.U.L.E., for efficient resource collection and safer expeditions on Hoxxes IV. Treating Molly like a team member improves overall mission flow.
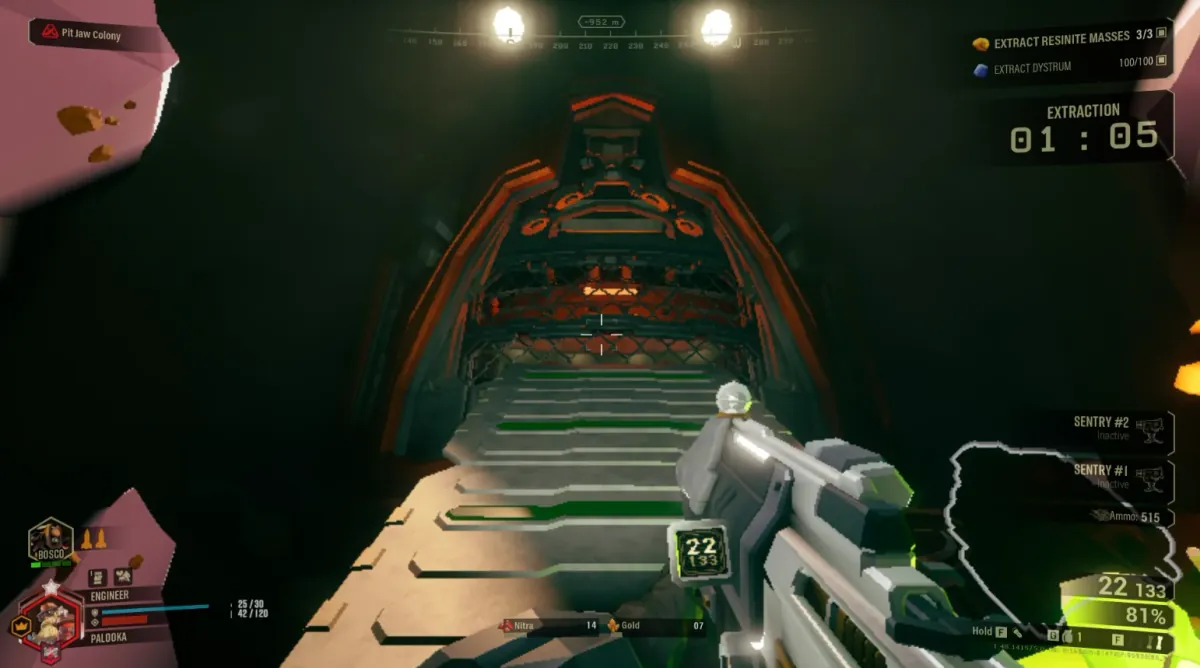 OP
OP How to Navigate Resinite Mass Caves for Smooth Extractions
Learn how to manage tricky cave generation in Resinite Mass missions to ensure efficient movement and smooth extractions. Avoid getting trapped by poor terrain.
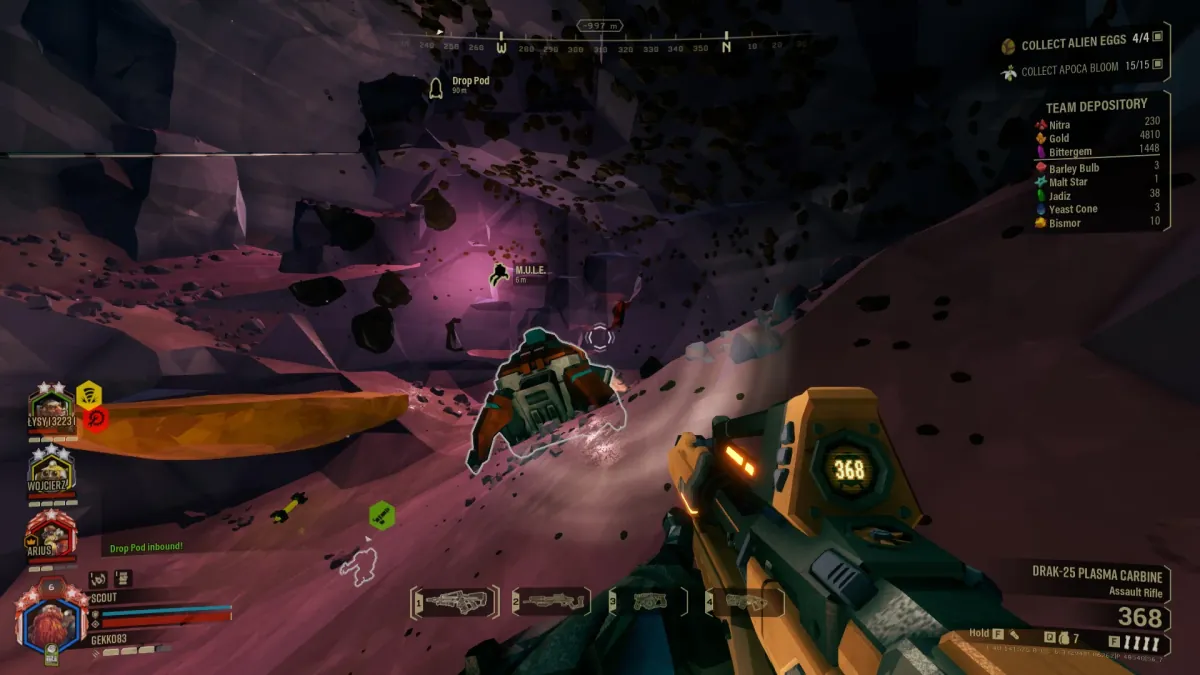 OP
OP Deep Rock Galactic Gold Farming: Pots O' Gold & Crassus
Maximize your Deep Rock Galactic gold income by combining the Pots O' Gold beer buff with a Crassus Detonator kill. Turn this rare encounter into a massive payday.
OP Fungus Bogs Survival Guide: Navigating the Toxic Biome
Master the Fungus Bogs biome with these essential environmental navigation tips. Learn to mitigate toxic gas, sticky flora, and limited visibility to survive.
OP Rogue Core Roguelike Explained: What's Different from DRG?
Understand the core Rogue Core Roguelike elements and how they differ from traditional Deep Rock Galactic missions. Learn about progression resets and run-based upgrades for survival.
 OP
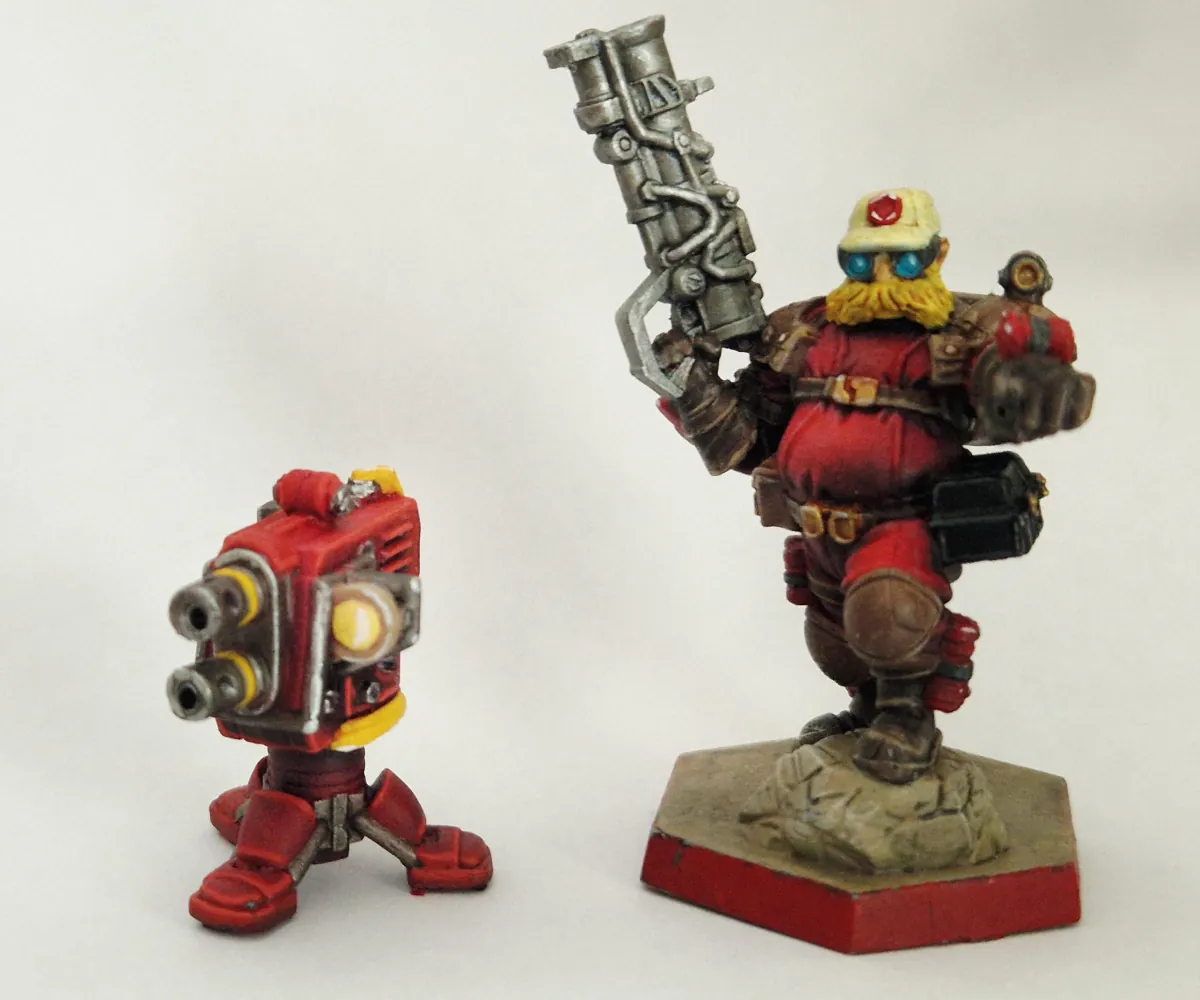
OP Rogue Core Rival Tech Strategy: Countering Robotic Threats
Master Rival Tech strategies for Deep Rock Galactic and Rogue Core. These persistent robotic threats demand tactical thinking and coordinated fire from every Miner to survive.
 OP
OP Engineer Turret Guide: Best Placement and Upgrades
Maximize your Engineer turret's impact with optimal placement and critical upgrades. Learn how to cover flanks and support firelanes, securing your defensive perimeter.
 OP
OP Deep Rock Galactic: Secure Drop Pod Extraction Tips
Master Deep Rock Galactic Drop Pod Extraction Tips to avoid being left behind on Hoxxes. Learn optimal routes, class-specific tactics, and common mistakes.
 OP
OP Glyphid Praetorian & Oppressor Weak Points Guide
Learn to quickly identify and exploit the glowing weak points on Glyphid Praetorians and Oppressors for maximum damage. Prioritize these targets to save ammo and control swarms.
OP DRG On-site Refining: Resupply Nitra & Storage Explained
On-site Refining missions use a communal nitra pool for resupply pods, not individual storage. Your personal capacity doesn't limit resupply calls; team collection is key.
OP Deep Rock Galactic: Best Double Class Team Composition
Learn which Deep Rock Galactic classes offer the best synergy when doubled up in a four-dwarf team. Optimize your firepower and utility for any mission type.
 OP
OP DRG Assignments: Class Completion Rules Explained
Most Deep Rock Galactic assignments can be completed with any dwarf class, though some require a specific class for unlock. Always check assignment details.
 OP
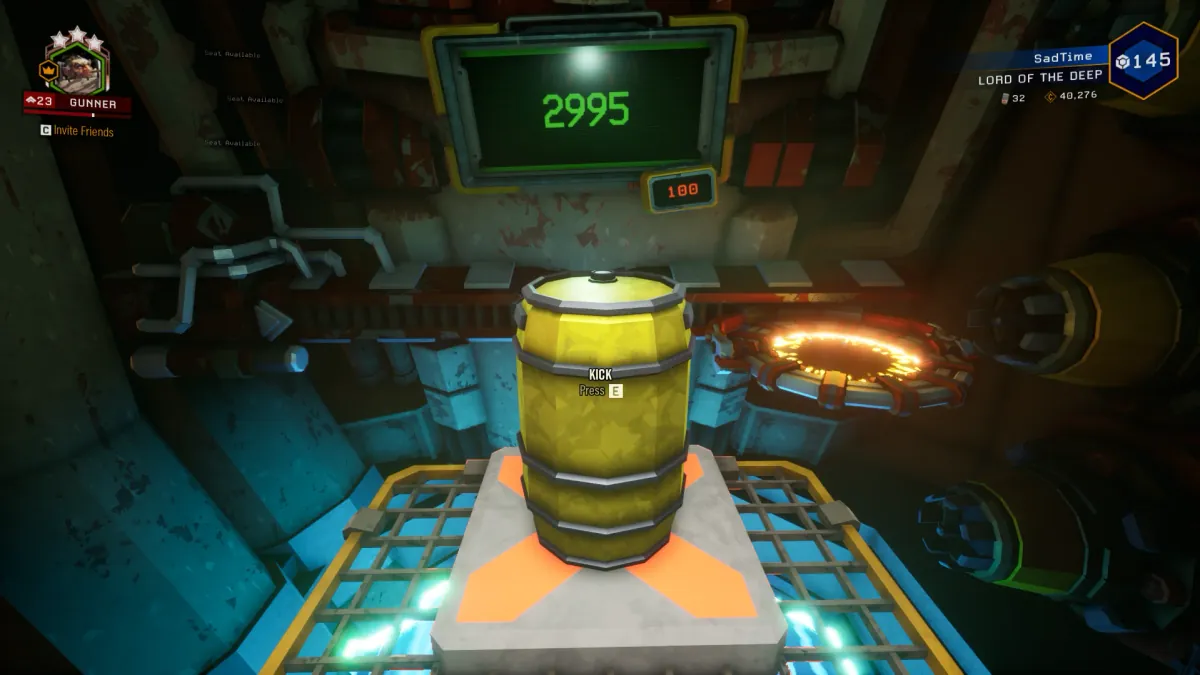
OP How to Win the DRG Barrel Hoop Game: Max Score Guide
Master the Deep Rock Galactic Barrel Hoop game with these essential tips to consistently hit 2000 points. Learn barrel physics and optimal launch angles for the achievement.
 OP
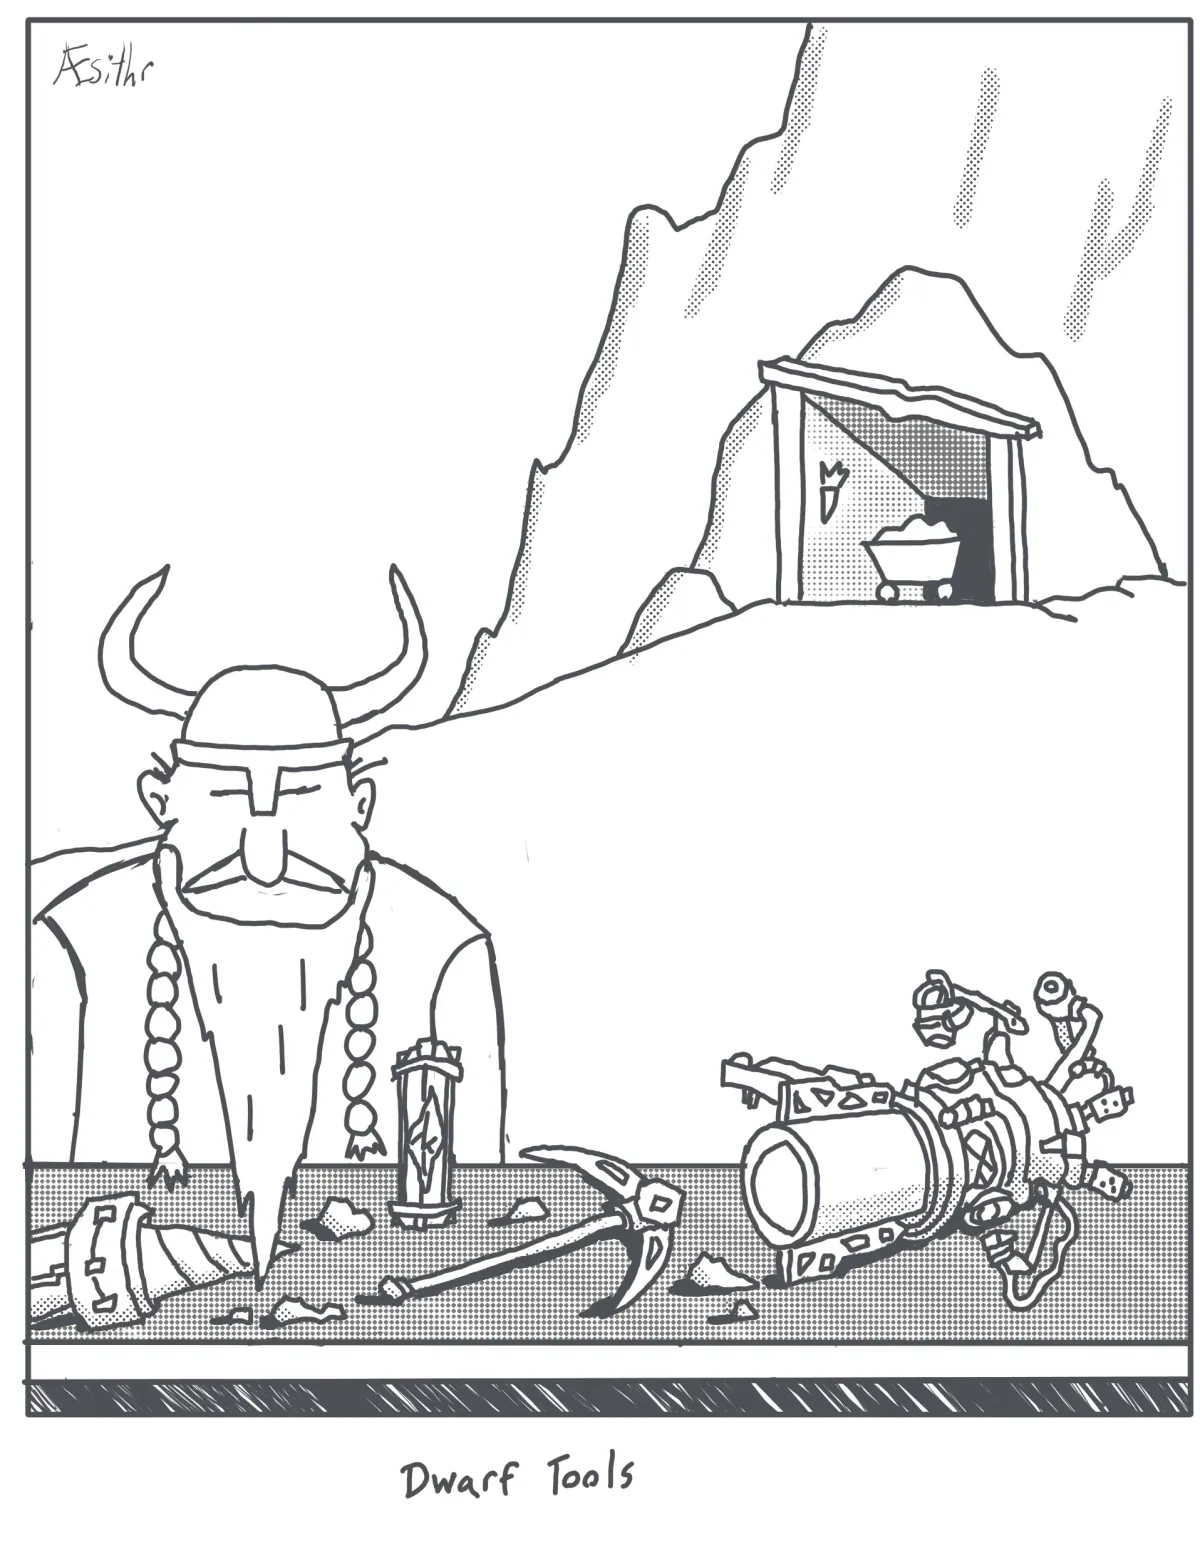
OP Praetorian Guide: Targeting Its Abdomen Weak Point
To quickly eliminate a Praetorian, focus fire on its glowing abdomen after it charges or turns. Exploit this critical weak point to conserve ammo and manage swarms.
 OP
OP Deep Rock Galactic: Essential Dwarf Gear & Utility Tips
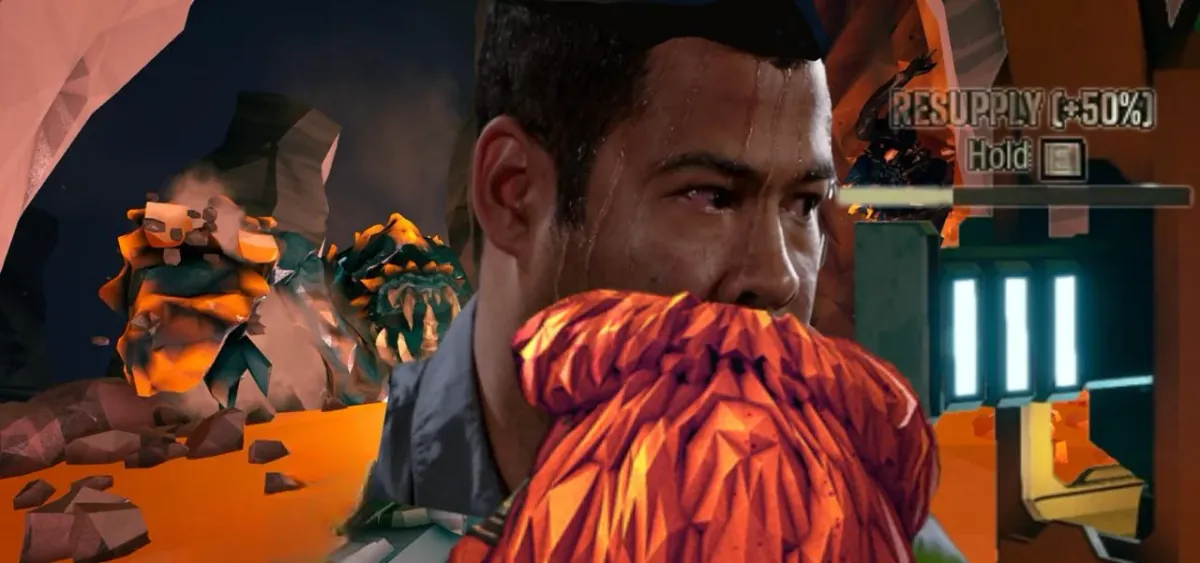
Mastering your basic Deep Rock Galactic gear is critical for mission success. Learn key tips for primary weapons, secondary tools, and utility items to survive Hoxxes IV.
 OP
OP How to Use Resupply Pods in Deep Rock Galactic Boss Fights
Strategize resupply calls during boss fights to avoid downtime and maximize damage windows. Proper timing ensures your team stays fueled and alive under pressure.
 OP
OP Deep Rock Galactic Beginner Guide: Essential First Steps
Start your Deep Rock Galactic career right with these essential beginner tips for survival on Hoxxes IV. Learn core mechanics, teamwork, and how to avoid early mistakes.
 OP
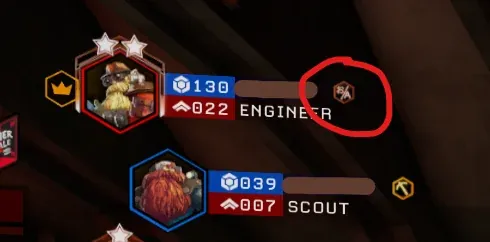
OP Deep Rock Galactic Engineer Icon Explained
The Engineer class icon represents the dwarven specialist in area denial and Turret deployment. Understanding this symbol helps identify your team's tactical support role.
 OP
OP Lootbug Efficiency: When to Mine Nitra, When to Ignore
Learn when to prioritize mining Lootbugs for Nitra and when to save valuable time on Hoxxes IV. Maximize your team's resource gain without slowing down.
OP Ommeran Heartstone Explained: Key Mining Tips
Understand the Ommeran Heartstone's core mechanics for efficient extraction. Learn how to manage intense swarms and protect your pipelines during On-site Refining missions.
 OP
OP Rogue Core: Adapting to Unexpected Hazards Explained
Core Infusion missions throw unpredictable dangers. Learn to adapt on the fly with smart preparation and quick tactical decisions to survive Rogue Core anomalies.
 OP
OP Deep Rock Galactic Identity Explained: What Makes Us Miners
Grasp the core tenets of Deep Rock Galactic's unique identity for survival on Hoxxes IV. Understand the true meaning of a pickaxe, teamwork, and facing swarms for profit.
OP Deep Rock Galactic Gold: Is Mining It Worthwhile?
Deciding whether to mine gold in Deep Rock Galactic depends on mission type, hazard level, and team efficiency. Focus on mission objectives and Nitra first, then consider gold if time permits.
 OP
OP Deep Rock Galactic High Altitude Exploration Guide
Master High Altitude Exploration in Deep Rock Galactic to find hidden veins and escape overwhelming swarms. Strategic use of class tools makes verticality a key survival asset.
 OP
OP Deep Rock Galactic Overclock Core Drops Explained
Overclock Core drops in Deep Rock Galactic are truly random, not weighted by active class. Grind Deep Dives and Machine Events for guaranteed Overclocks.
 OP
OP Gunner Class Tips: Maximizing Protection and Damage
Master the Gunner Class by focusing on strategic Shield Generator deployment and sustained firepower. Learn to protect your team and clear swarms efficiently.
OP Deep Rock Galactic Veteran Tactics: Survive No Nitra Swarms
Learn how Deep Rock Galactic veteran Miners handle swarms and complete objectives with zero Nitra. Master resource management and advanced survival tactics.
OP Driller C4 Tactics: Swarmer & Scrabbler Control
The Driller's Satchel Charge offers highly efficient crowd control against Glyphid Swarmers and Scrabblers. Learn optimal C4 placement and timing to clear small hordes.
OP Deep Rock Galactic Resupply & Nitra Etiquette Guide
Learn Deep Rock Galactic resupply and Nitra etiquette to avoid teamkills and toxic players. Understand common mistakes and how to handle shared resources effectively.
 OP
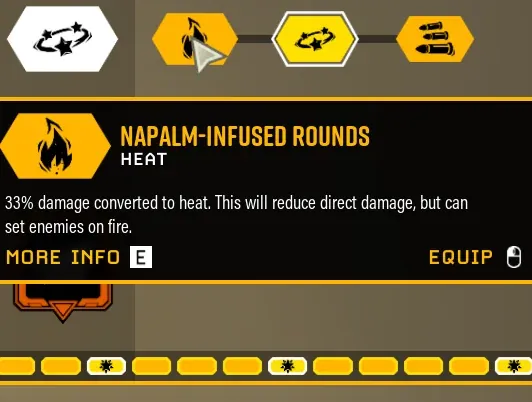
OP Deep Rock Galactic Heat Damage Conversion Explained
Understand how heat damage conversion mods in Deep Rock Galactic function. These mods add heat, not replace physical damage, crucial for thermal builds.
 OP
OP Why Steeve Disappears: DRG Companion Guide
Steeve the Glyphid Grunt or Praetorian is a loyal but temporary ally. Understand why your Steeve companion disappears and how to maximize his lifespan in any mission.
 OP
OP How to Use Engineer Platforms for Fall Damage Prevention
Engineers can use their Platform Gun to prevent fall damage from sudden drops. Deploy platforms below a plummeting Miner or over deep pits to ensure a soft landing.
OP Rogue Core Features: How Promotions Could Change DRG
Rogue Core's promotion system offers seamless, lobby-based rank-ups that many Miners want in DRG. This and other Rogue Core features are highly debated for the original game.
 OP
OP DRG Deep Dive Warnings & Mission Tactics
Prepare for this week's Deep Dive and Elite Deep Dive with critical strategies for unique warnings. Master Regenerative Bugs, Lethal Enemies, and Pit Jaw Colony to survive Hoxxes IV.
 OP
OP Deep Rock Galactic: Optimize Nitra & Resupply Calls
Master efficient Nitra and Resupply Calls in Deep Rock Galactic to keep your team supplied and alive. Learn when to call, how to share, and avoid common resource mistakes.
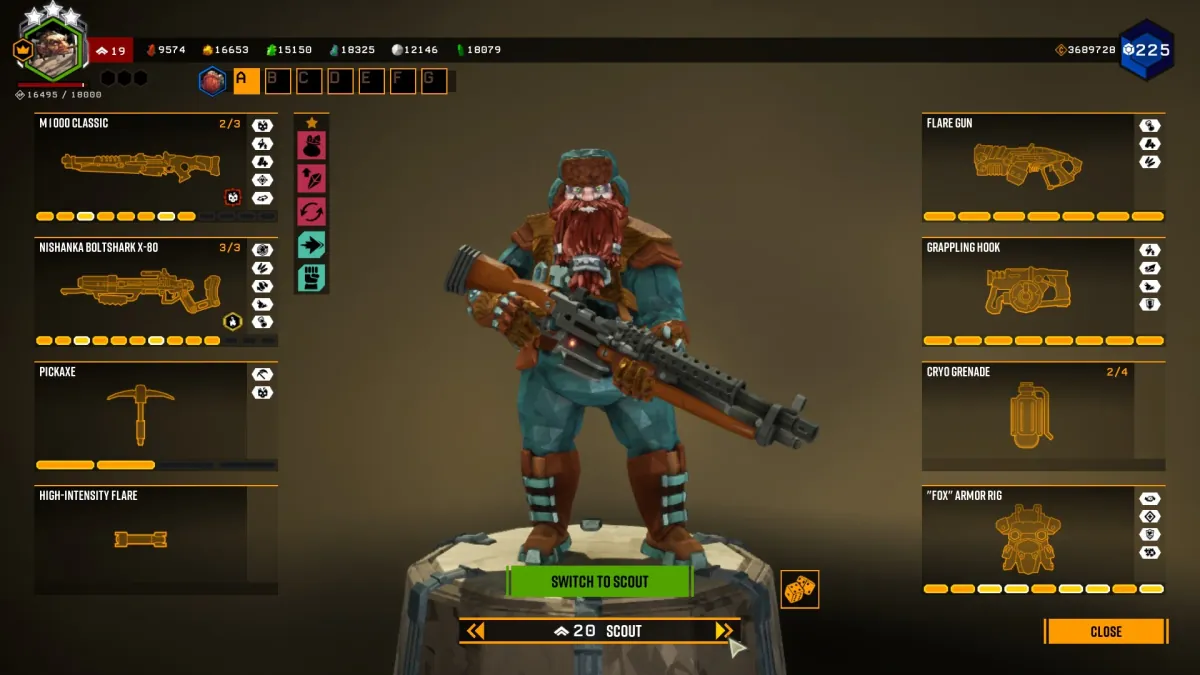
OP Engineer MK5 Armor: Cosmetic Compatibility Tips
Choose the Engineer MK5 Armor to avoid cosmetic clipping with headgear. Its design integrates wires cleanly, ensuring your Miner always looks sharp on Hoxxes IV.
 OP
OP Deep Rock Galactic Miner Combat Preferences: Class Tips
Understand core Deep Rock Galactic class combat preferences and weaknesses. Use this intel to improve team synergy, prioritize targets, and choose optimal biomes.
 OP
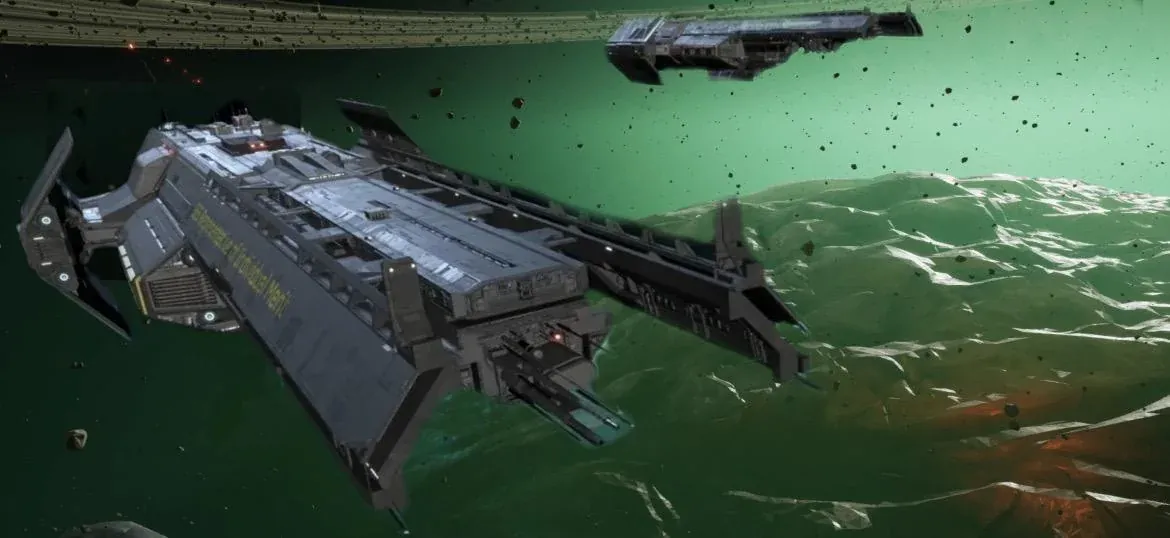
OP Hoxxes IV Unique Threats: Why Other Factions Struggle
Hoxxes IV poses unique, extreme environmental threats that overwhelm even elite forces like Helldivers. Our gear and training are specifically designed for these unparalleled dangers.
 OP
OP DRG Ammo Management: Essential Tips for Economy
Master Deep Rock Galactic ammo management to prevent dry runs and sustain firepower against endless swarms. Learn essential tips to conserve ammunition and maximize your mining output.
OP Deep Rock Galactic Xbox: Finding Reliable Teammates
Facing Deep Rock Galactic Xbox matchmaking woes? Learn how to find reliable teams, manage solo runs, and connect with fellow miners for better deep dives. Don't let empty lobbies keep you from valuable Nitra.
 OP
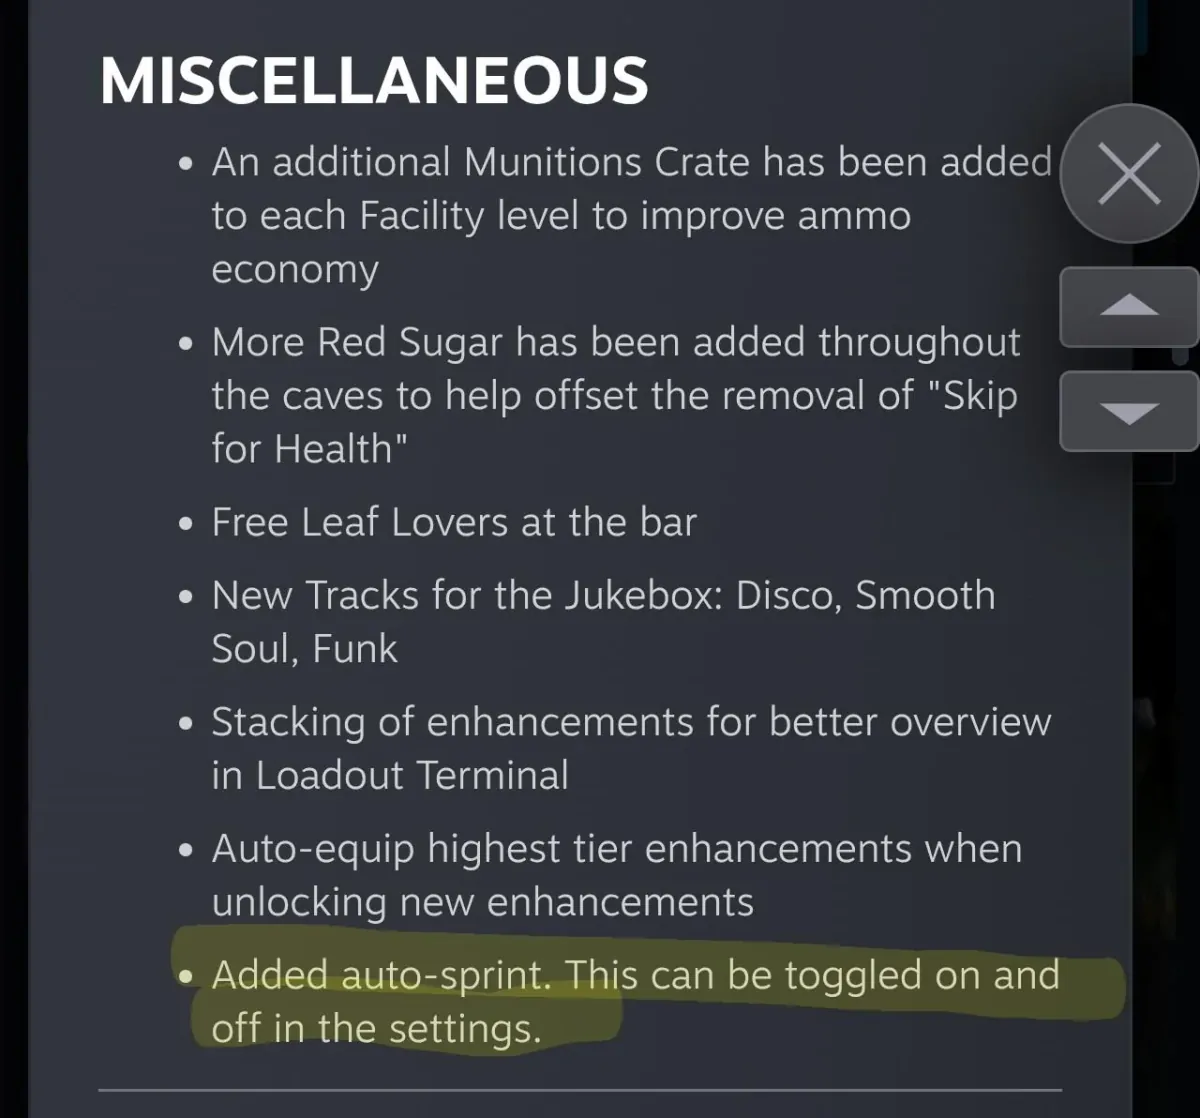
OP Rogue Core Auto Sprint: DRG Default Movement Changes
Rogue Core now includes an auto-sprint option, a Quality of Life feature long requested for Deep Rock Galactic. This guide explains how it changes movement in both games.
 OP
OP DRG Promotion: What It Does & Why You Need It
Deep Rock Galactic promotion unlocks crucial features like Deep Dives, perk slots, and higher player ranks. It's essential for advancing your miner and accessing endgame content.
OP Deep Rock Galactic Overclocks: How They Work & How to Get Them
Overclocks are crucial weapon modifiers in Deep Rock Galactic, offering powerful buffs or unique effects. Learn how to unlock and effectively use these game-changing Overclocks to dominate Hoxxes.
 OP
OP DRG Build Guide: Optimizing Weapons & Perks
Master Deep Rock Galactic loadouts with this comprehensive DRG Build Guide. Learn to optimize weapons, overclocks, and perks for any mission.
OP DRG & Rogue Core: Safe Teammate Revival Tactics
Learn safe Teammate Revival tactics in Deep Rock Galactic and Rogue Core. Prioritize clearing threats and using class utilities to get your brothers back into the fight.
OP Threat Assessment: Dreadnought, Praetorian, and Leech Tactics
Learn tactical approaches to Dreadnoughts, Praetorians, and Cave Leeches. Identify weaknesses and deploy effective counter-strategies to survive deep dives and eliminate high-priority targets.
 OP
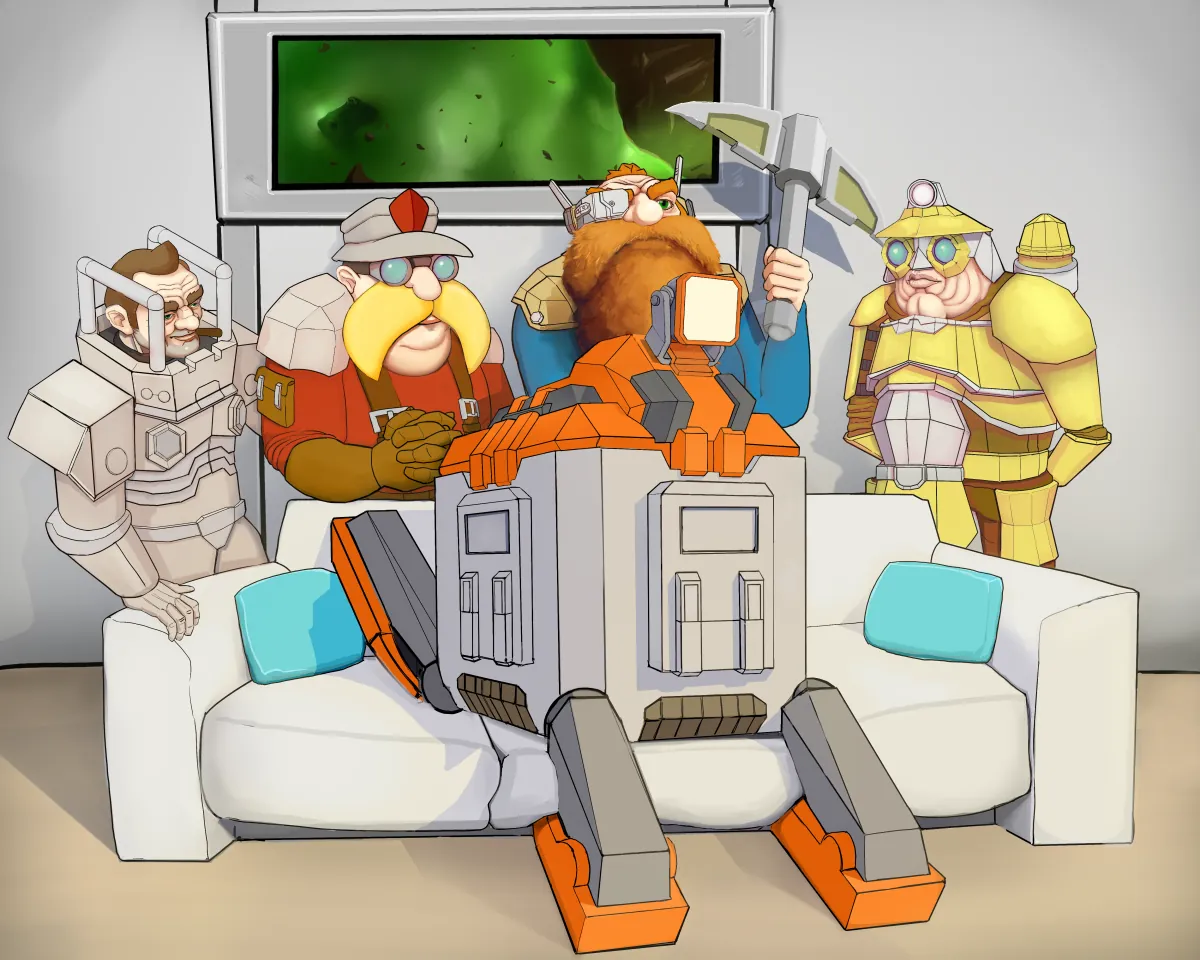
OP DRG Team Synergy: Coordinated Class Tactics Guide
Master Deep Rock Galactic team synergy by understanding each Miner's role for maximum survival. Learn coordinated class tactics to push deeper into Hoxxes IV.
 OP
OP DRG Hiveguard Low Ammo Recovery Tactics
Recover from critical low ammo situations during Hiveguard encounters with these tactics. Thorough map sweeps and resource awareness are key to turning near-failures into victories.
 OP
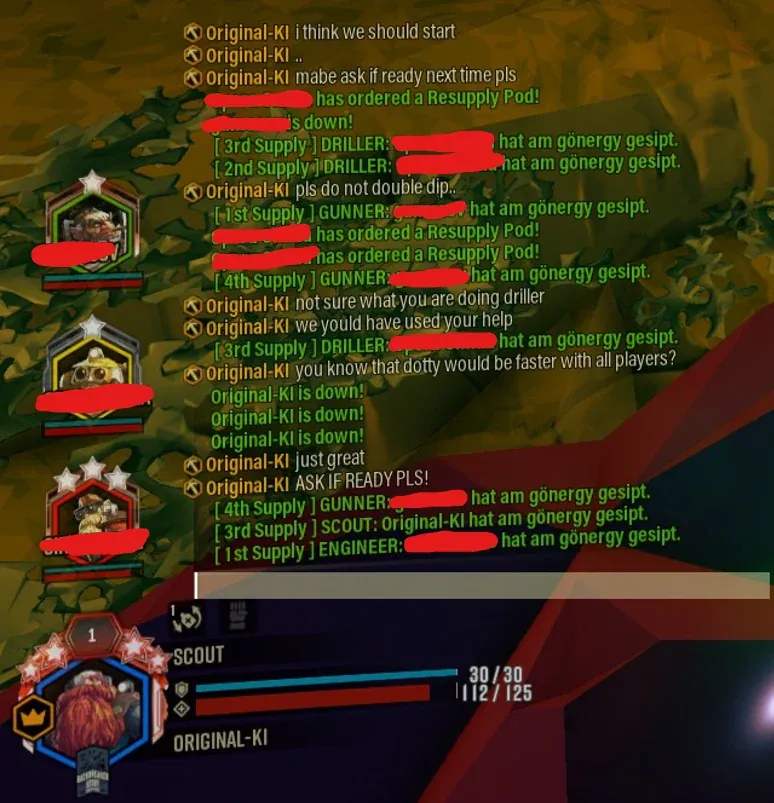
OP DRG Public Lobby Communication & Etiquette Guide
Master Deep Rock Galactic public lobby communication rules for smoother missions. Learn essential etiquette like asking 'r' before events and proper resupply use.
OP Deep Rock Galactic Promotions Explained: What Makes a Greybeard
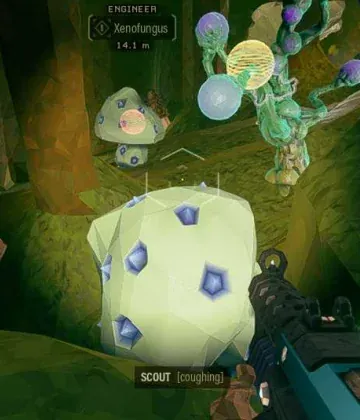
Understand Deep Rock Galactic promotion ranks and their tactical benefits. Higher ranks signify experience, unlocking crucial content and earning the 'Greybeard' title.
 OP
OP How to Beat Twin Dreadnoughts: DRG Strategy Guide
Master Twin Dreadnought encounters with smart positioning and focused fire. Learn critical team tactics to survive and defeat multiple Dreadnoughts swiftly on Hoxxes IV.
OP DRG Blank Matrix Core Check: Machine Events Explained
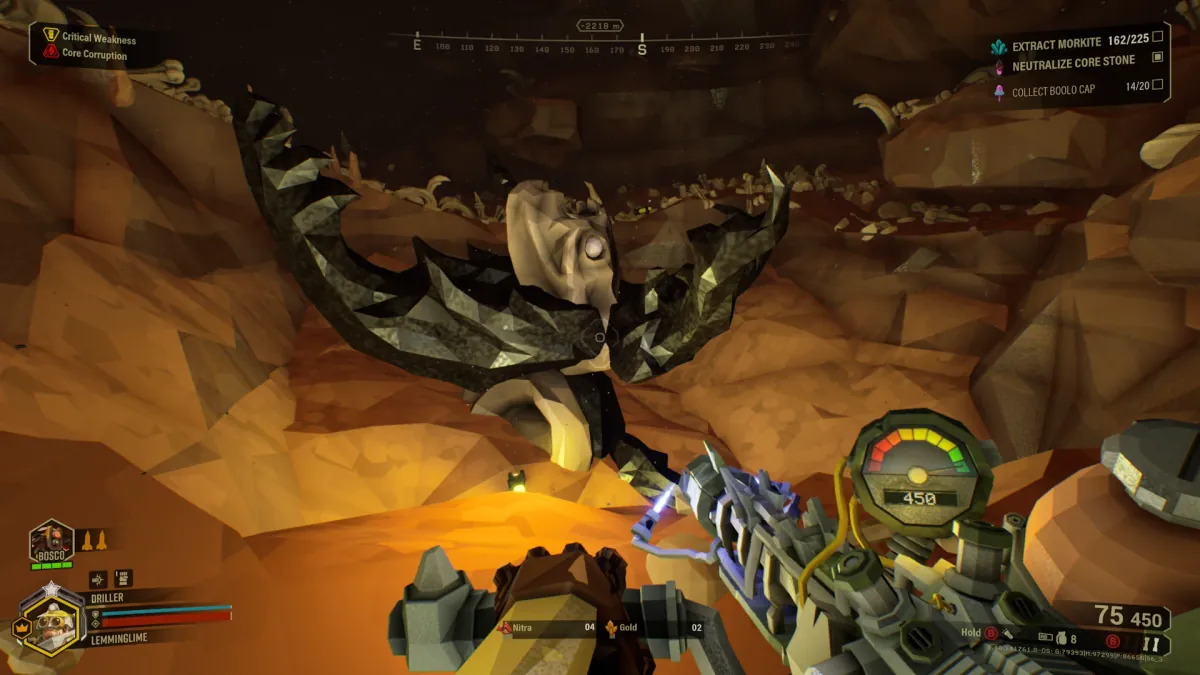
Learn how to track your Deep Rock Galactic Blank Matrix Core count to avoid missing Machine Event rewards. Current in-mission UI limitations require a workaround.
 OP
OP Rogue Core Tactical Hiding: Master Environmental Defense for Survival
Mastering environmental cover is key to surviving intense swarms and ambushes in Rogue Core. Learn tactical hiding to use terrain to your advantage, mitigate damage, and reposition efficiently.
OP Deep Rock Galactic: Handling Objective Mineral Hoarding
Objective minerals are shared, not individual loot. Identify and address mineral hoarding to ensure smooth mission completion and maintain team efficiency.
 OP
OP How to Find Greenbeard Teammates for DRG
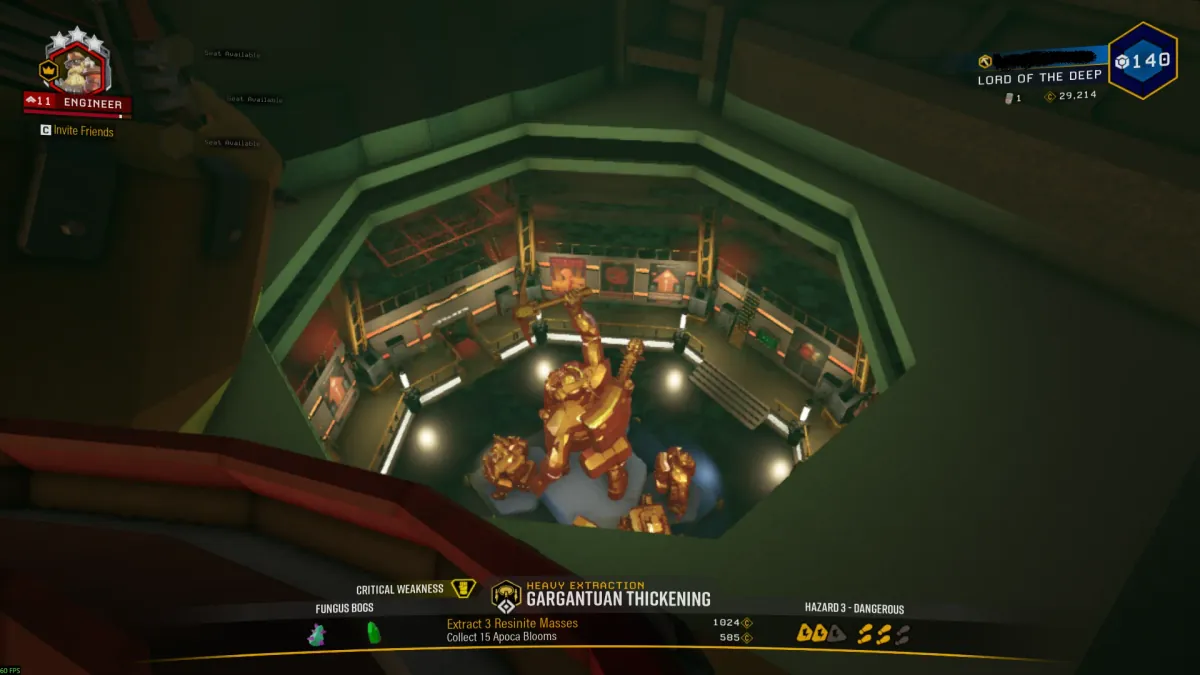
Learn where to connect with new Deep Rock Galactic miners for balanced co-op. Avoid being carried and experience the challenge of learning game mechanics together.
 OP
OP How to Use Scout Mobility for High Ground Advantage
Master Scout Mobility to gain tactical high-ground advantages against swarms and special enemies. Proper positioning ensures survival and maximizes team damage output.
OP Deep Rock Galactic: The Tactical Value of 'Rock and Stone'
The phrase "Rock and Stone" is more than a greeting; it's a vital communication tool for miners. Using it boosts team morale, signals readiness, and acknowledges assistance.
 OP
OP Deep Rock Galactic Community: How Miners Support Each Other
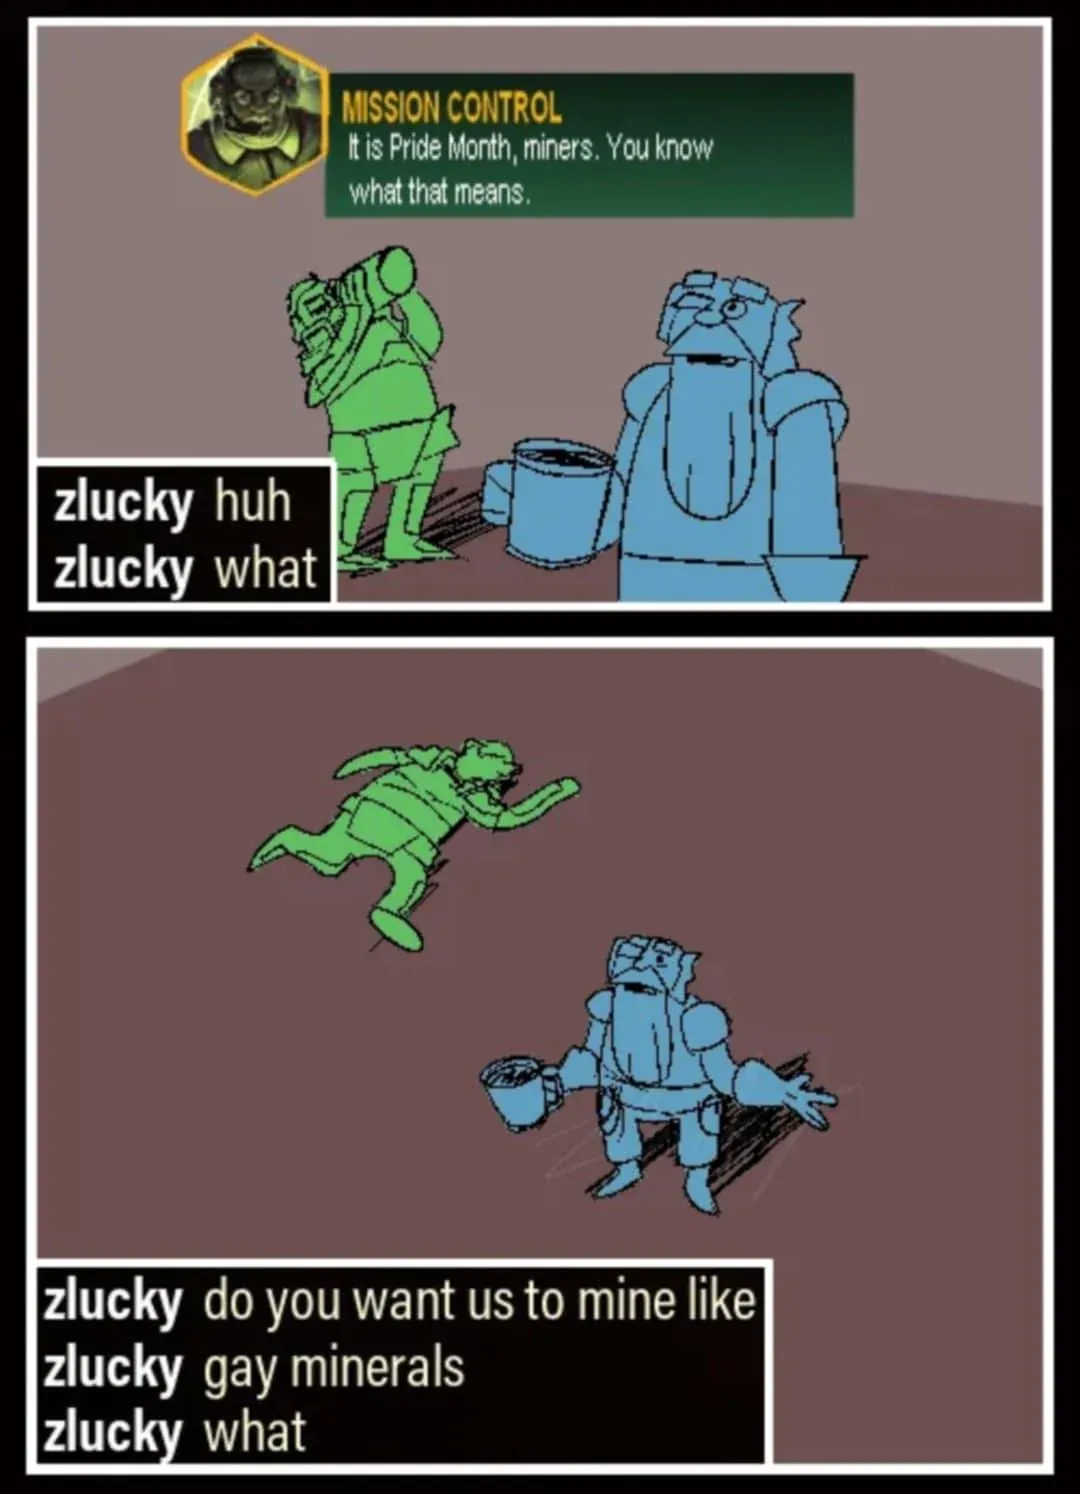
The Deep Rock Galactic community is highly inclusive and supportive of all Miners. Expect camaraderie and encouragement, ensuring every Dwarf feels welcome on Hoxxes IV.
OP Escort Duty: Doretta Head Retrieval Tips
Successfully retrieve Doretta's head every time after Escort Duty. Learn prime search locations and Scout flare tactics to honor our drilldozer.
 OP
OP Driller Satchel Charge Guide: Avoid Friendly Fire, Maximize Swarm Clear
Mastering the Driller Satchel Charge means smart placement to clear swarms without downing allies. Learn safe detonation zones and tactical uses for maximum impact.
 OP
OP Driller Promotions Explained: Reaching Legendary Rank
Understand how Driller promotions work in Deep Rock Galactic, including how to reach legendary ranks. Maximize your character's potential and unlock new content.
 OP
OP Rogue Core Guide: Overcoming Enemy Damage Resistance
Learn to overcome high enemy damage resistance in Rogue Core Reclaimer missions. Prioritize weakpoint damage, specific weapon mods, and coordinated team fire to crack even the toughest foes.
 OP
OP Deep Rock Galactic Late Game Tips: What High-Level Miners Prioritize
Learn what veteran Deep Rock Galactic miners prioritize to excel in late-game missions. Focus on loadout synergy, effective team communication, and map awareness for superior performance.
 OP
OP Deep Rock Galactic Perk System Scaling Proposal
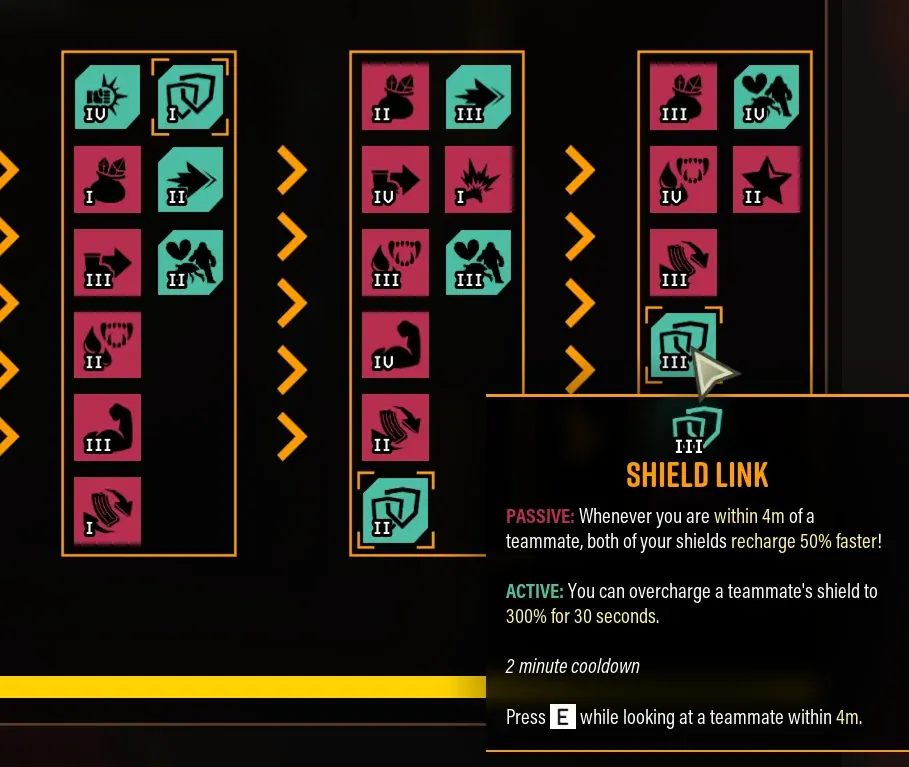
Explore community ideas for a scalable Deep Rock Galactic perk system, including higher levels for perks like Shield Link. Understand potential future changes to game mechanics.
 OP
OP On-site Refining: Doretta Pathing Management Guide
Master Doretta's unpredictable pathing in On-site Refining missions to prevent mission failures. Learn tactical terrain management and defense strategies to ensure smooth operations.
 OP
OP On-site Refining Pipe Routing: Best Practices & Common Mistakes
Mastering On-site Refining pipe routing prevents slowdowns and dangers. Learn efficient layouts to protect your team and maximize Morkite extraction.
 OP
OP Driller Neurotoxin Grenade: Scan Resinite Mass for Veins
Learn how the Driller's Neurotoxin Grenade can reveal hidden resource veins within Resinite Mass, improving your mining efficiency. Use this Driller utility for better scouting.
 OP
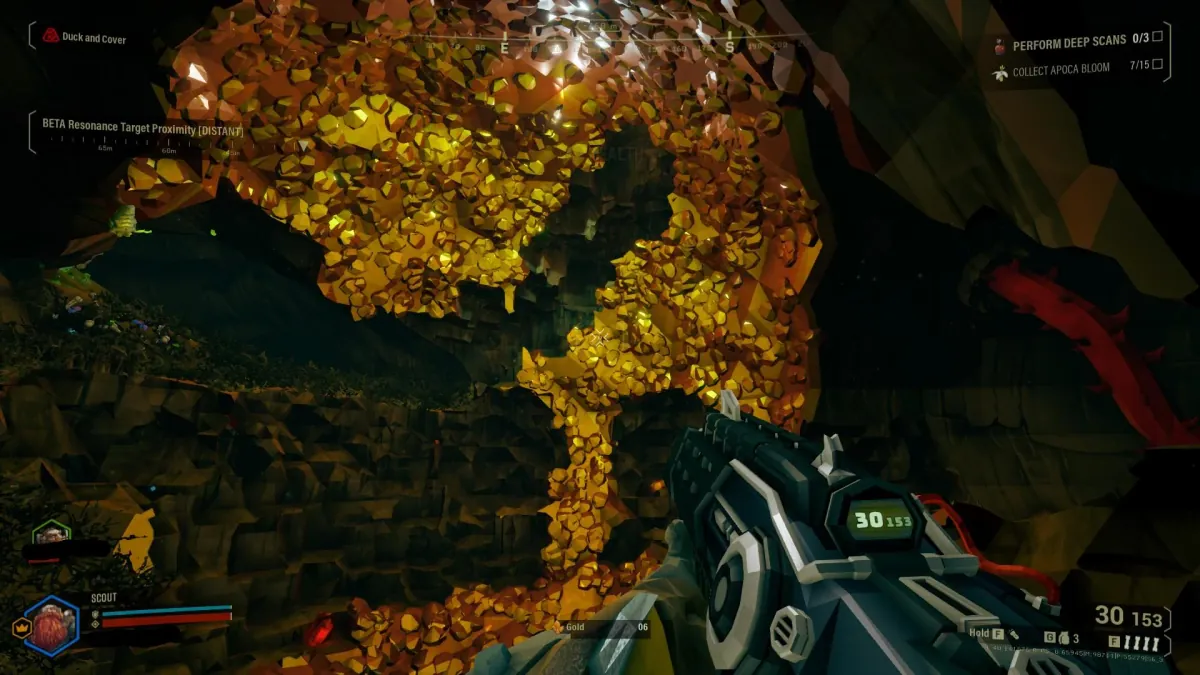
OP How to Maximize Gold from Crassus Detonator Explosions
The Glyphid Crassus Detonator explodes into a rich gold crater; learn how to secure its rare payload. Understand its spawn mechanics and best methods for efficient gold extraction.
OP Driller Rescue Guide: Save Downed Dwarves During Extraction
Master Driller rescue tactics to extract downed teammates, even when resources are low. Learn how to use your tools to secure difficult extractions and uphold the Miner's Code.
 OP
OP Elite Glyphid Guide: Identifying and Eliminating Enhanced Threats
Elite Glyphids are enhanced versions of common enemies with increased stats and special abilities. Learn to identify their glowing parts and adapt your tactics to quickly eliminate these dangerous foes.
 OP
OP Crassus Detonator Spawn Tactics Deep Rock Galactic
Rapidly repositioning a Crassus Detonator away from the Drop Pod is critical to maximize gold yield and ensure team survival. Plan explosives and crowd control to manage its unique gold explosion pattern effectively, using sound Crassus Detonator Spawn Tactics.
 OP
OP Deep Rock Galactic: Surviving the Average Swarm
Master Deep Rock Galactic swarm survival by prioritizing targets, managing crowd control, and leveraging team synergy. Every "average mission" can quickly escalate without proper tactics.
 OP
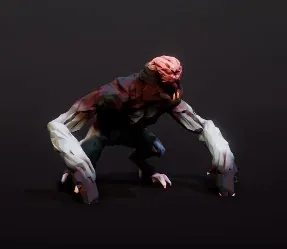
OP Corespawn Crawler Weakness & Combat Tips
Corespawn Crawlers are notoriously tough; focus sustained fire on their exposed weakpoints and prioritize them quickly. These agile enemies demand precise targeting to prevent team overruns.
OP Deep Rock Galactic: Reaching Hoxxes Surface & Map Limits
Miners cannot reach the surface of Hoxxes IV or exit through the Drop Pod entry hole. Deep Rock Galactic missions are confined by invisible map boundaries, preventing out-of-bounds exploration.
 OP
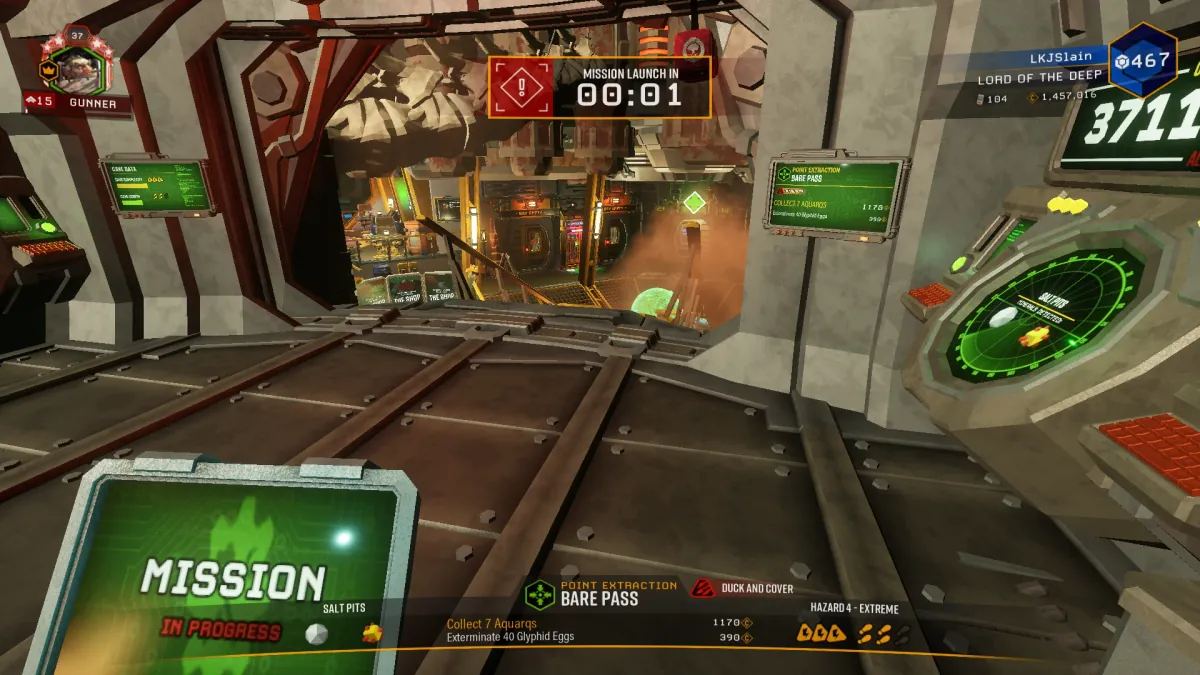
OP DRG Mission Generation: What to Expect from Hoxxes' Procedural Names
Mission names in Deep Rock Galactic are procedurally generated from diverse lists, creating unique and often humorous combinations. Always prepare for the unexpected on Hoxxes IV.
OP Rogue Core Reclaimer Power: Stronger Than DRG Miners?
Reclaimers in Rogue Core don't feel inherently stronger than DRG Miners; power scales through upgrades during a run. Expect early struggles, then domination against new threats.
 OP
OP Deep Rock Galactic Hollow Bough Survival Tips
Survive the treacherous Hollow Bough biome with tactical advice for vines, enemies, and difficult terrain. Learn how to manage threats and navigate this dangerous area safely.
OP Deep Rock Galactic Miner Level Explained
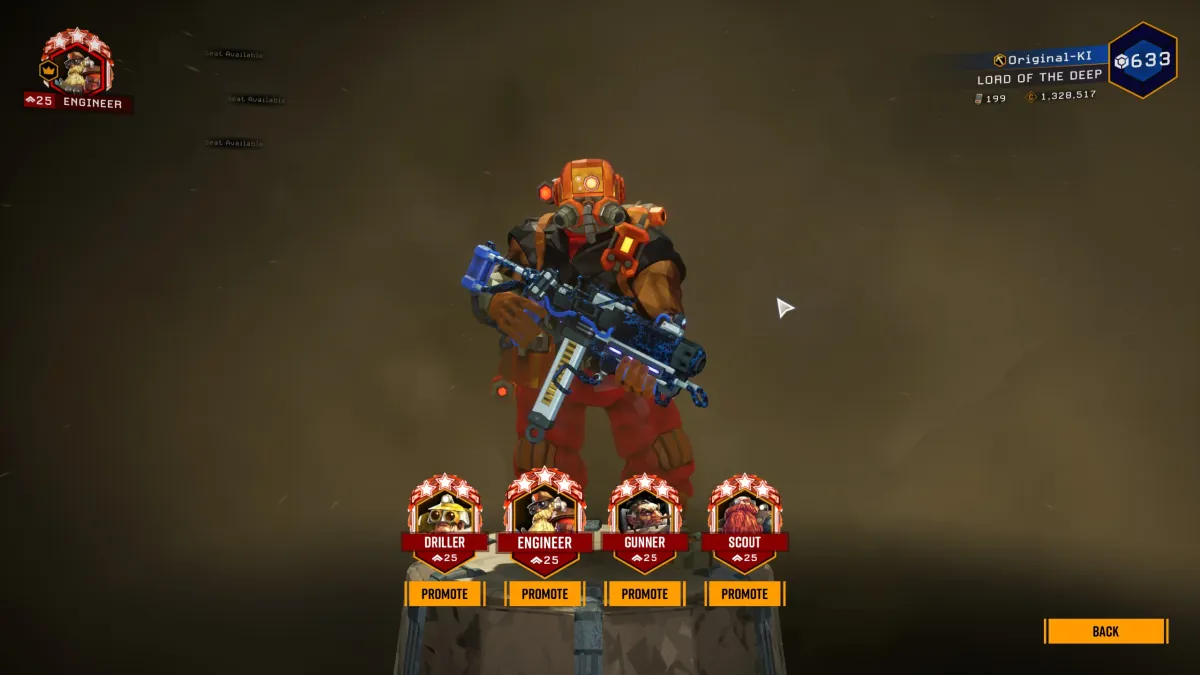
Understand how your Deep Rock Galactic Miner Level (Account Rank) is calculated. Every three promotions or class levels contribute to your overall progress, unlocking new assignments and content.
 OP
OP Deep Rock Galactic & Rogue Core: Why Miners Stay
The Deep Rock Galactic community is known for its supportive atmosphere, making it easy for new recruits and Greybeards alike to thrive. This strong player base ensures countless hours of future expeditions.
 OP
OP Deep Rock Galactic Map: Essential Navigation Tips
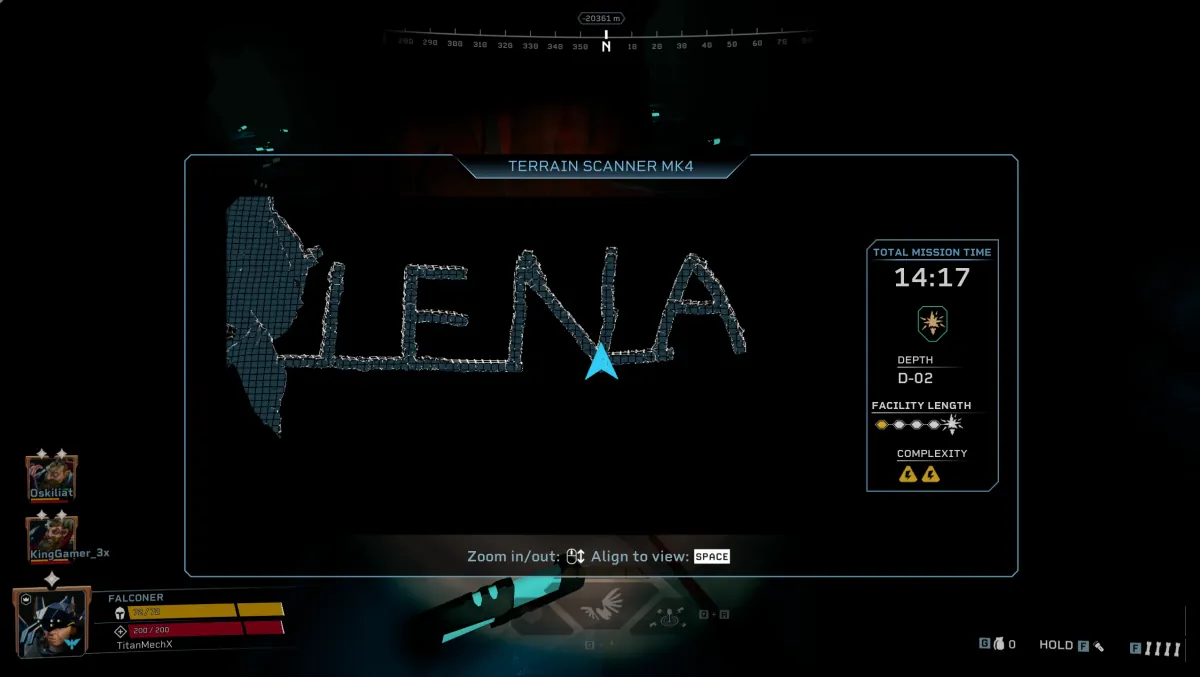
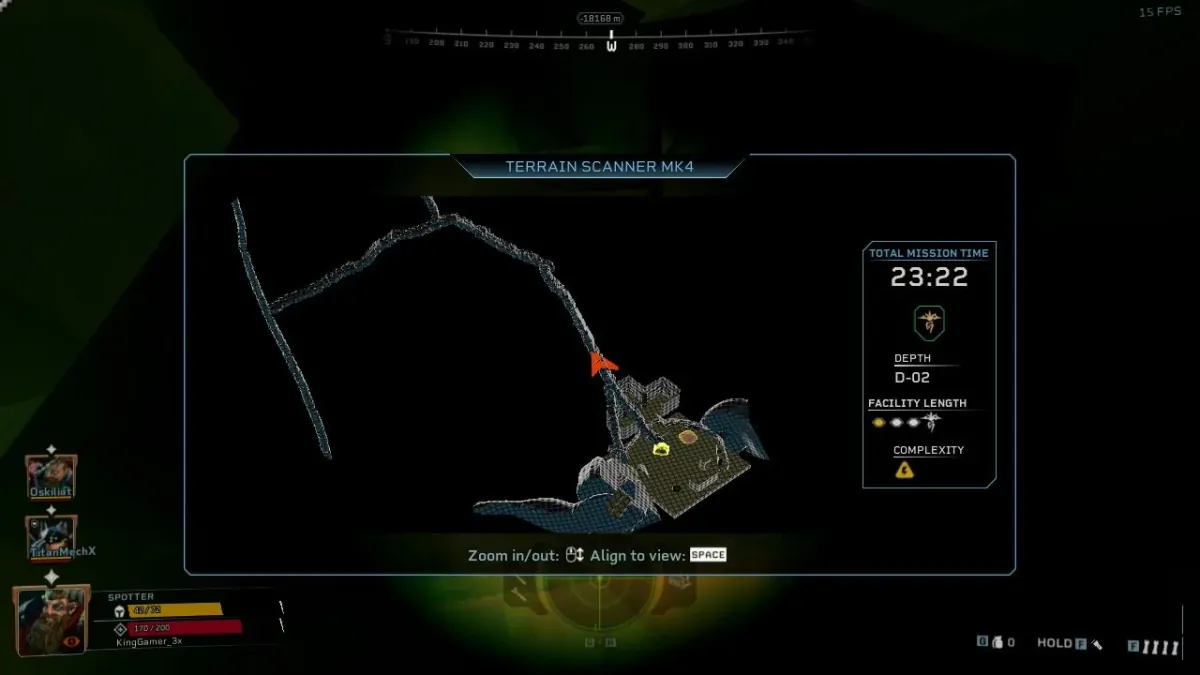
Master the Deep Rock Galactic map to quickly navigate caves and locate objectives. Efficient DRG map use prevents getting lost and ensures mission success, even in uncharted Rogue Core depths.
 OP
OP Driller Tactics: How to Dig Mission Borders in DRG
Discover how Driller Miners can strategically dig around mission boundaries in Deep Rock Galactic. Exploit map edges for faster traversal and hidden paths.
 OP
OP Rogue Core Reclaimer Guide: Choosing Your Combat Frame
Understand the tactical differences between Rogue Core Reclaimer frames to optimize your combat strategy. Choosing the right Reclaimer is critical for survival against the Core's threats.
 OP
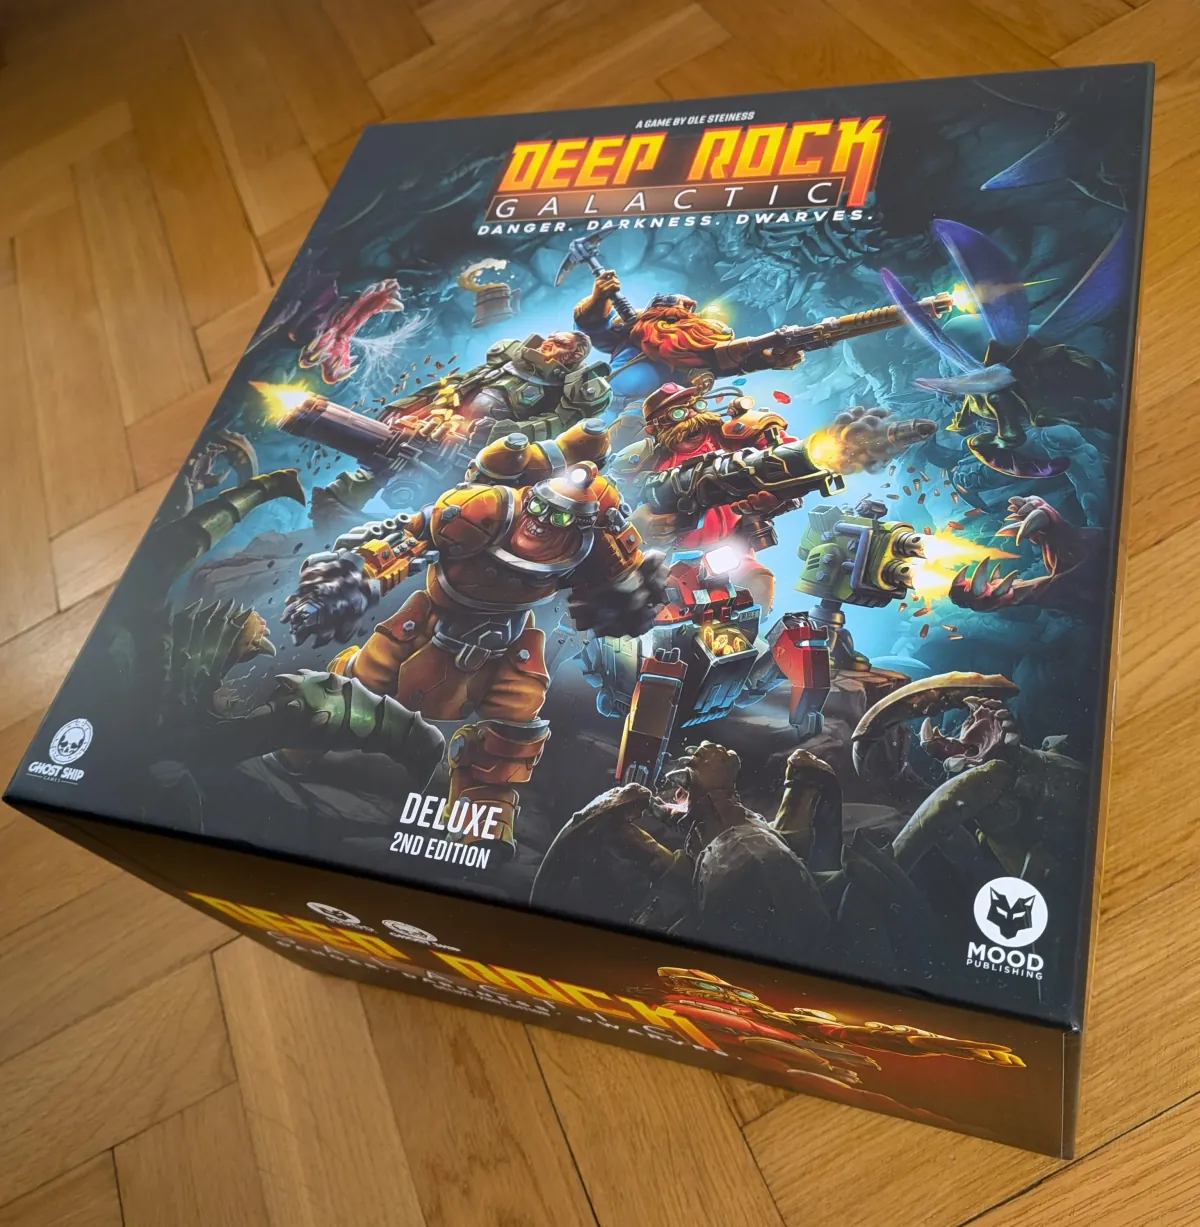
OP DRG Board Game Strategy: Teamwork Tips for Missions
The DRG Board Game highlights core strategic principles for Deep Rock Galactic missions. Learn how resource management and coordinated teamwork translate to success on Hoxxes.
 OP
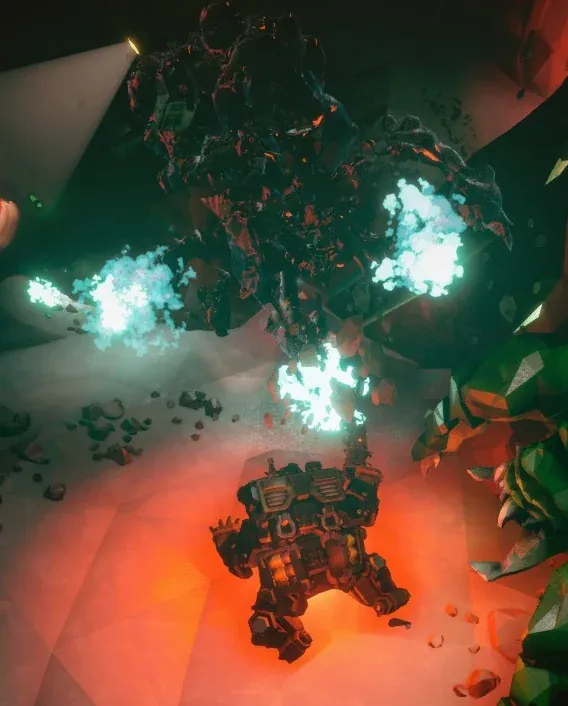
OP Haunted Cave Modifier: How to Survive the Invulnerable Ghost
Learn how to manage the invulnerable Haunted Cave Ghost in Deep Rock Galactic. Prioritize evasion and objective completion to survive this challenging modifier.
OP Deep Rock Galactic: How to Find Gold Veins
Learn how to efficiently locate and mine valuable gold veins across Hoxxes IV. Maximize your team's payouts and avoid leaving resources behind.
 OP
OP Rogue Core Miner Burnout: How to Stay Sharp on Hoxxes
Combat chronic miner burnout on Hoxxes IV to maintain peak performance for your team. Learn tactical breaks, gear checks, and mental resets vital for deep dives.
 OP
OP Industrial Sabotage: How to Rush Caretaker & Clear Fast
Learn optimal Industrial Sabotage strategies to quickly reach the Caretaker and clear the mission. Minimize hazards and maximize efficiency even on challenging maps.
OP Scout Acid Grenade Concept: Terrain Melt & Armor Corrosion
The proposed Acid Grenade concept offers unique terrain destruction and armor corrosion for the Scout. Assessing its potential tactical utility and impact on swarm management.
 OP
OP DRG Mod.io Not Working: Mint Mod Manager Fix
Fix Deep Rock Galactic Mod.io mod installation issues with the Mint Mod Manager. A recent API change broke functionality, but a community fix is available until an official update arrives.
 OP
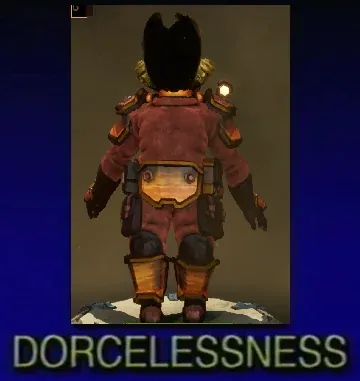
OP Deep Rock Galactic: Victory Moves for Hidden Cosmetics
Certain Deep Rock Galactic Victory Moves reveal character customization details usually hidden, like beard undersides. Use specific moves to fully appreciate your DRG Cosmetic Customization choices.
 OP
OP Optimized Gunner Loadout for Hazard 5 Survival
Maximize your Gunner survivability and damage on Hazard 5. This optimized Gunner loadout provides sustained fire and crowd control for prolonged deep dives.
 OP
OP How to Spot Environmental Hazards in Deep Rock Galactic
Learn to identify subtle environmental dangers and camouflaged threats on Hoxxes IV before they catch you off guard. Master environmental hazards to boost team survival.
 OP
OP Deep Rock Galactic: Safe Drop Pod & Supply Pod Call Tips
Learn crucial tips for safely calling in Drop Pods and Supply Pods on Hoxxes IV. Prevent mission failures and avoid friendly fire from Management's 'gifts'.
 OP
OP How to Become an Elite Miner in Deep Rock Galactic
Becoming an elite Miner isn't about secret branches, but mastering your class and team synergy. Elevate your Deep Rock Galactic gameplay with advanced tactical insights.
 OP
OP Deep Rock Galactic: Supply Pod Etiquette & Nitra Management
Master proper Supply Pod usage and Nitra conservation in Deep Rock Galactic to prevent team friction and mission failure. Efficient resource management is critical for survival on Hoxxes IV.
 OP
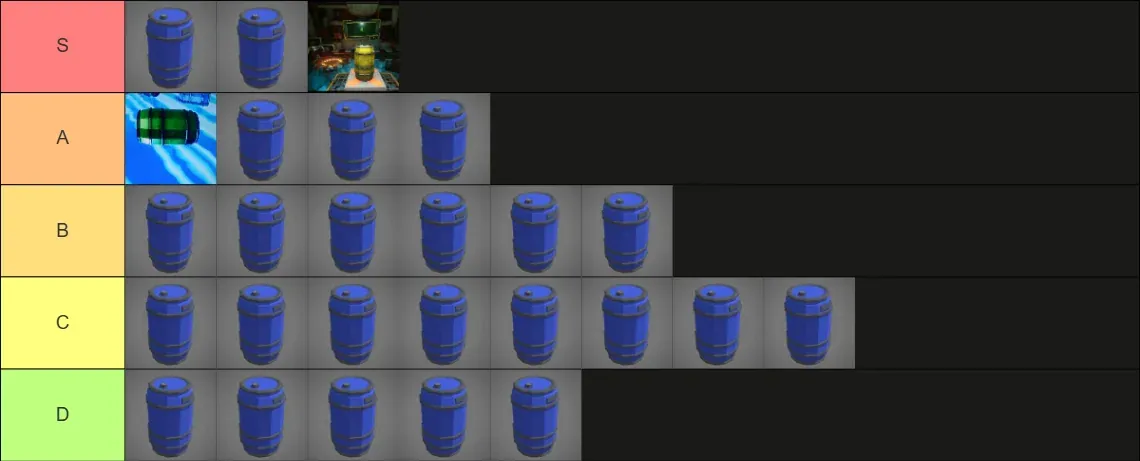
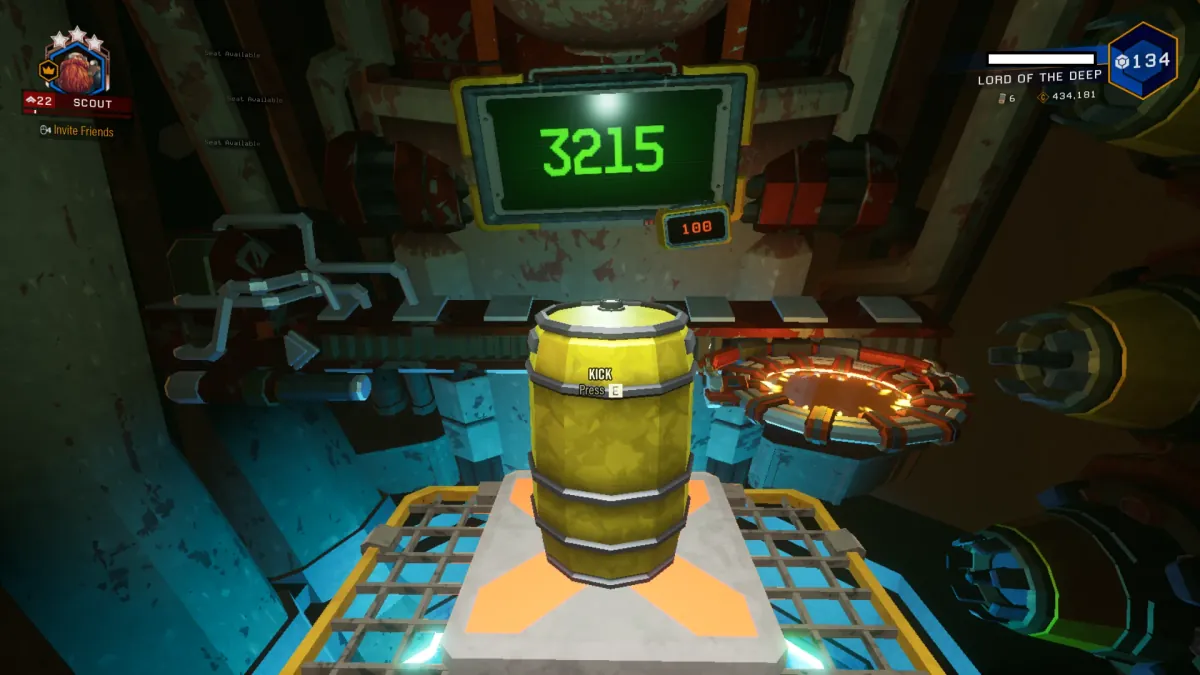
OP Deep Rock Galactic Barrel Kicking: How to Score
Master Deep Rock Galactic barrel kicking for bragging rights and the hidden Barrel Rider achievement on the Space Rig. Learn angles and strategies to consistently score into the Drop Pod.
 OP
OP Deep Rock Galactic Steeve Guide: Maximizing Beast Master Perk
Maximize your Steeve's impact with the Beast Master perk. Choose the right Glyphid and deploy your friendly companion for superior swarm control and threat mitigation.
 OP
OP Rogue Core Reclaimer Guide: Survival Tactics
Learn the essential defensive tactics for holding out until Rogue Core Reclaimers arrive. Proper positioning and resource management are key to surviving overwhelming waves.
 OP
OP Weekly Deep Dives Guide: Mactera Plague & Swarmageddon Tactics
Prepare for this week's Deep Dives. Navigate Mactera Plague and Swarmageddon warnings with tactical loadouts and team coordination to secure your Matrix Cores.
 OP
OP Neurotoxin Coating Autocannon Guide: Is It Worth It?
Neurotoxin Coating for the Autocannon offers potent area denial and sustained damage through DoT. Learn optimal usage and Autocannon builds to suffocate swarms effectively.
 OP
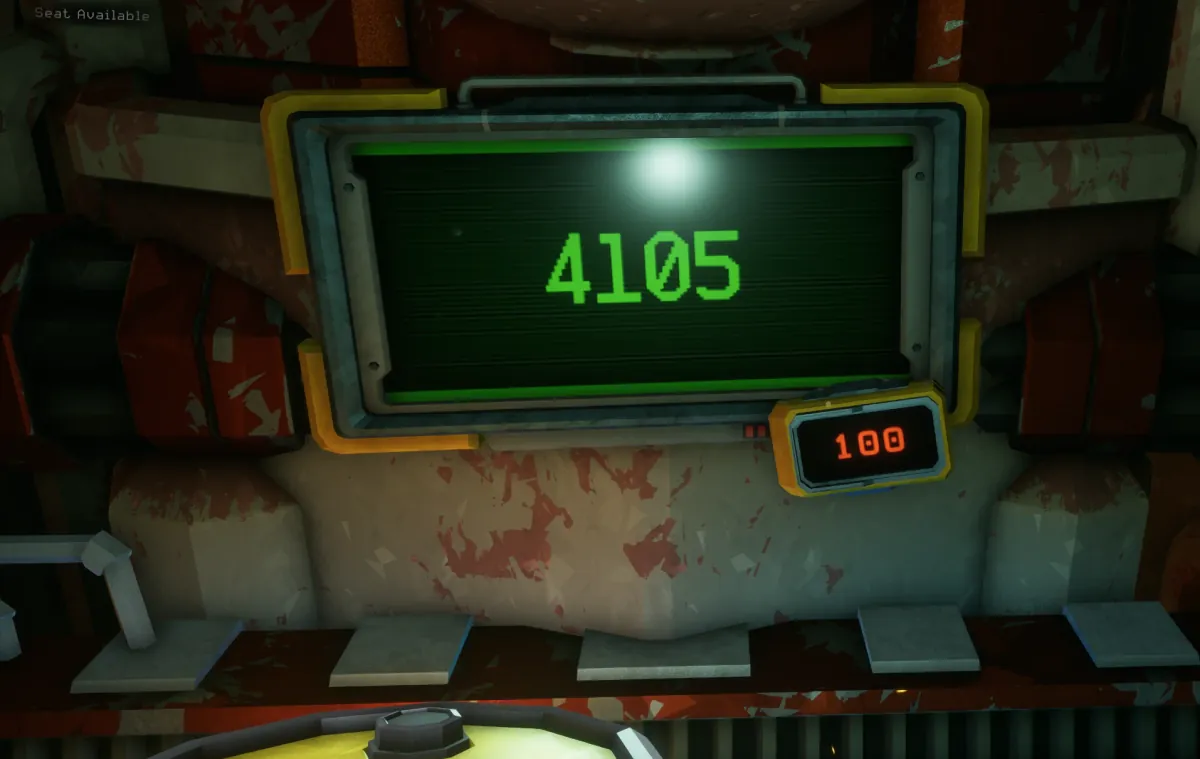
OP Space Rig Barrel Hoop Guide: How to Get High Scores
Master the Space Rig's Barrel Hoop game for bragging rights with these essential tips. Learn optimal aiming, timing, and repetition to achieve consistent high scores.
 OP
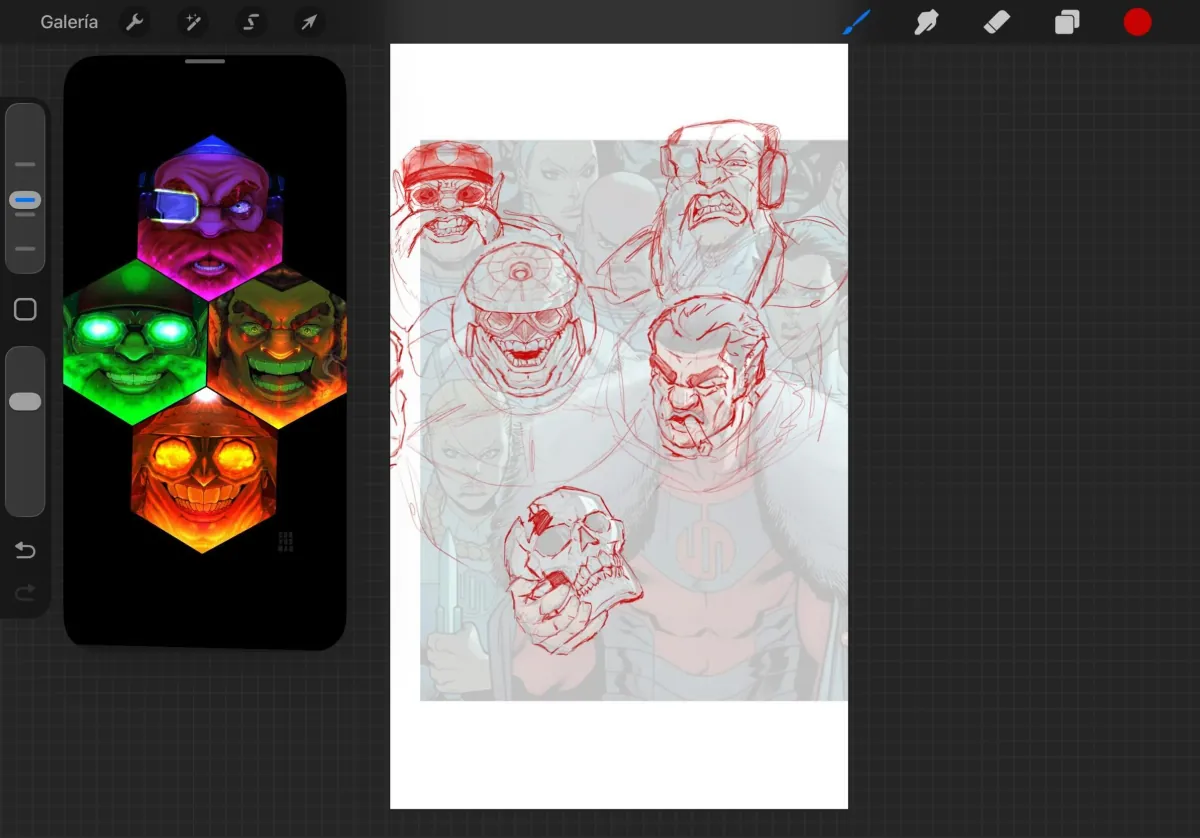
OP DRG Support Roles: Mission Control, Bosco, Dotty Explained
Understand the critical functions of DRG support roles like Mission Control, Bosco, and Dotty for survival on Hoxxes IV. Ignoring their contributions can lead to mission failure and lost Credits.
 OP
OP Engineer Plasma Burster: Tactical Digging & Clearing
Master the Engineer's Plasma Burster for rapid terrain clearing and emergency tunnel creation. This grenade is key for tactical positioning and efficient resource extraction.
OP DRG Arachnophobia Guide: Mods, Mindset & Enemy Tips
Manage arachnophobia in Deep Rock Galactic with community mods, psychological re-framing, and enemy identification tips. Understand Glyphid biology to ease fear.
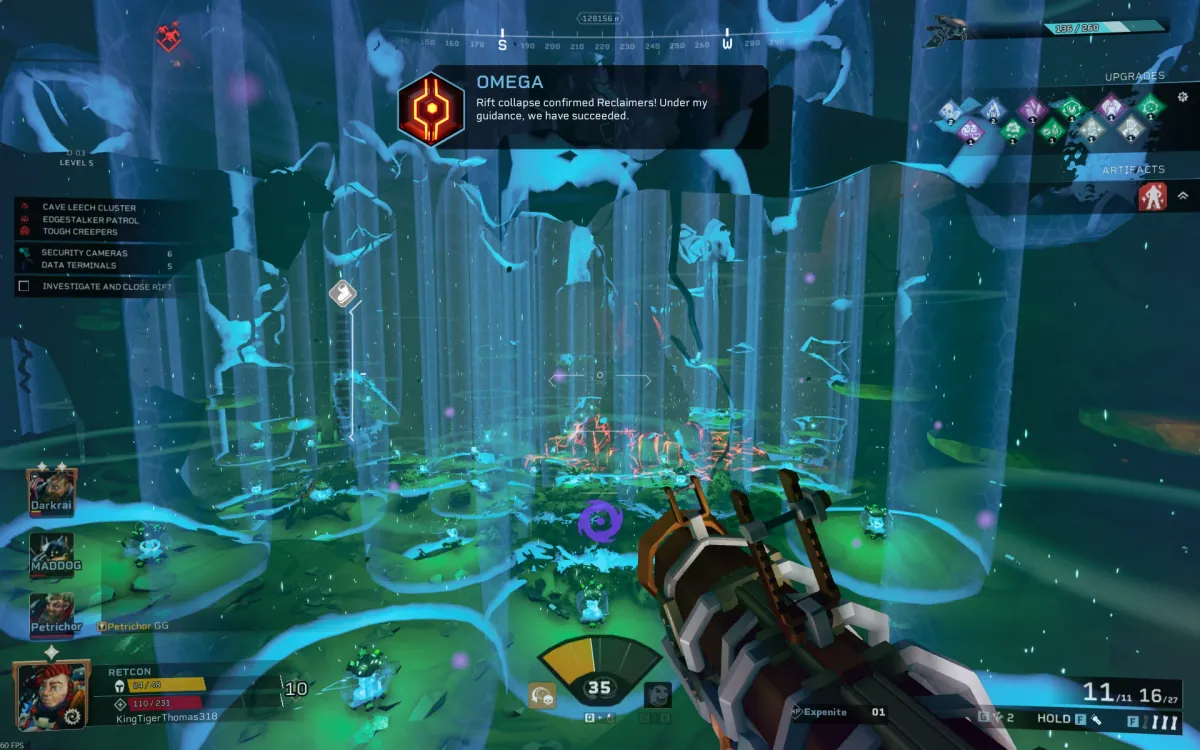
OP Rogue Core Guide: Kicked vs Disconnected & Core Mega Beast Hazards
Learn to distinguish Kicks from Disconnects in Rogue Core by checking the specific in-game message. Core Mega Beasts leave dangerous damage pools upon death, a new hazard requiring tactical awareness.
 OP
OP Rogue Core Movement: How to Leverage Terrain for Verticality
Mastering Rogue Core Movement means using unexpected terrain interactions for rapid vertical ascent. Learn to exploit environmental bounces for tactical advantages and fall damage negation.
 OP
OP DRG Tactical Revives: Swarm Clearing for Downed Teammates
Master tactical revives in Deep Rock Galactic by prioritizing swarm clearing and strategic positioning. Knowing when and how to approach downed teammates saves missions.
 OP
OP Driller C4: Maximize Explosive Impact
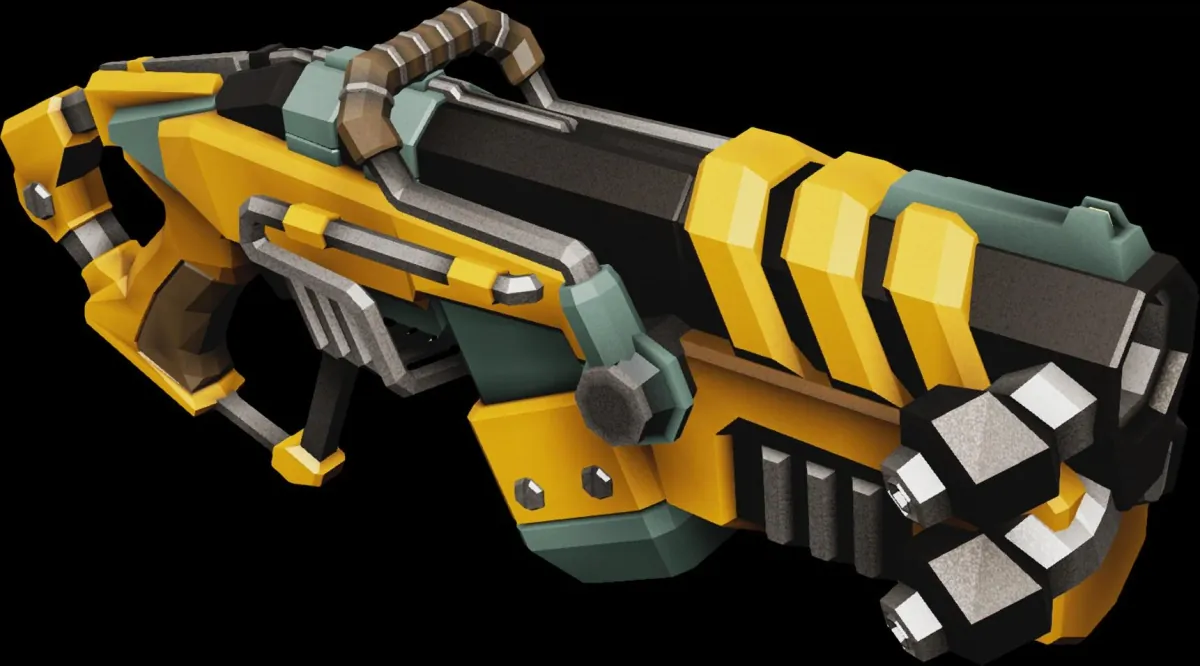
Master Driller C4 deployment to clear swarms, excavate, and manage terrain safely. Improper use endangers the team and wastes critical resources.
 OP
OP Scout Flare Gun Tips: Lighting Up Hoxxes IV
Master the Scout Flare Gun for crucial team visibility. Learn optimal usage to spot threats, mark resources, and support Engineers effectively on Hoxxes IV.
 OP
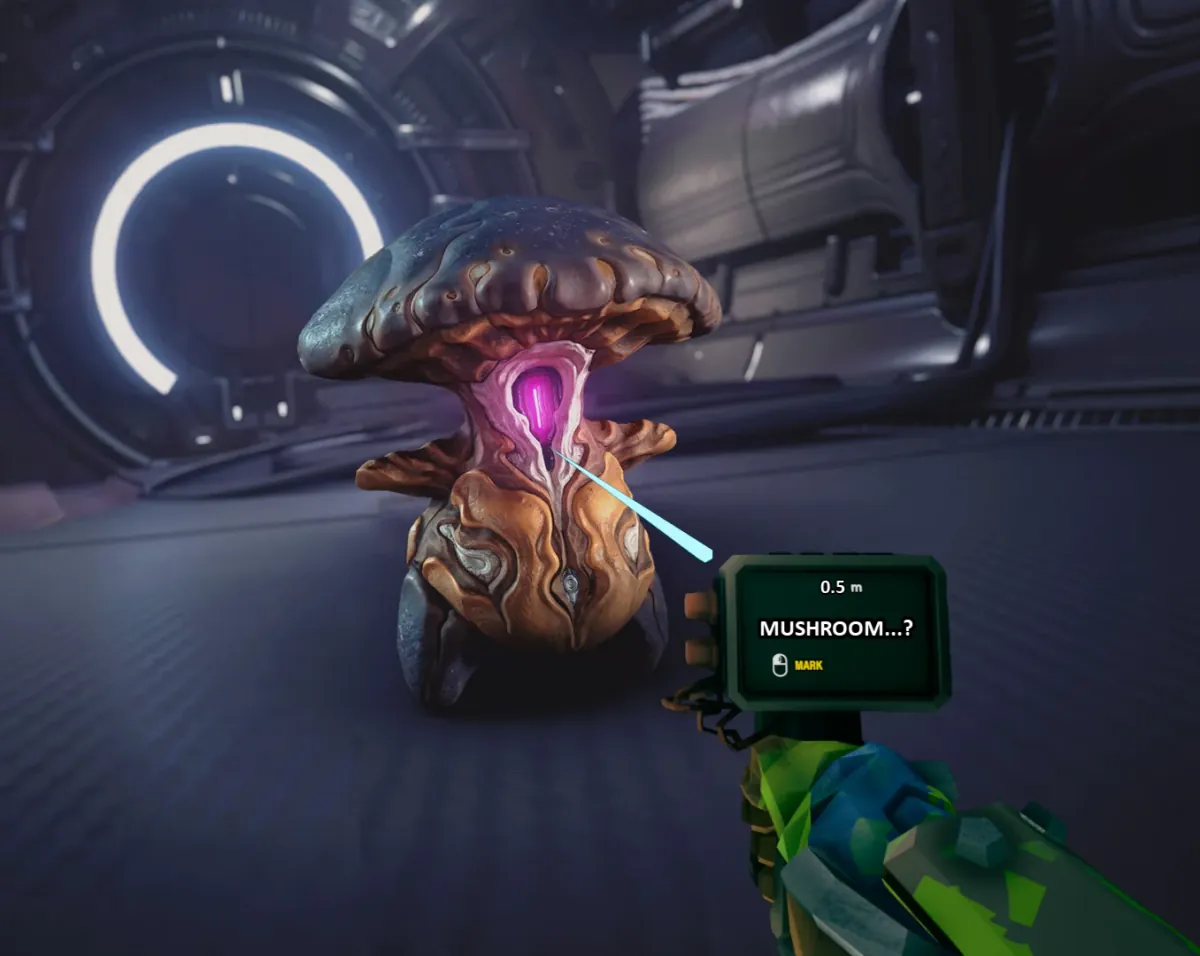
OP Deep Rock Galactic: 'We're Rich!' & 'Mushroom!' Calls Explained
Understand the iconic 'We're Rich!' and 'Mushroom!' callouts in Deep Rock Galactic. These calls foster team morale and celebrate resource discoveries on Hoxxes IV.
OP Best All-Rounder Engineer Build for Most Missions
Forge a versatile Engineer Build capable of handling most mission types and hazards. This guide details loadouts balancing crowd control and high damage for any challenge.
OP Rogue Core Wet Status: How It Could Improve DRG Temp-shock
Rogue Core's Wet Status could revolutionize Deep Rock Galactic's Temp-shock builds. Doused enemies freeze and electrify faster, making elemental synergy much more reliable and powerful.
 OP
OP Spitball Infector Guide: Identifying & Eliminating Its Weak Spots
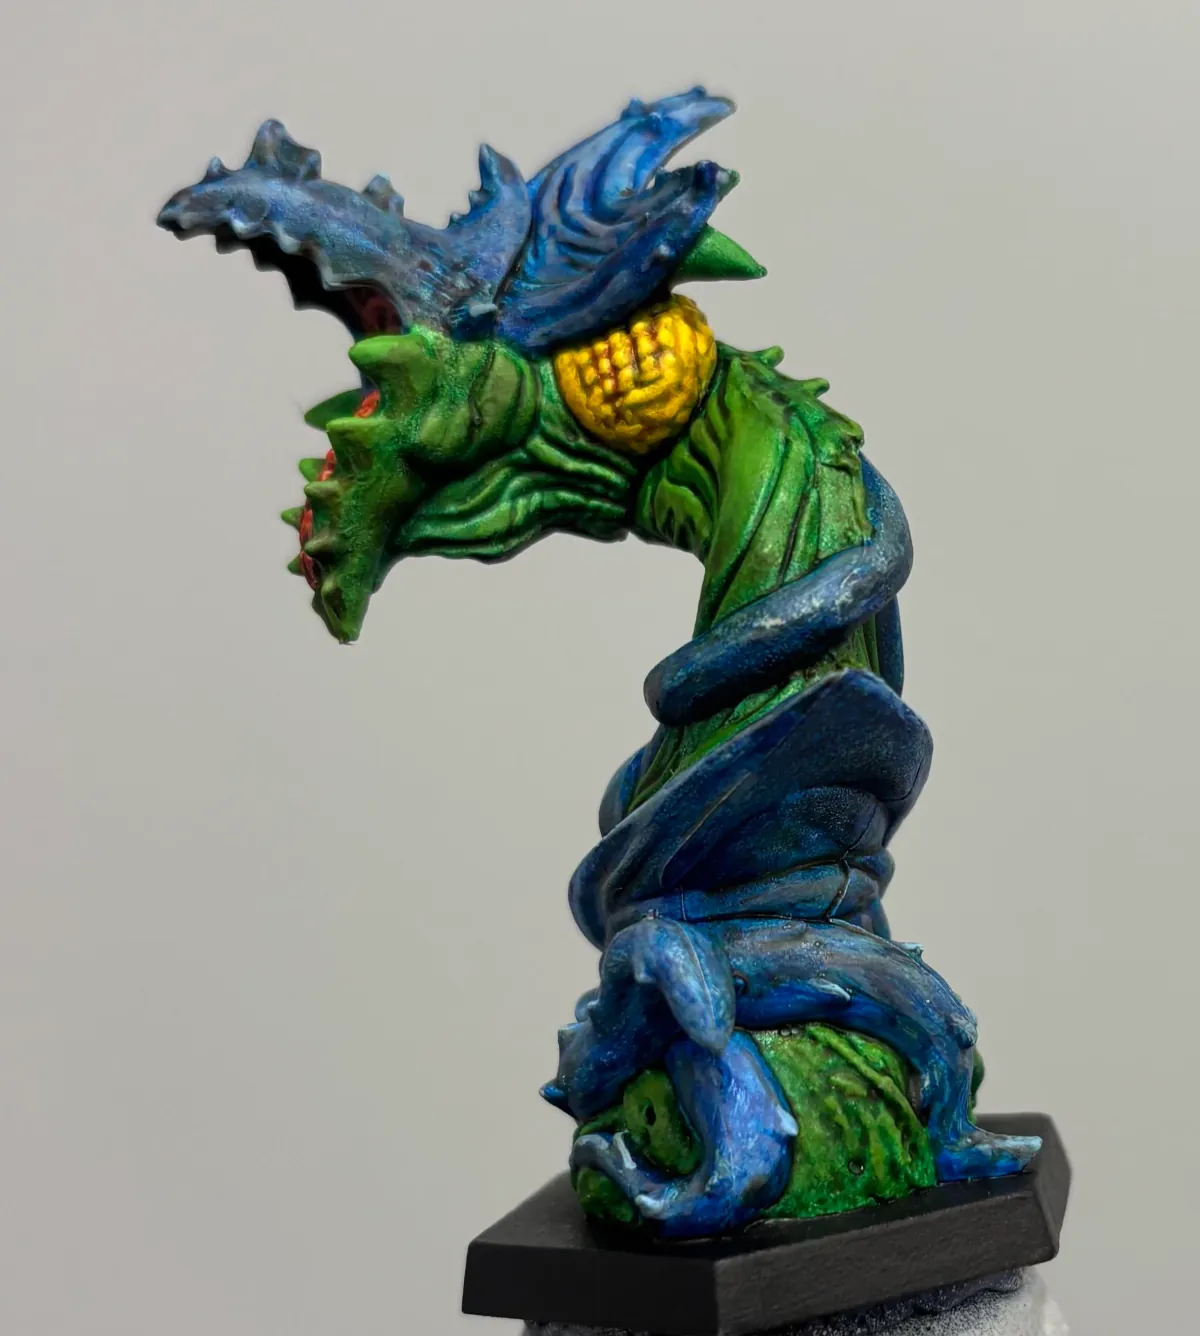
The Spitball Infector is a priority target; eliminate its weak spots quickly to prevent area denial. Learn to identify and counter this dangerous enemy on Hoxxes IV.
 OP
OP DRG Solo Play Tips: Maximizing Bosco & AI Companions
Master solo runs in Deep Rock Galactic by effectively managing Bosco and other AI companions. Learn core strategies for combat, resource gathering, and hazard survival.
 OP
OP Deep Rock Galactic Teamwork: Essential Miner Etiquette
Master essential Deep Rock Galactic teamwork to ensure smooth operations and high mission success rates. Proper miner etiquette enhances team survival and keeps Management off your back.
OP Gunner Weapons & Perks Guide: Early Promotion Advice
Unlock your Gunner's potential early on Hoxxes. Learn optimal weapon choices and essential perks even without Overclocks to dominate swarms and elites.
 OP
OP DRG Miner Etiquette: Understanding Rock and Stone Calls
Mastering DRG Miner Etiquette means understanding the deep meaning behind a simple 'Rock and Stone' call. Learn when to use it to boost morale, signal intent, and show team solidarity on Hoxxes IV.
OP Deep Rock Galactic Escort Duty: When to Do Side Objectives
Always complete Escort Duty side objectives after Doretta finishes drilling the Heartstone to simplify defense and resource management. Avoid gathering during the drill phase to prevent team splits.
 OP
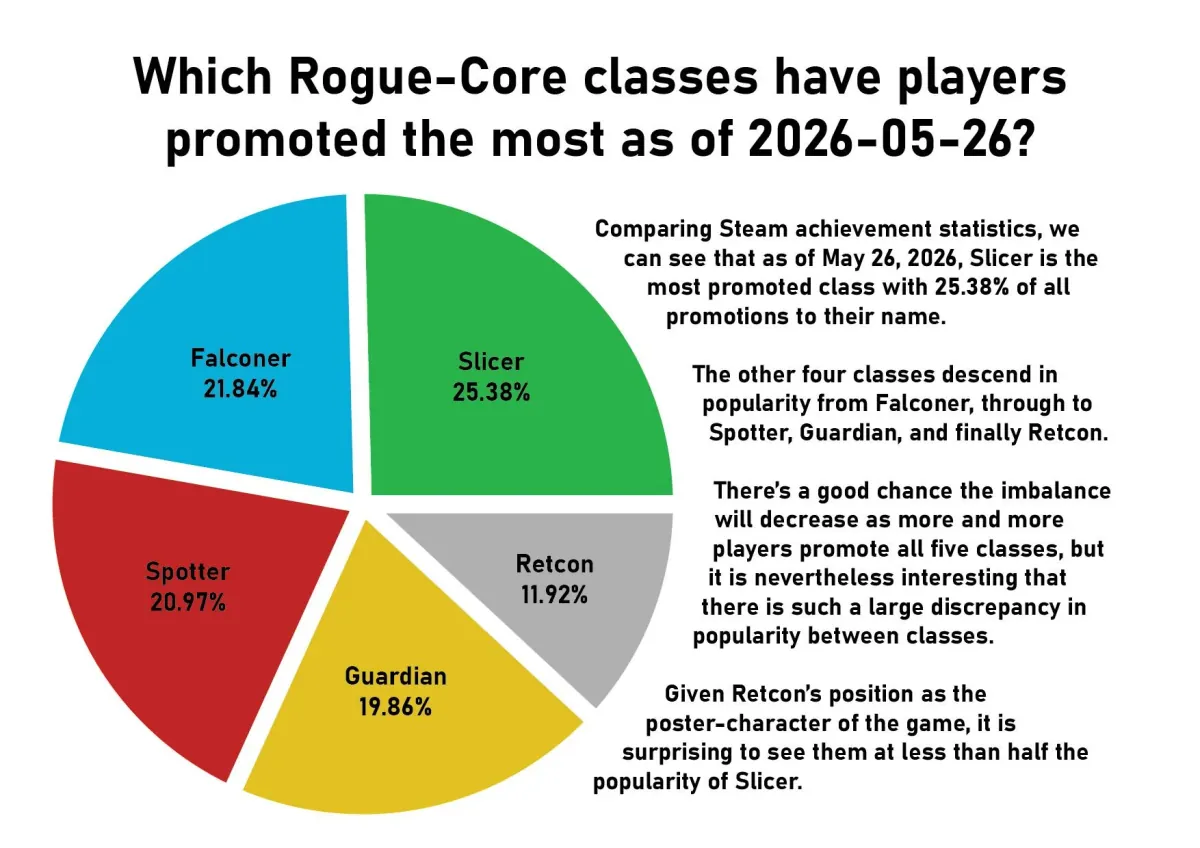
OP Rogue Core Reclaimer & Slicer: Core Mechanics Explained
Master the Rogue Core Reclaimer's damage-based cooldowns and the Rogue Core Slicer's powerful ammo-less weapons. Critical for deeper dives and survival.
 OP
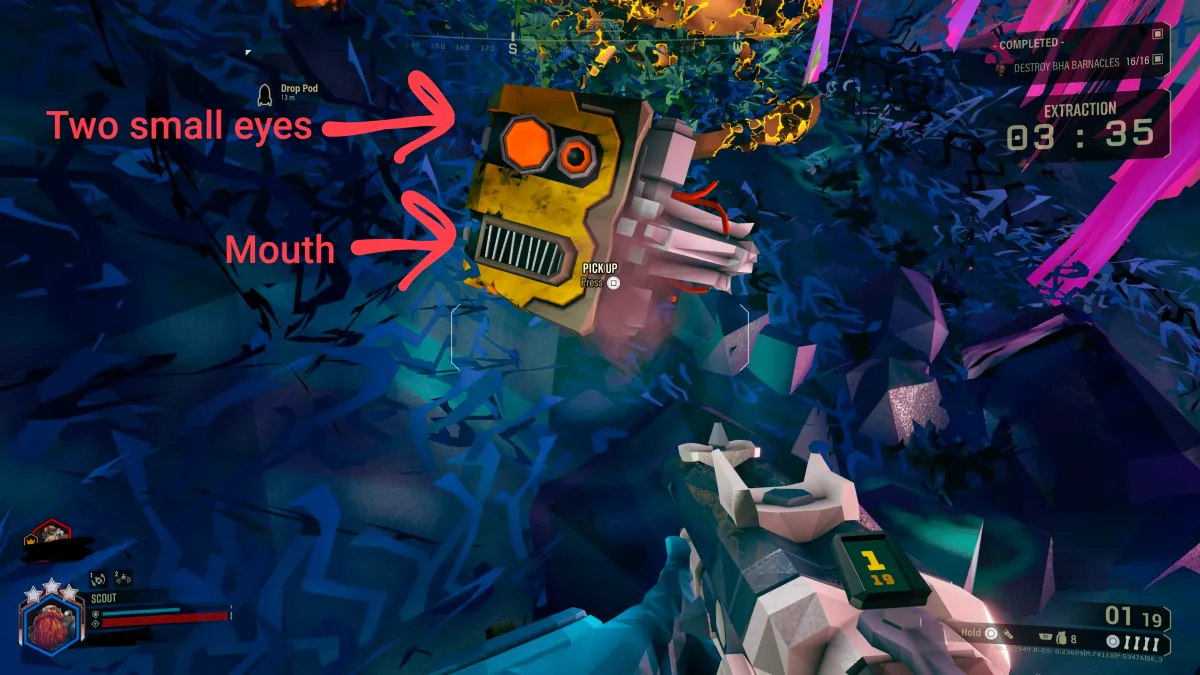
OP Dotty Head Design Explained: One Eye or Two?
Dotty's head design often sparks debate among Miners, but the prominent glowing yellow 'eye' is the most common visual interpretation and a key repair point. Understand her face.
 OP
OP Scout High-Value Mineral Efficiency Tips
Master Scout's unique mobility to swiftly extract high-value minerals. Learn optimal grappling and power attack techniques for maximum resource efficiency on Hoxxes IV.
 OP
OP How to Manage MOLLY for Cleaner DRG Extractions
Master MOLLY's pathing during critical Deep Rock Galactic extractions to avoid choke points and minimize combat risks. Proper MOLLY management saves lives and Nitra.
OP Deep Rock Galactic Pipe Rider Achievement Guide
Achieve the 'Pipe Rider' achievement quickly by focusing on long, uninterrupted pipe segments during On-site Refining missions. Learn how to optimize your pipe network for easy completion.
OP DRG Low O2 Missions: Survival & Oxygen Management
Mastering Deep Rock Galactic's Low O2 missions requires smart oxygen management and strategic movement. Learn how to minimize risk and effectively resupply your O2 to avoid suffocation on Hoxxes IV.
OP Rogue Core: Managing Upgrade Conflicts with Public Teams
Navigate Rogue Core's challenging upgrade mechanics to reduce team tension. Learn how to better coordinate legendary upgrades and grouping with random dwarves for smoother runs.
 OP
OP Deep Rock Galactic Barrel Rider Achievement Guide
Master the Barrel Rider achievement with proven tactics. Learn optimal speeds and common pitfalls to hit every barrel and earn that coveted 100% completion.
OP How to Solo Deep Dive as Scout: Kiting & Bosco Use
Master solo Deep Dives as Scout by prioritizing kiting and strategic Bosco usage. Learn to conserve ammo and manage swarms efficiently on Hoxxes IV.
 OP
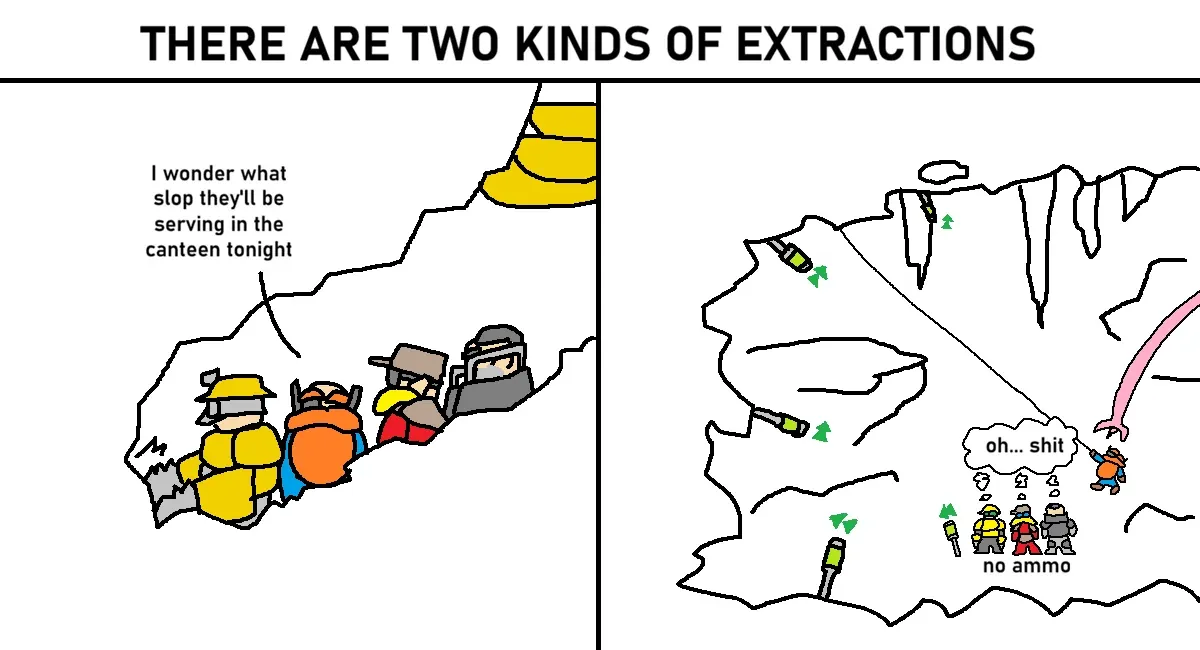
OP DRG Extraction Guide: Driller & Engineer Pathing Tips
Master tough Deep Rock Galactic extractions using coordinated Driller tunnels and Engineer platforms. Counter unpredictable Molly pathing and secure safe passage for your team.
 OP
OP Deep Rock Galactic Gold Mining: Is It Worth Your Time?
Decide when to mine gold in Deep Rock Galactic. Gold offers limited value but can be a quick nitra boost for diligent Miners. Prioritize mission objectives over gold.
OP Pit Jaw Sound Cues: How to Detect & Avoid Ambushes
Pit Jaws are silent killers if you don't know the cues. Learn their subtle warning sounds and crucial visual tells to avoid ambushes and unexpected grabs.
 OP
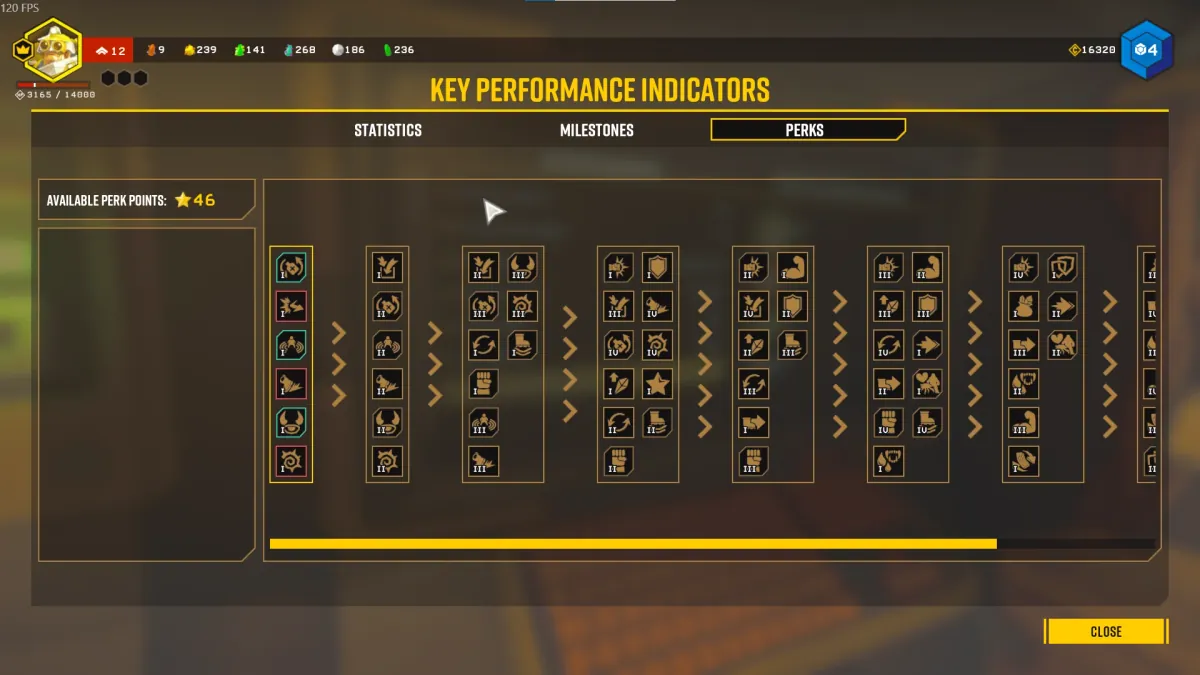
OP Deep Rock Galactic Beginner Perks: Essential Picks
For new Deep Rock Galactic miners, prioritize Iron Will and Dash as your first essential perks. These active perks offer critical survival and mobility, crucial for early-game success on Hoxxes IV.
OP Lootbug Mechanics: Do They Eat Minerals & Increase Yield?
Yes, Lootbugs eat loose minerals like Nitra and Gold, increasing their yield by 1.5x when killed. They are attracted to spilled minerals, affecting collection.
 OP
OP Rogue Core Team Strategy: Mission Control Directives
Mastering Rogue Core Team Strategy means adhering to Mission Control's core directives: maximize collective strength and relentlessly pursue objectives. Neglecting these tenets leads to deep space dereliction.
 OP
OP Deep Rock Galactic: Class Promotion Benefits Explained
Promote your Deep Rock Galactic classes to unlock prestige, powerful Overclocks, and new assignments. This class promotion is vital for progression and tackling higher Hazard levels in DRG.
OP Deep Rock Galactic Solo Guide: Thrive as a Lone Miner
Yes, Deep Rock Galactic is highly enjoyable for solo players, even without a full team. Bosco provides essential support, and the game scales well for lone Miners.
 OP
OP Gunner Lead Burster: Best Counter to Bulk Detonators
The Gunner's Lead Burster Grenade is your top weapon for quickly eliminating Bulk Detonators. Focus its high burst damage to neutralize these threats before they explode.
OP Tri Jaw Dodge Tactic: Walk Forward to Avoid Attacks
Dodge Tri Jaw attacks by simply walking forward into their projectiles. This counter-intuitive Tri Jaw dodge tactic is highly effective, but be aware of swarms.
 OP
OP Rockpox Infected Breeder: How to Find This Rare Enemy
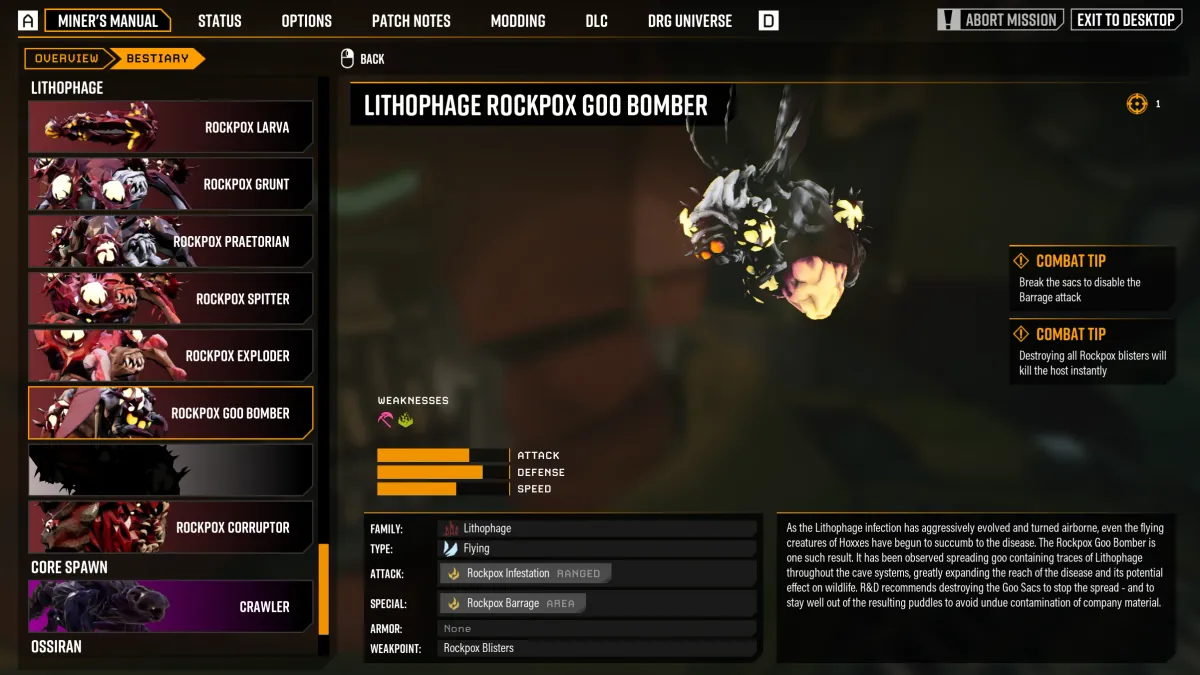
To find the rare Infected Breeder, target Rockpox Missions on Hazard 4 or higher. This elusive blue variant spawns small purple larvae and is an exceptionally rare spawn.
 OP
OP Best Driller Cryo Drill Build for Close Combat
Master the lethal Driller Cryo Drill Build by freezing enemies mid-jump and finishing them with Power Drills. This close-range combo ensures swift elimination.
 OP
OP The Legacy of Karl: A Tactical Imperative
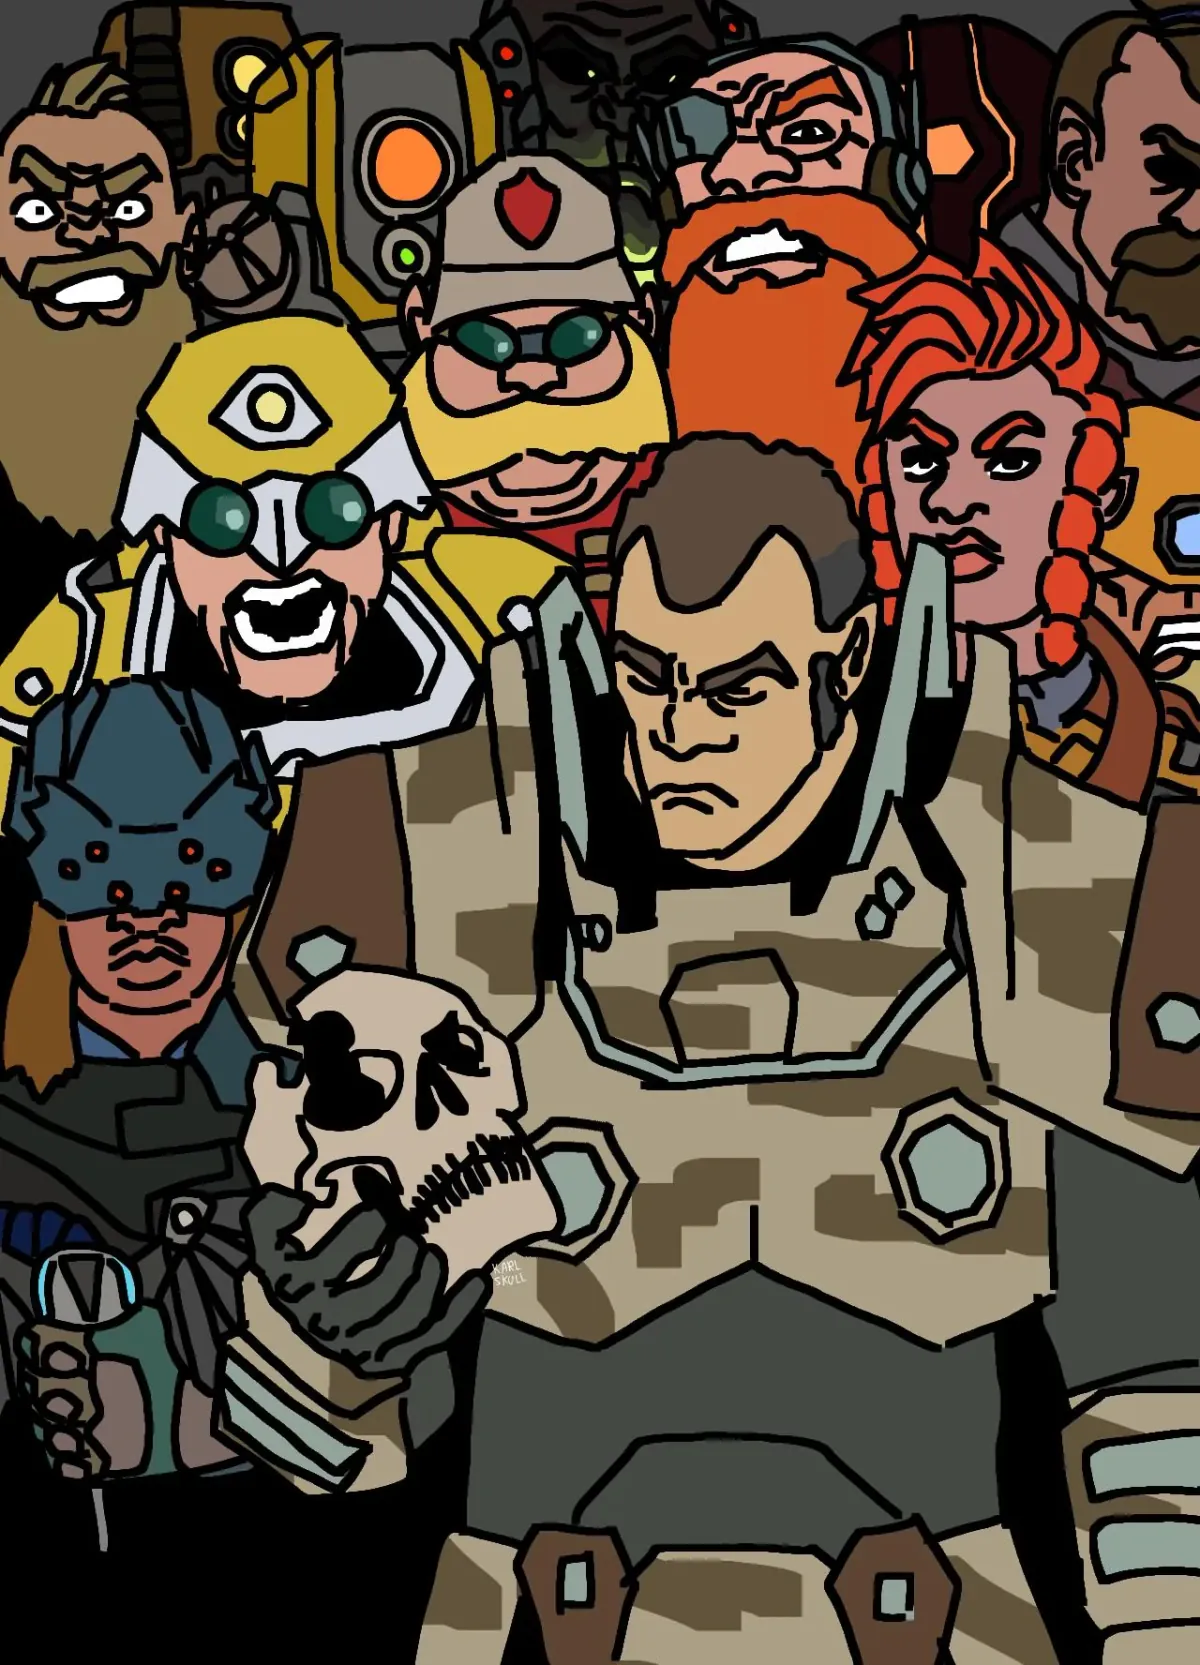
This intel piece dissects the unwavering spirit of the Dwarven brotherhood on Hoxxes IV. It underscores how the legacy of Karl drives our resolve, ensuring mission success despite Management's indifference.
 OP
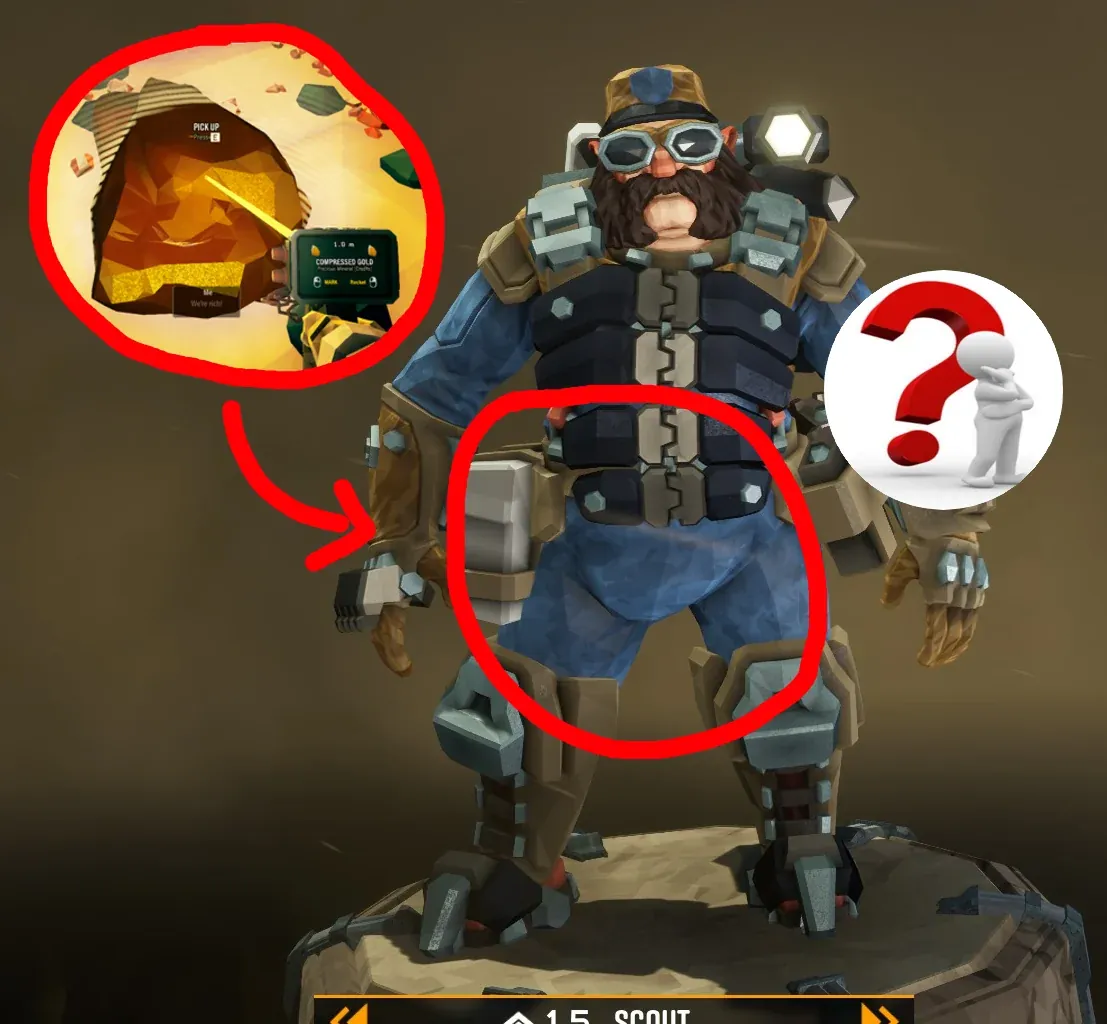
OP Deep Rock Galactic Miner Backpack: Gear Capacity
Every Miner in Deep Rock Galactic carries a substantial Dwarf Backpack to house all essential mission gear. This large Equipment Loadout capacity is crucial for surviving Hoxxes IV.
 OP
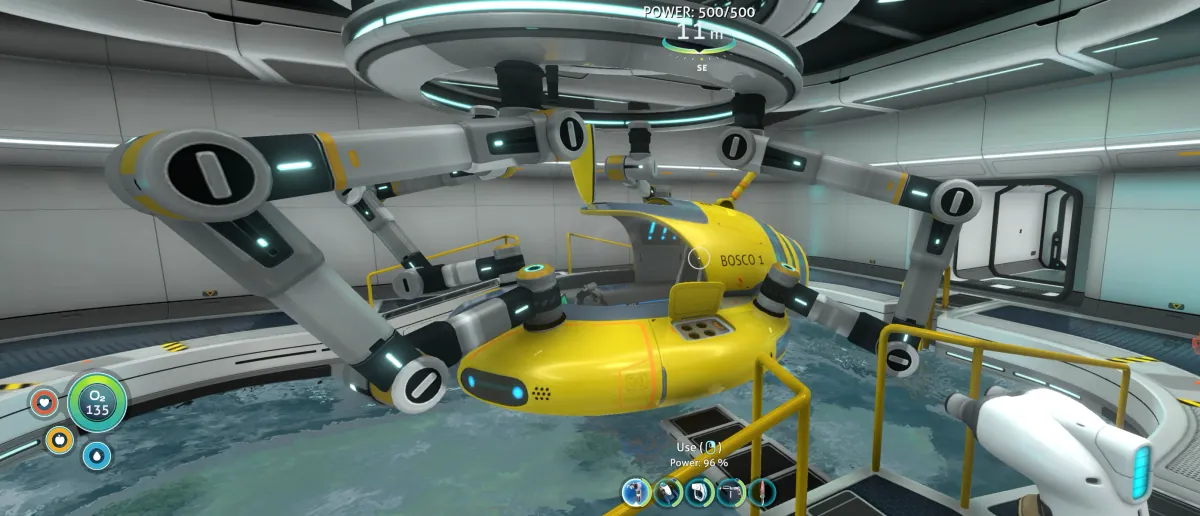
OP Autonomous Support Bots: Bosco's Unyielding Utility on Hoxxes IV
Bosco is more than just a drone; he's vital for solo operations and team support on Hoxxes IV. Recognizing his multifaceted utility and the value of autonomous assistance enhances overall mission efficiency.
OP Operational Tempo: Deep Dives and Miner Deployment Strategy
The duration of deployments significantly impacts Miner engagement. While solely long-form Deep Dives could reduce play frequency, some Dwarves thrive on extended solo operations.
 OP
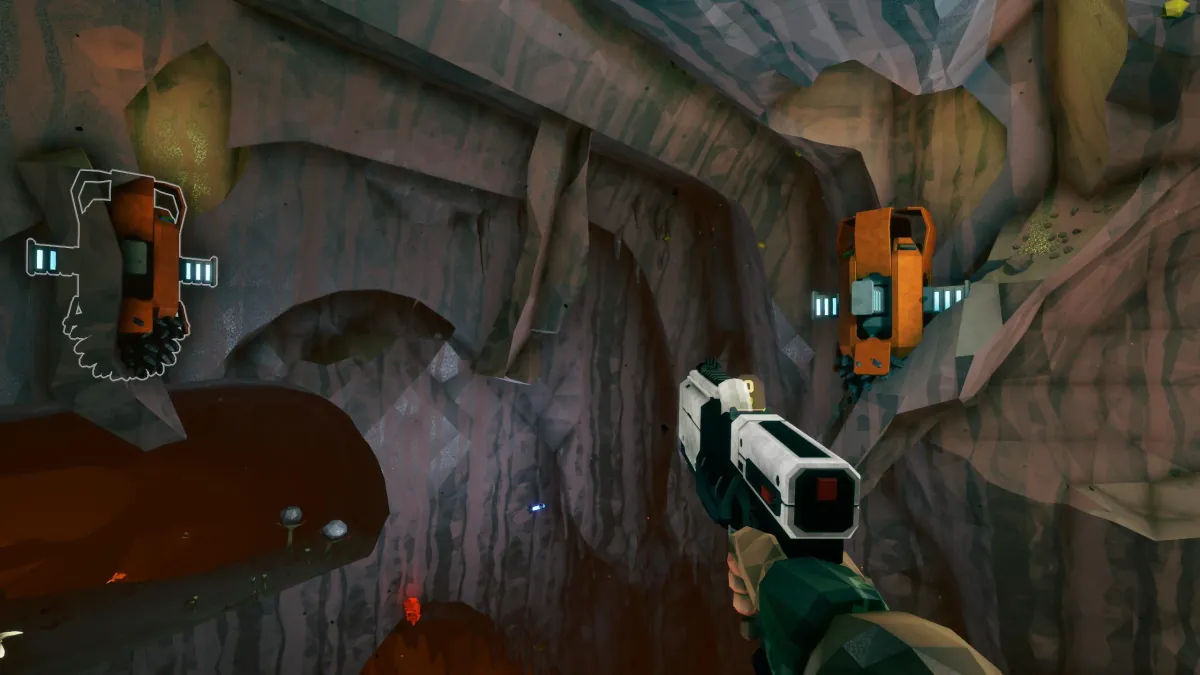
OP Resupply Pod Deployment: Preventing Team Casualties
Poor resupply pod placement jeopardizes team safety and critical Nitra reserves. Strategic deployment is paramount for mission success and Miner survival.
OP Deep Rock Galactic: Class Utility Assessment and Driller Tactical Superiority
Recent outpost polls reveal a balanced preference for all Deep Rock Galactic classes. Miners frequently praise the Driller's unmatched terrain manipulation for tactical advantage and creating strong defensive positions.
 OP
OP Class Weaknesses: Exploiting Disadvantages for Unmatched Team Synergy
Every Dwarf has a blind spot, a tactical gap their brothers must cover. Understanding these inherent class weaknesses is critical for forging an unbreakable team synergy on Hoxxes IV.
 OP
OP Assessing Unorthodox Tactics: Field Protocols for Novel Concepts
Untested 'random ideas' can lead to mission failure and unnecessary casualties on Hoxxes IV. This brief outlines critical Risk Management protocols for evaluating and implementing novel tactical approaches to ensure Miner survival.
 OP
OP Molly's Launch Protocol: Resource Retention and Exit Strategy
Molly will disembark the Drop Pod even if minerals remain undeposited when the launch sequence is initiated. This confirms that any leftover Resinite or other resources must be deposited *before* launch to be counted.
OP Driller C4 & Gunner Shield: Advanced Tactical Deployment
Learn optimal deployment of the Driller's C4 for terrain manipulation and bug elimination. Master the Gunner's Shield for critical team support and area denial in intense combat situations.
 OP
OP Automated Outpost Cleaning Units: A Tactical Assessment for Hoxxes IV
Intel suggests a growing desire for automated cleaning units at Deep Rock Galactic outposts. Such systems could significantly impact outpost management and dwarf morale, but also present logistical and operational challenges on Hoxxes IV.
OP Miner Longevity: Adapting to Hoxxes' Call
Deep Rock Galactic proves highly engaging, offering both intense combat and a robust social escape from external pressures. Maintaining personal wellbeing while operating on Hoxxes IV is crucial for long-term mission success and miner effectiveness.
 OP
OP Rogue Core: Retcon's Edge and Prioritizing Heavy Weapon Deployment
Retcon provides superior Team Survivability and Sustain with her powerful Toolkit. Miners must prioritize early Heavy Weapon acquisition for critical Firepower in engagements.
 OP
OP Rogue Core: Post-Launch Adaptation Protocol
Management is addressing initial feedback on Rogue Core. Miners must remain vigilant and adapt their Tactics as the battlefield evolves.
 OP
OP Rogue Core Outpost: Optimizing Non-Combat Facilities for Miner Readiness
Maintaining peak performance on Hoxxes IV demands strategic use of all available resources. This includes understanding the critical role of outpost facilities in fostering miner morale and ensuring operational readiness.
OP Rogue Core: Embracing Endless Combat for True Roguelite Prowess
Rogue Core's future hinges on fully committing to its roguelite roots, specifically by implementing endless combat waves. This shift demands a re-evaluation of current weapon systems and sustain mechanics to support a relentless combat pacing.
 OP
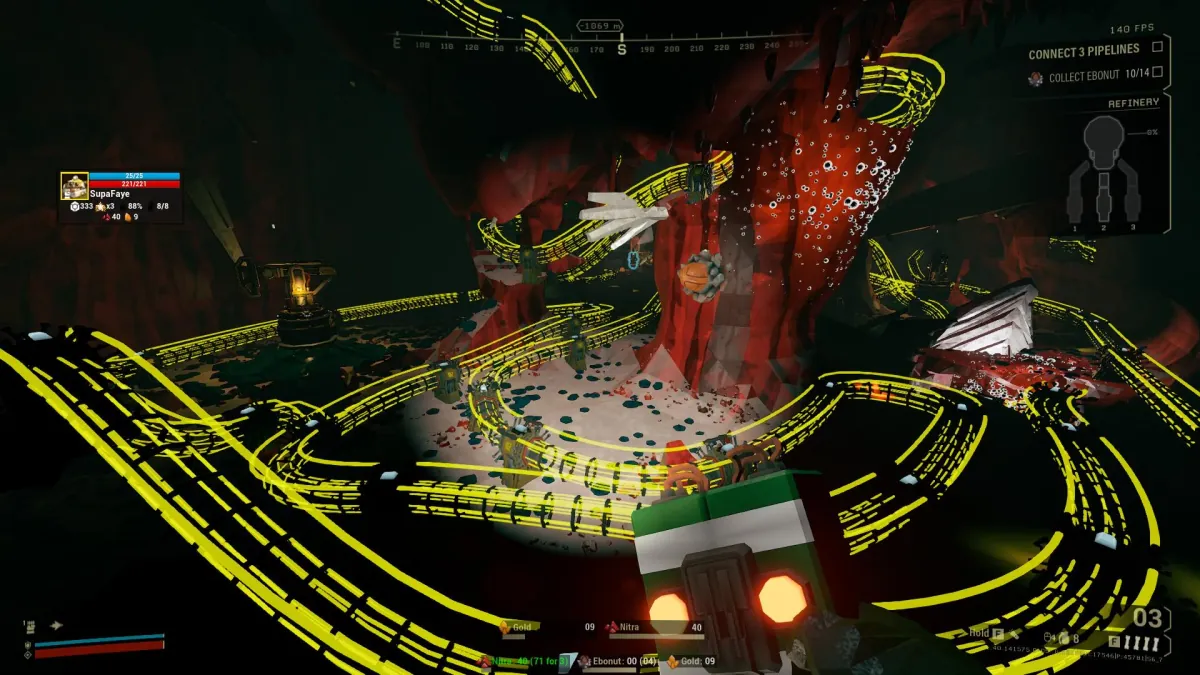
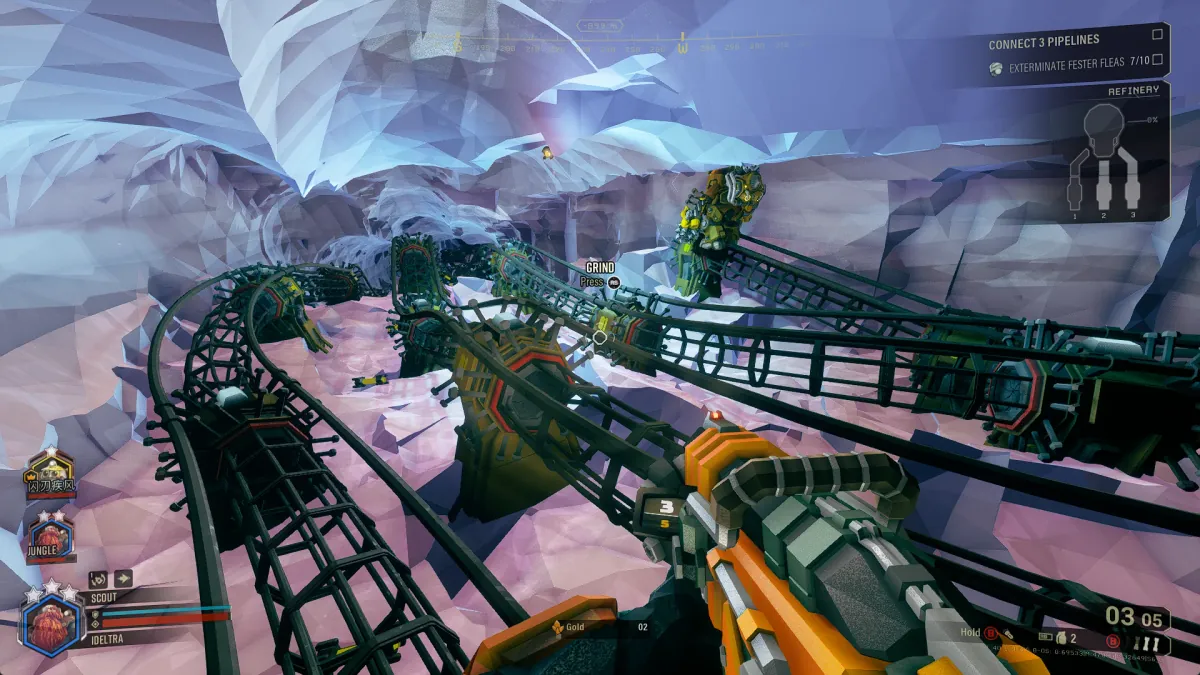
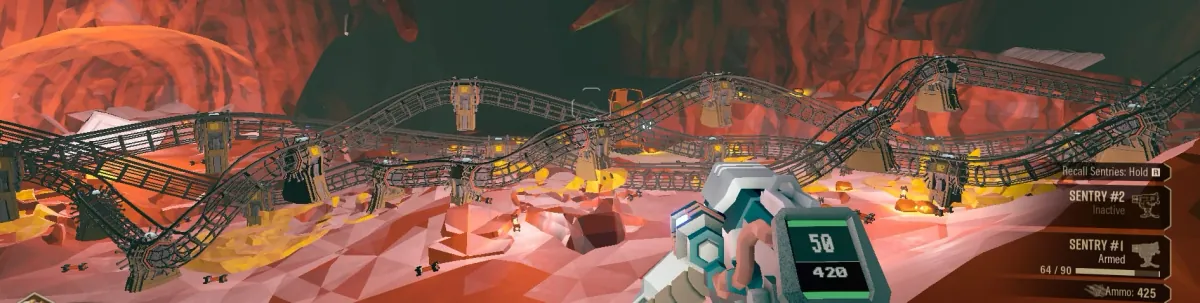
OP Hoxxes IV Pipe Network Analysis: Prioritizing Function Over Form
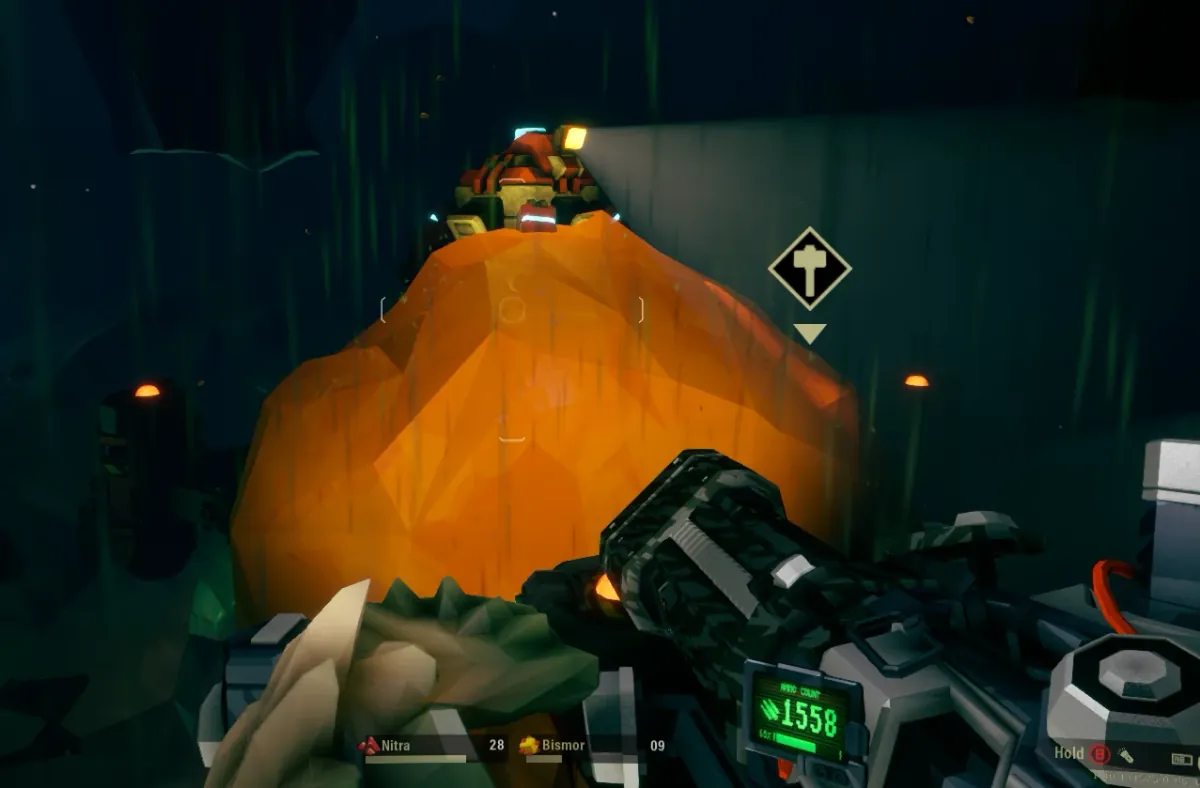
This visual intel highlights an overly complex pipeline design, reminding Miners to prioritize direct routes. Such intricate constructs waste valuable time and resources, impeding swift mission completion.
 OP
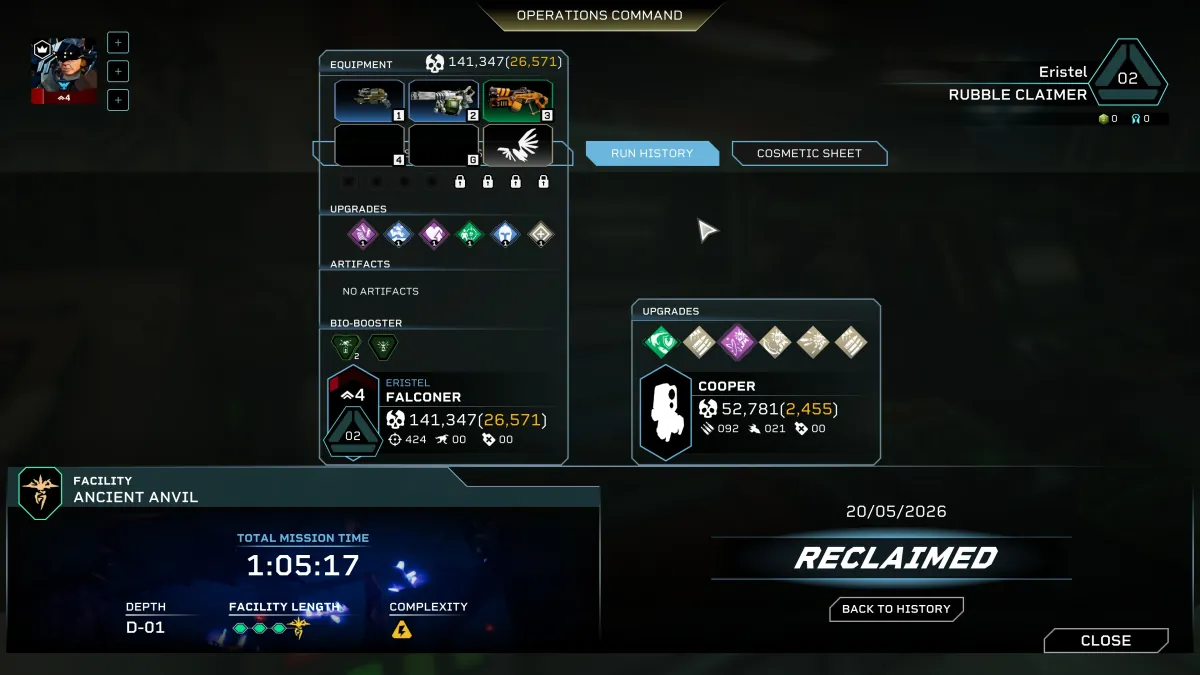
OP Rogue Core Outpost: Initial Operational Briefing & Mission Duration Assessment
A Miner completed their first 'Rogue Core' mission, confirming initial fun factor. This success prompts immediate tactical assessment regarding average operational duration for future runs.
OP Rogue Core: Strategic Implications of Unique Class Deployment
Management has imposed strict class duplication rules in Rogue Core, forcing Dwarves to diversify team composition. This directive impacts team synergy and individual Miner progression, demanding adaptability from all.
 OP
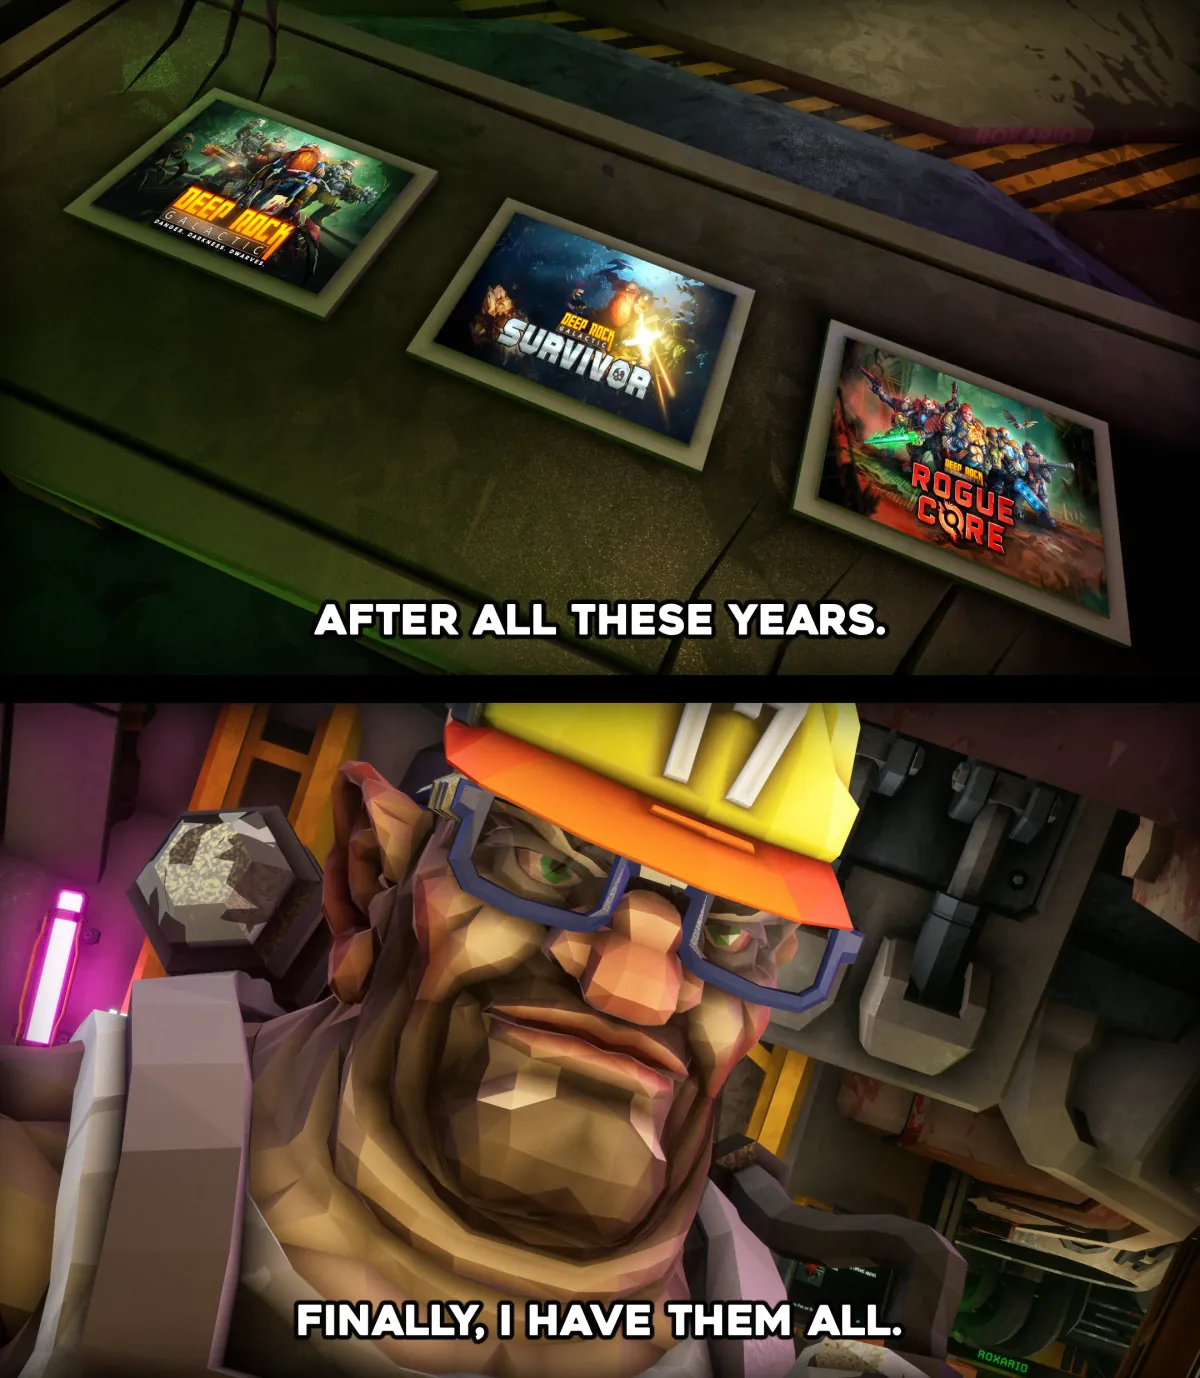
OP Comprehensive Loadout Deployment: Maximizing Preparedness on Hoxxes IV
Ensuring every tool and weapon is optimized for mission parameters is critical for survival. A fully equipped miner provides essential tactical versatility against the varied threats of Hoxxes IV.
 OP
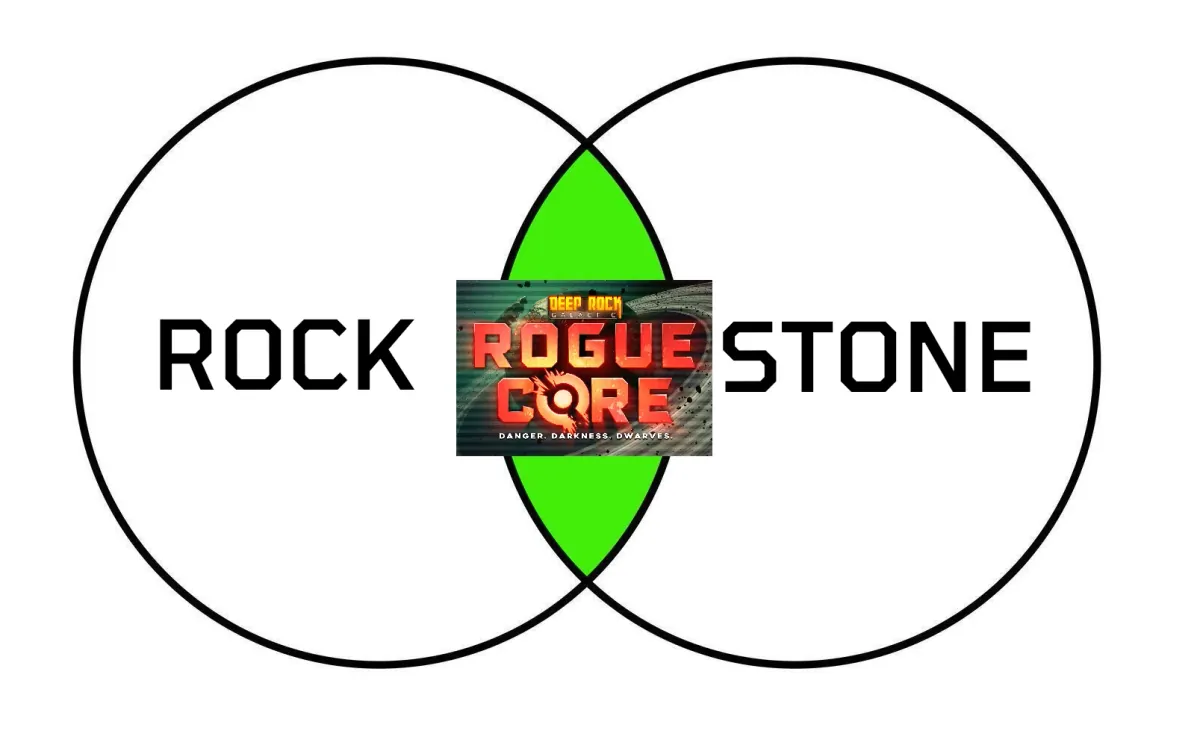
OP Hoxxes IV Operations: Distilling the True Dwarf Priorities
Management preaches glory, but a seasoned Dwarf knows the true objectives on Hoxxes IV. This intel clarifies our actual mission priorities, from essential resource acquisition to the well-being of our Steeve.
 OP
OP Rogue Core: Assessing Readiness for the Next Deployment
New deployments demand rigorous preparation; familiar Deep Rock Galactic tactics may not suffice for the escalated challenges ahead. Expect tougher opposition and ensure your team's strategy is honed to perfection.
OP Core Spawn Crawler Threat Assessment: Re-evaluating Design and Combat Protocols
Core Spawn Crawlers are proving to be a persistent nuisance, challenging even veteran Miners with their abnormal durability and aggressive swarm tactics. Current enemy design necessitates a re-evaluation of loadouts and engagement strategies to mitigate their impact on deep dives.
OP Deep Rock Galactic's Core Strength: An Analysis of Miner Attachment vs. Roguelike Design
This intel report dissects why Deep Rock Galactic's formula for miner attachment and class identity remains unmatched. It highlights how roguelike mechanics in spinoffs often dilute the crucial sense of personal investment for veteran Dwarves.
 OP
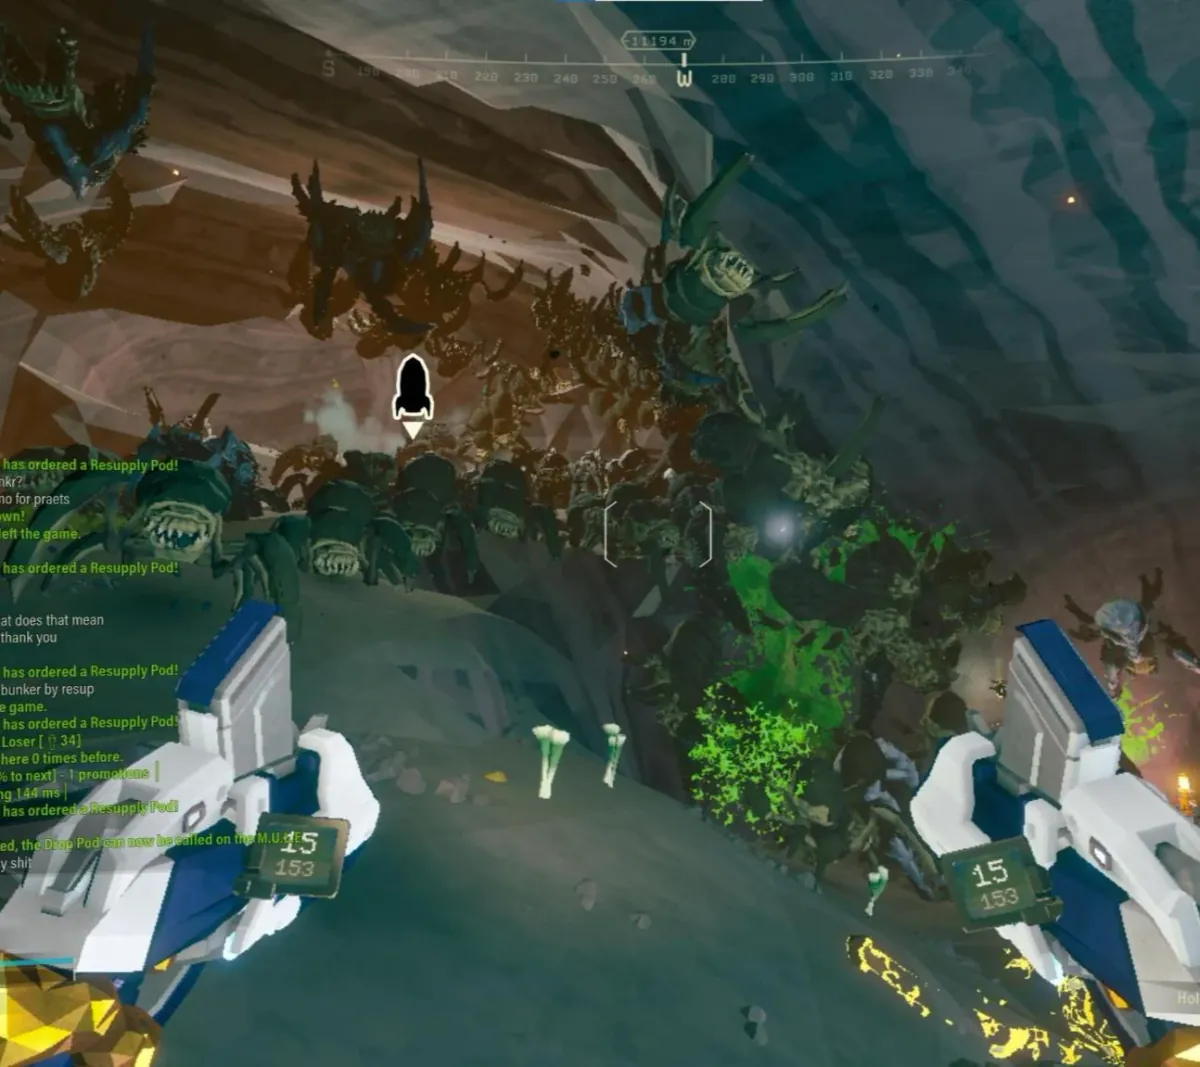
OP Hazard 5 Swarm Management: Overwhelming Glyphid Hordes
Hazard 5 often presents overwhelming Glyphid numbers, demanding precise area denial and focused fire. Effective resource management is critical to survive these relentless assaults.
 OP
OP Cosmetic Assessment: Battlefield Readiness & Miner Morale
Proper gear choice extends beyond weapons; it impacts team cohesion and individual dwarf morale. This intel scrutinizes cosmetic selections detrimental to battlefield presence and efficiency.
 OP
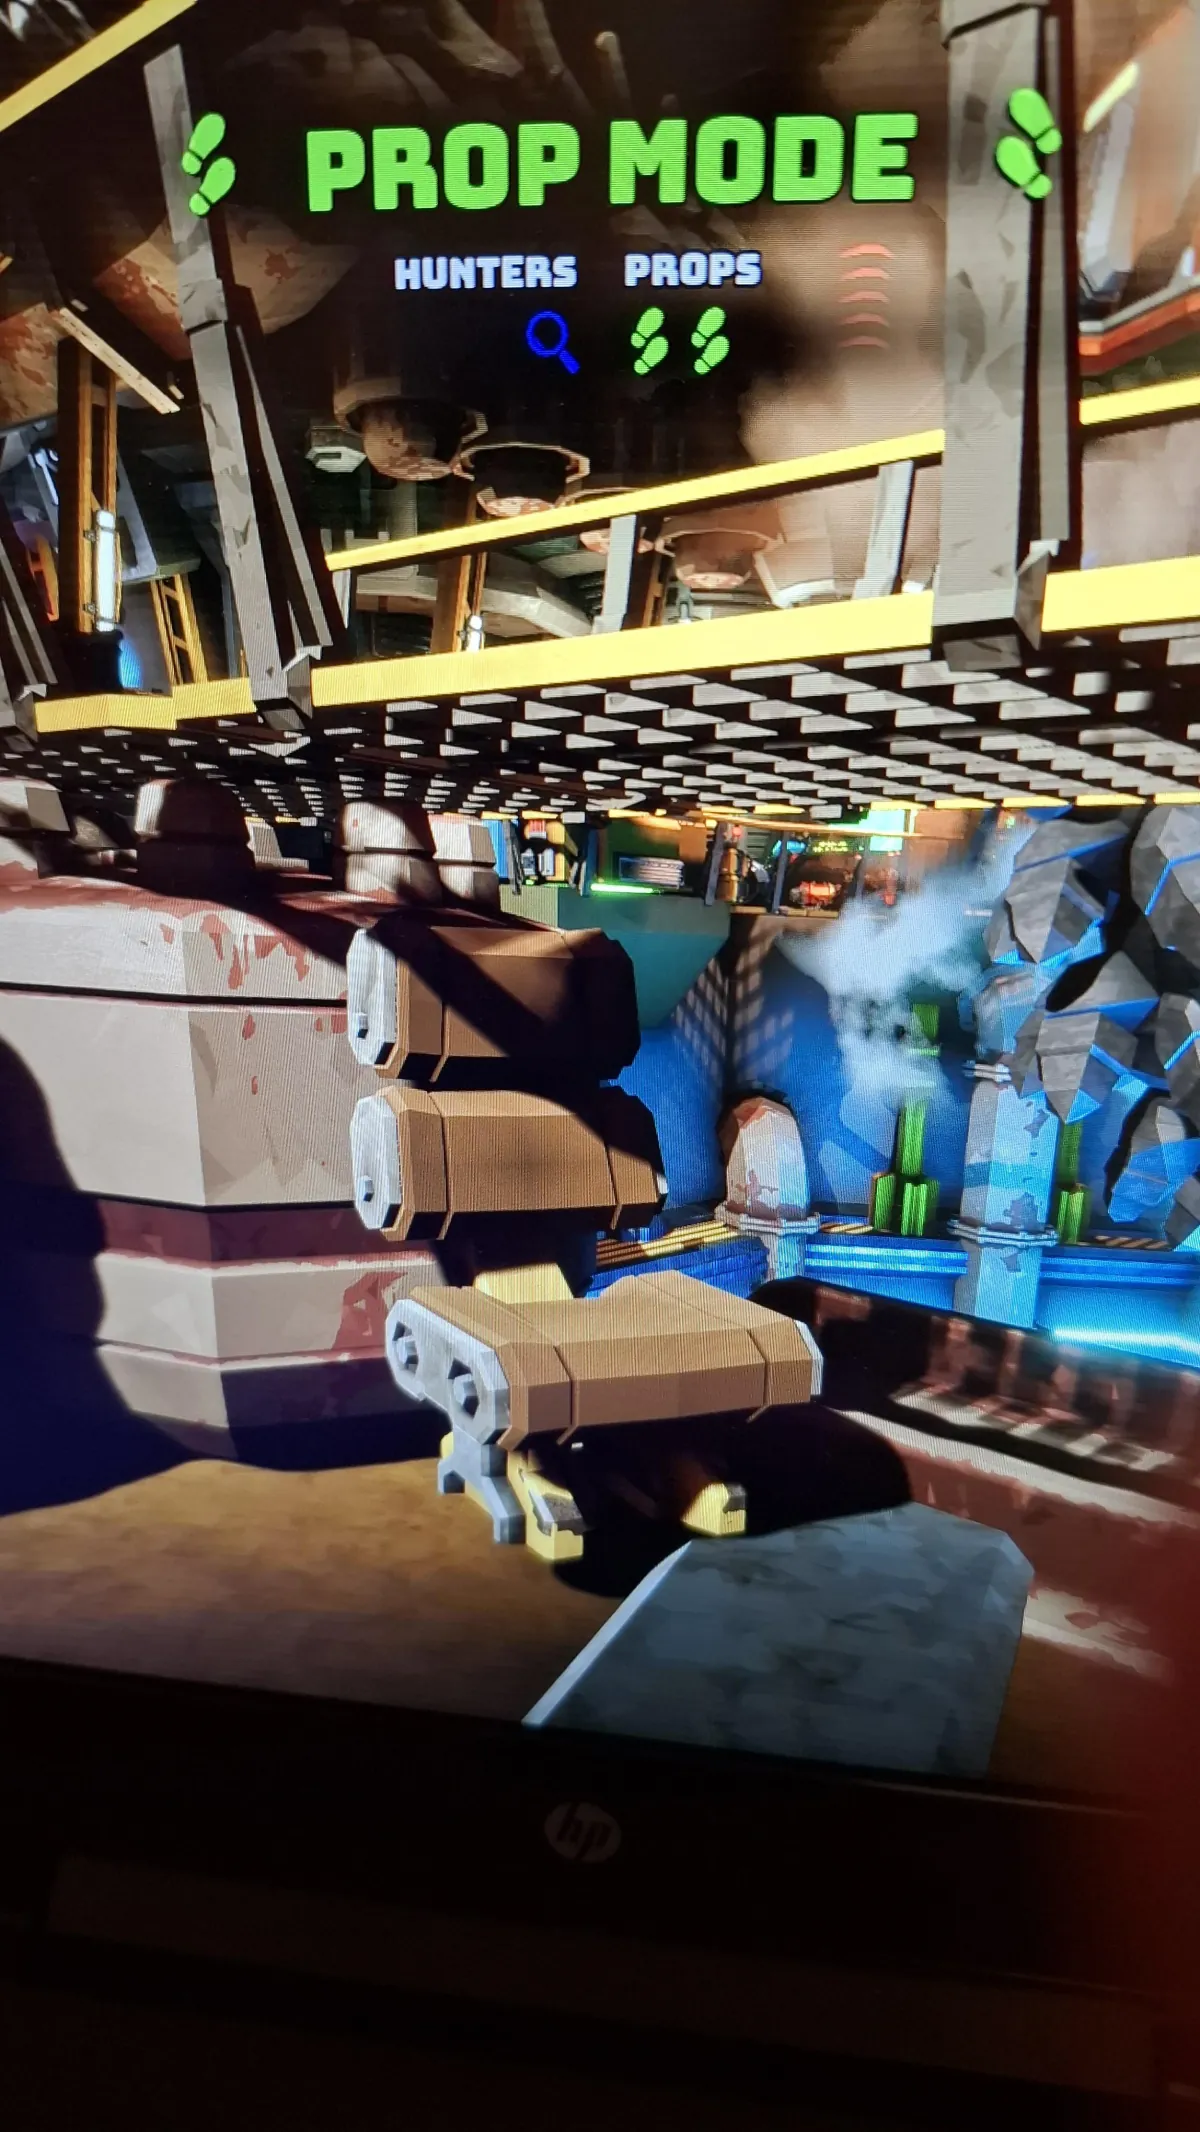
OP Hoxxes IV: Mastering Concealment and Deception Tactics
Exploit environmental objects and psychological blind spots for superior concealment. Effective deception is not about impossible hiding, but intelligent integration into the immediate surroundings.
OP Critical Voiceline Integration for Enhanced Combat Efficiency
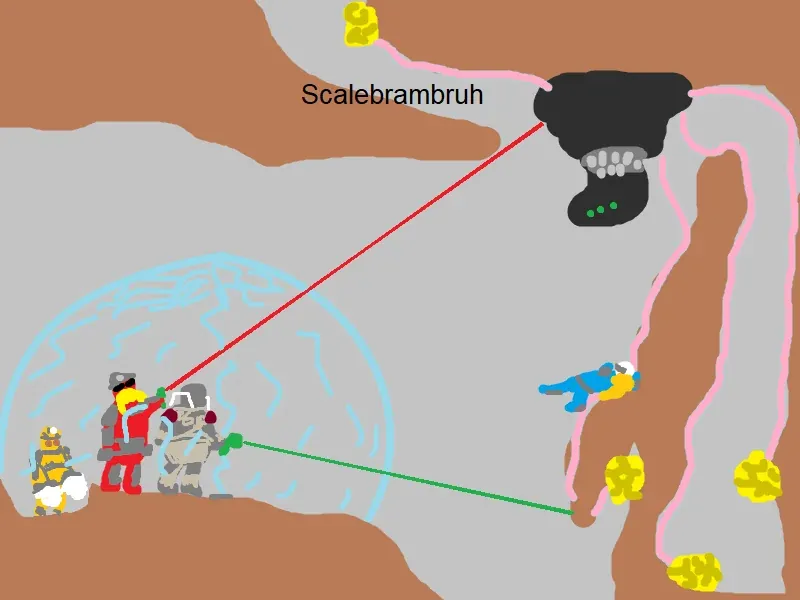
Effective battlefield communication is vital for survival on Hoxxes IV. New voicelines can significantly improve situational awareness and boost team morale during hazardous operations.
 OP
OP Hoxxes IV Fauna: Identifying Environmental Hazards for Resource Extraction
Hoxxes IV teems with hidden dangers. Miners must remain vigilant for deceptive fauna and environmental traps, especially when venturing solo for resources.
 OP
OP Driller's Dominance: Mastering Subterranean Conquest
The Driller is the vanguard of subterranean conquest, a force of nature reshaping Hoxxes IV. Mastering their destructive capabilities is key to securing any objective.
OP Operational Doctrine: The Strategic Imperative of Team Cohesion on Hoxxes IV
Team cohesion and high morale are not luxuries; they are fundamental tactical requirements for survival. A unified front on Hoxxes IV ensures operational resilience and dramatically increases the odds of mission success.
 OP
OP Field Observations: Mitigating Common Miner Errors
Analysis of common operational missteps reveals critical vulnerabilities in squad efficiency. Proactive measures in positioning, resource management, and demolition discipline are paramount for mission success on Hoxxes IV.
 OP
OP Tactical Brief: Rogue Core's Uninterrupted Combat Loop
Management's new venture, Rogue Core, appears to abandon the strategic lulls vital to Deep Rock Galactic operations. Expect relentless combat, demanding constant vigilance and a fundamental shift in traditional survival tactics.
 OP
OP Engineer Loadout Recon: BET-C Threat Observed
Field intel shows a distinct Engineer unit operating near a confirmed BET-C target. This underscores the need for constant situational awareness and rapid threat identification.
 OP
OP Tactical Leadburster: Gunner's Dominance Against Aerial Threats
The Tactical Leadburster Overclock provides superior anti-air capability for the Gunner. It effectively neutralizes Naedocyte swarms, ensuring aerial threat elimination.
OP Hoxxes IV Basics: Critical Protocols for New Miners
New Miners must prioritize communication protocols and understand appropriate hazard levels before deployment. Respecting resupply etiquette and fostering strong teamwork are non-negotiable for survival on Hoxxes IV.
 OP
OP Outpost Unrest: Miner Protocols for Management Annoyance
Maintaining morale within the Deep Rock Galactic Outpost often involves bending Management's rules. Dwarves engage in specific off-duty activities designed to relieve stress and express defiance.
 OP
OP Greenbeard Inefficiency: Optimizing Specialized Tool Deployment
New Miners often neglect specialized tools like the Power Drill and proper flare usage, leading to slower mission completion and increased hazards. Proper tool proficiency and communication are crucial for efficiency and survival on Hoxxes IV.
 OP
OP Red Sugar: Critical Field Resource for Miner Survival
Red Sugar is the critical in-field health source for all Miners. Effective Red Sugar utilization directly impacts mission success and team longevity.
OP Red Sugar: Essential Field Sustainment
Red Sugar is a vital, self-service health resource found across Hoxxes IV. Its efficient acquisition directly impacts team survivability and mission success, reducing reliance on expensive resupply pods.
 OP
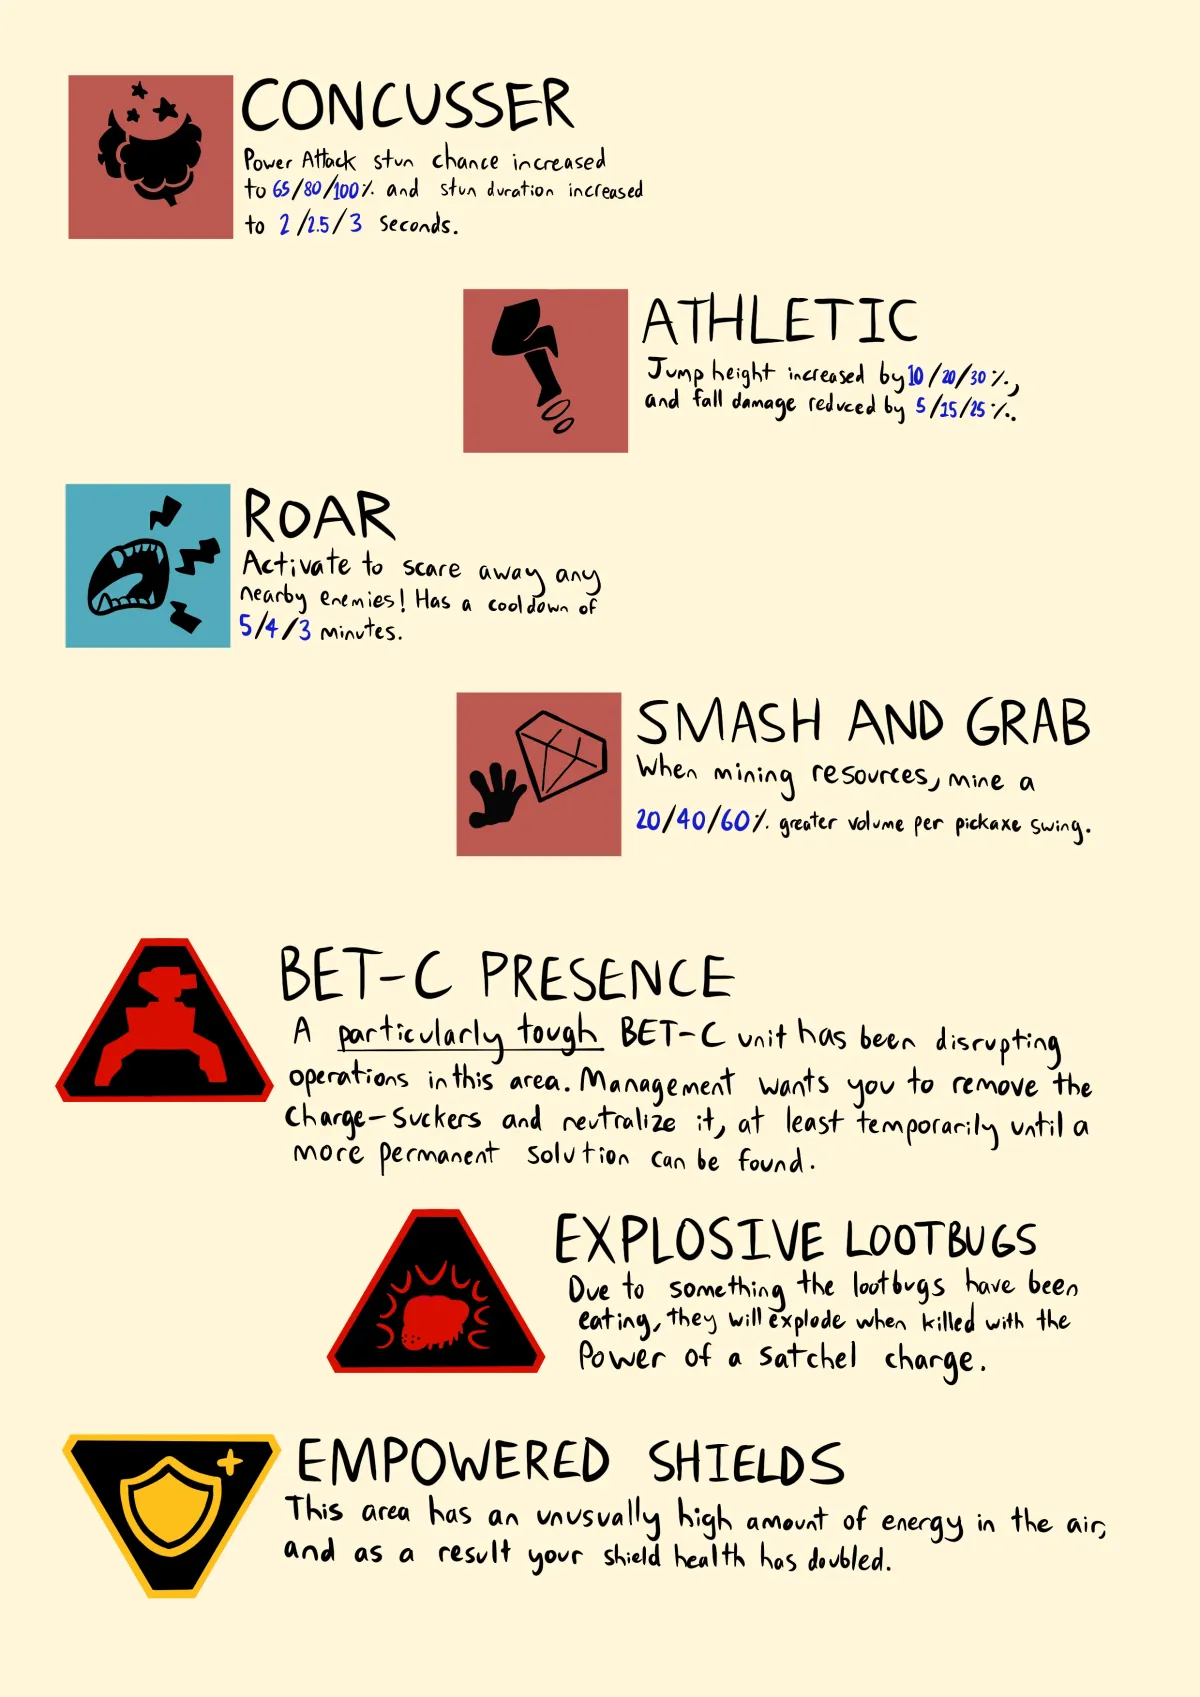
OP Proposed Perk Modifiers: Strategic Implications and Threat Assessment
This intel report evaluates potential new Perk and Modifier concepts. We assess the tactical benefits and significant hazards these additions could introduce to Hoxxes IV operations.
OP Preventing Host-Dependent Mission Collapse on Hoxxes IV
Unreliable hosts can prematurely end critical operations, wasting valuable time and resources. Robust [Teamwork](/tags/teamwork/) and an understanding of host responsibilities are paramount for mission completion.
 OP
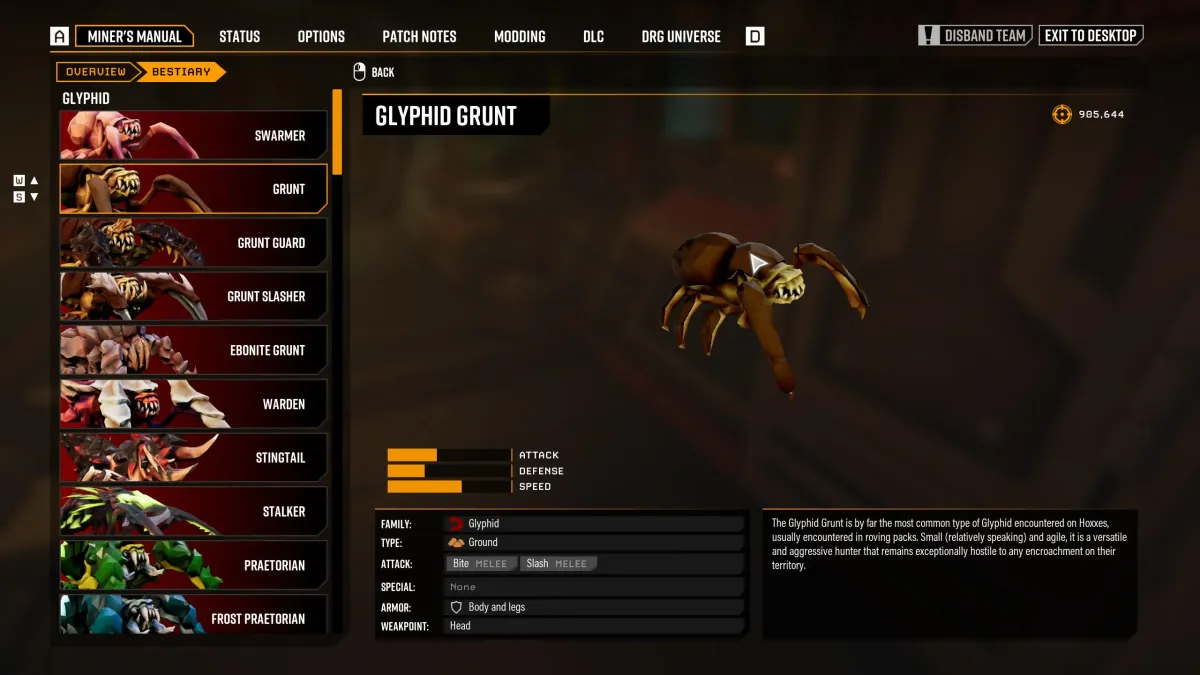
OP Operational Kill Tally: Assessing Glyphid Threat Levels and Combat Efficiency on Hoxxes IV
Deep Rock Galactic Miners track millions of Glyphid kills, highlighting persistent threats like the Grunt and the rapid proliferation of new enemies such as the Scrab on High Difficulty deployments. These grim tallies underscore the critical need for constant Combat Efficiency and Threat Assessment in all operations.
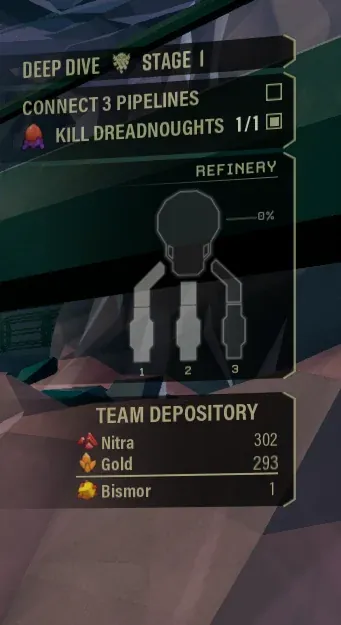
OP Veteran Kill Counts: A Benchmark for Elimination Efficiency
This intel highlights veteran Miners' high kill counts, particularly for Grunts and Korloks. It serves as a benchmark for team-wide elimination efficiency against common and elite threats on Hoxxes IV.
 OP
OP Deep Dive Mineral Sourcing: Huuli Hoarder Protocols
Huuli Hoarders are the primary source of unexpected regional minerals during Deep Dives, capable of spawning in any biome. Engage these creatures to secure additional resources, even if they escape after initial damage.
OP Deep Dives: Regional Mineral Acquisition Through Huuli Hoarders
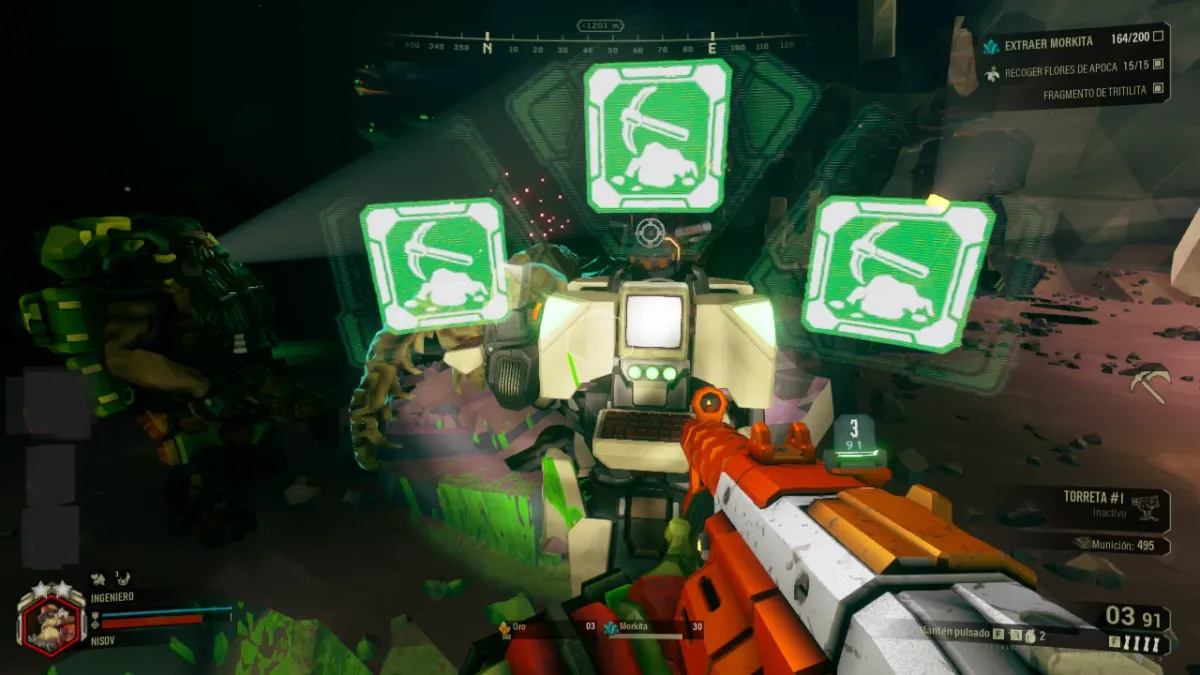
Huuli Hoarders are confirmed to spawn in [Deep Dives](/tags/deep-dives/), carrying regional minerals from their biome. Eliminating these targets is a viable method for acquiring scarce resources beyond standard biome limitations.
 OP
OP Deep Rock Galactic: Achieving Total Miner Mastery
True mastery on Hoxxes IV extends beyond mere survival; it's a relentless pursuit of every upgrade, cosmetic, and artifact. This intel outlines the demanding path to becoming a fully realized Deep Rock Galactic Miner.
OP Hoxxes IV: Achievement Clearance Protocol
This intel details a Miner's full operational achievement clearance on Hoxxes IV. However, true Deep Rock Galactic readiness extends far beyond mere accolades, demanding continuous engagement with supply lines and cosmetic acquisition.
 OP
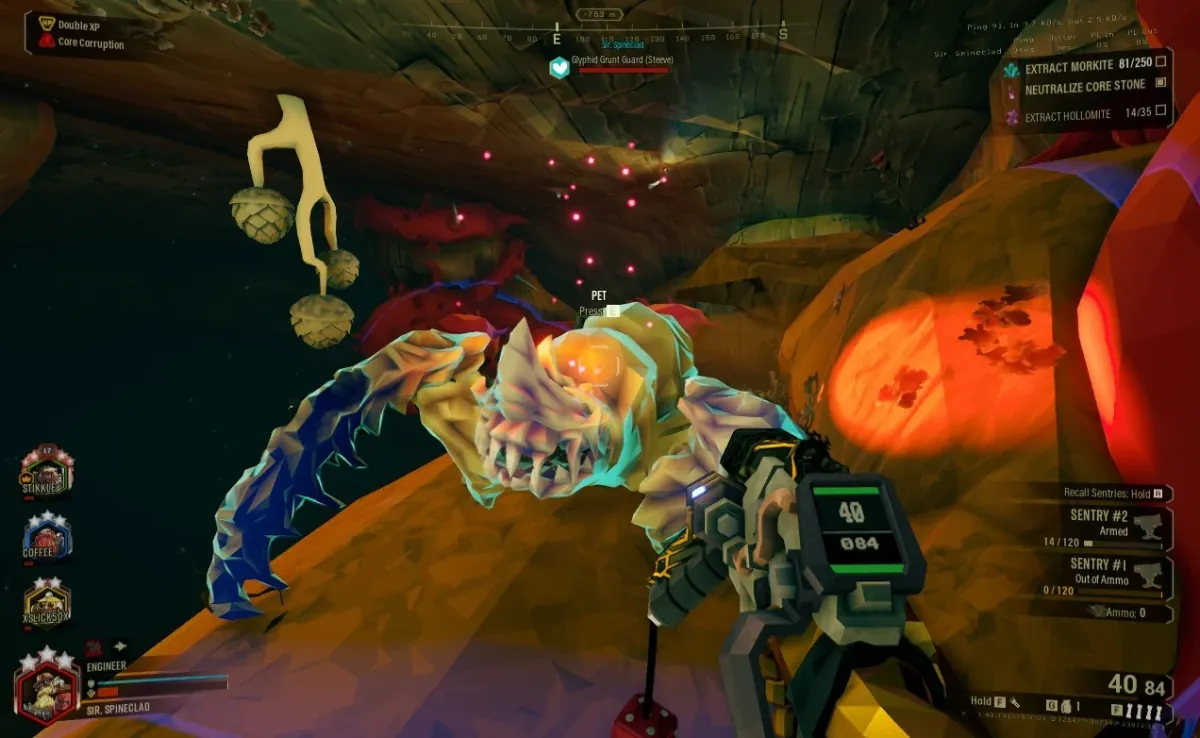
OP Glyphid Grunt: Steeve 'Peeled' Observation Report
Visual intel confirms a 'peeled' Steeve, indicating severe armor degradation. Miners must recognize this state as a tactical indicator of enemy vulnerability.
 OP
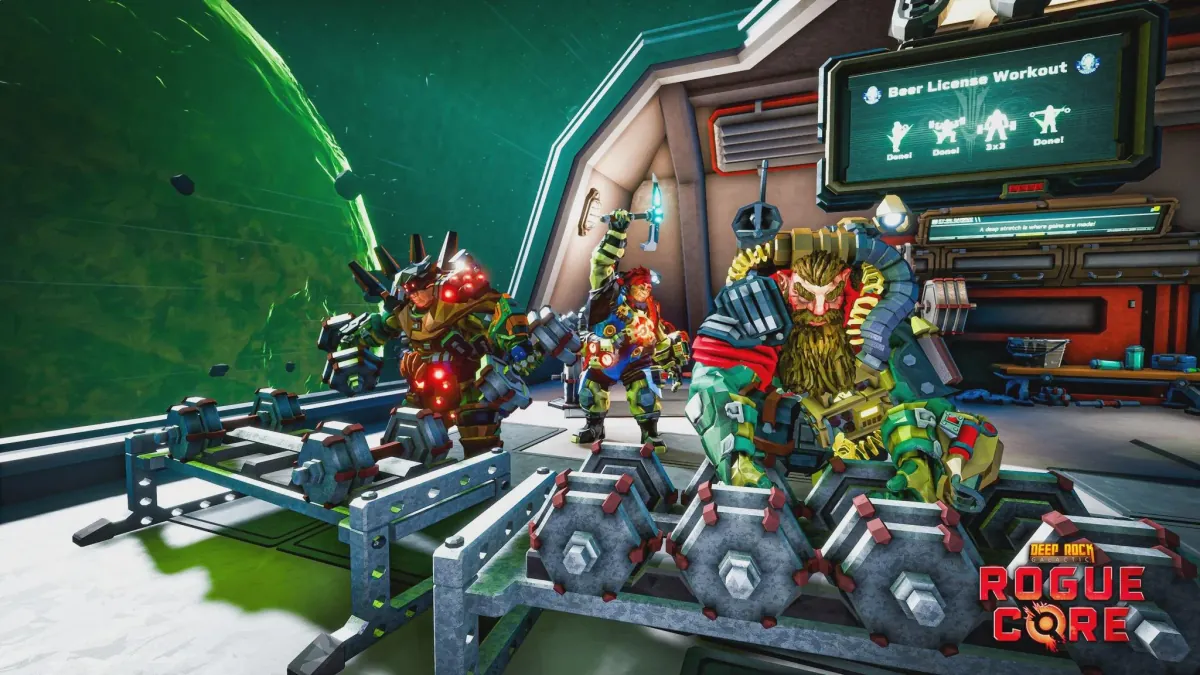
OP Playtest Debrief: 300K Kill Grinding Protocol Identified
Recent [Playtest](/tags/playtest/) intel reveals a [Grinding](/tags/grinding/) protocol capable of exceeding 300,000 kills. This operation, termed 'Beer License workout,' highlights extreme [Efficiency](/tags/efficiency/) in specific loadouts, currently restricted to test environments.
OP Mastering Heavy Extraction: Strategies for Efficient Objective Retrieval
Heavy Extraction missions often challenge even experienced Dwarves with elusive objectives. Efficient [Exploration](/tags/exploration/) and continuous [Terrain Scanning](/tags/terrain-scanning/) are crucial to minimize mission duration and prevent critical failures.
OP Hoxxes IV Gold Rush: Crassus Detonator & Pot o' Gold Exploitation
This intel details the lucrative synergy of a Crassus Detonator combined with the Pot o' Gold beer buff. It also highlights the significant logistical challenges of solo extraction for such high-value targets.
 OP
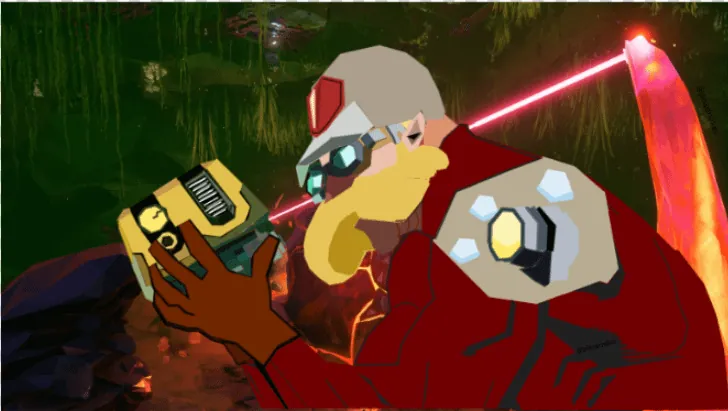
OP Dotty Protocol: Critical Asset Management on Hoxxes IV
Dotty is not just equipment; she's a critical asset and a member of the team. Prioritize her survival on every mission, especially on [Hazard Level 5](/tags/hazard-level-5/), as her integrity directly impacts mission success.
 OP
OP Operational Readiness: Adapting to Unforeseen Threats
Hoxxes IV offers no mercy; prepare for the unexpected and learn from every encounter. Master rapid adaptation and utilize team strengths to mitigate any threat.
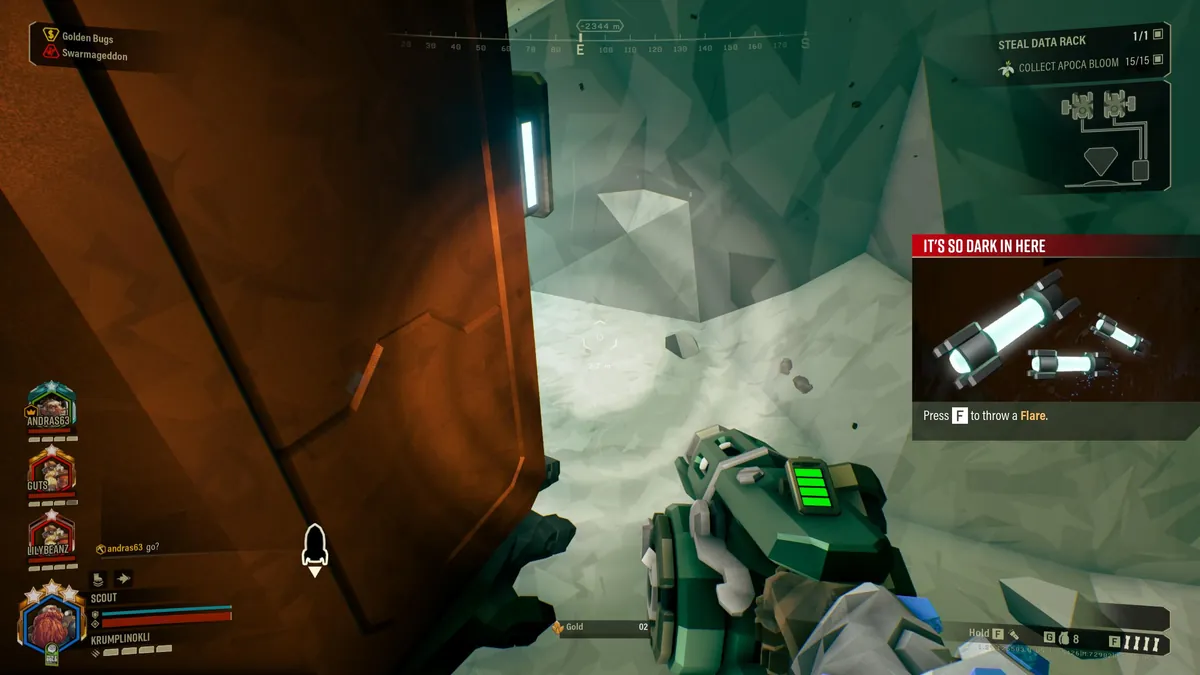 OP
OP Illumination Protocols: Mastering Headlight Control on Hoxxes IV
Efficient illumination is crucial on Hoxxes IV. Learn the independent control of your Headlight, a vital skill often overlooked by new Miners.
OP Solo Engineer: Caretaker Annihilation on Haz 5
This intel details critical solo Engineer tactics for surviving and dismantling the Caretaker on Hoxxes IV's most lethal missions. Master movement, defensive setups, and focused fire to ensure mission success against Management's brutal challenges.
OP Elite Deep Dives: Assessing True Difficulty on Hoxxes IV
Elite Deep Dives vary wildly in threat level, largely due to procedural generation and individual Miner preparedness. Success hinges on a robust [Loadout Optimization](/tags/loadout-optimization/) and adaptability, not just raw skill.
 OP
OP Environmental Hazards: Prioritizing Awareness During Meteor Events
Meteor impacts are distractions that conceal deadly terrain. Maintain constant situational awareness to avoid critical environmental hazards.
 OP
OP Unlikely Extraction: Deep Dive Survival Protocol
This intel details one Miner's improbable survival against overwhelming odds in a Deep Dive. It underscores the critical need for a hardened mindset and robust [Loadouts](/tags/loadouts/) when facing Hoxxes IV's harshest challenges.
OP Solo Deep Rock Galactic: A Greybeard's Guide to Lone Wolf Operations
Hoxxes IV offers viable solo deep dives for any Dwarf. Mastering Bosco and understanding class strengths are key to independent survival against Management's endless swarms.
 OP
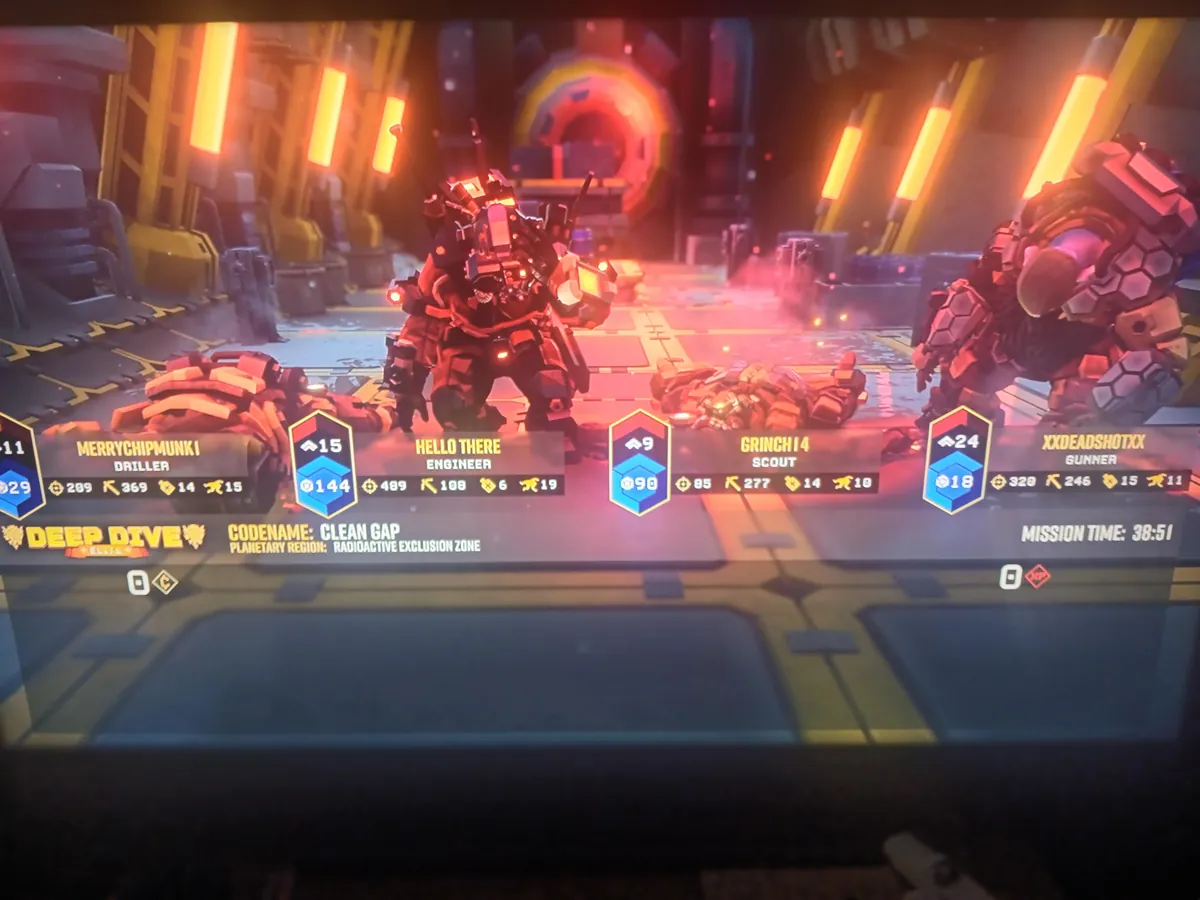
OP High-Casualty Mission Analysis: Lessons from a Total Wipe
This report dissects common pitfalls leading to high casualty counts on Hoxxes IV. Understand how swift combat resets and dwindling resources snowball into mission failure.
OP Field Mentorship: The Greybeard's Tactical Imperative
Experienced Miners (Greybeards) guiding new recruits (Greenbeards) is a critical investment in team survivability and mission efficiency. Effective knowledge transfer reduces mission failures, maximizes resource extraction, and fortifies the team against unforeseen threats.
 OP
OP Maintaining Tactical Cohesion: Post-Mission Team Protocol
Elite teamwork should not be ephemeral. Learn to identify and secure skilled Dwarves to ensure `[Team Continuity](/tags/team-continuity/)` for future hazardous deployments.
 OP
OP Driller: Enhanced Excavation & Mobility Protocols
Visual intel suggests a Driller operating with unprecedented excavation capabilities. This concept underscores the class's critical role in rapid objective completion and strategic terrain modification.
 OP
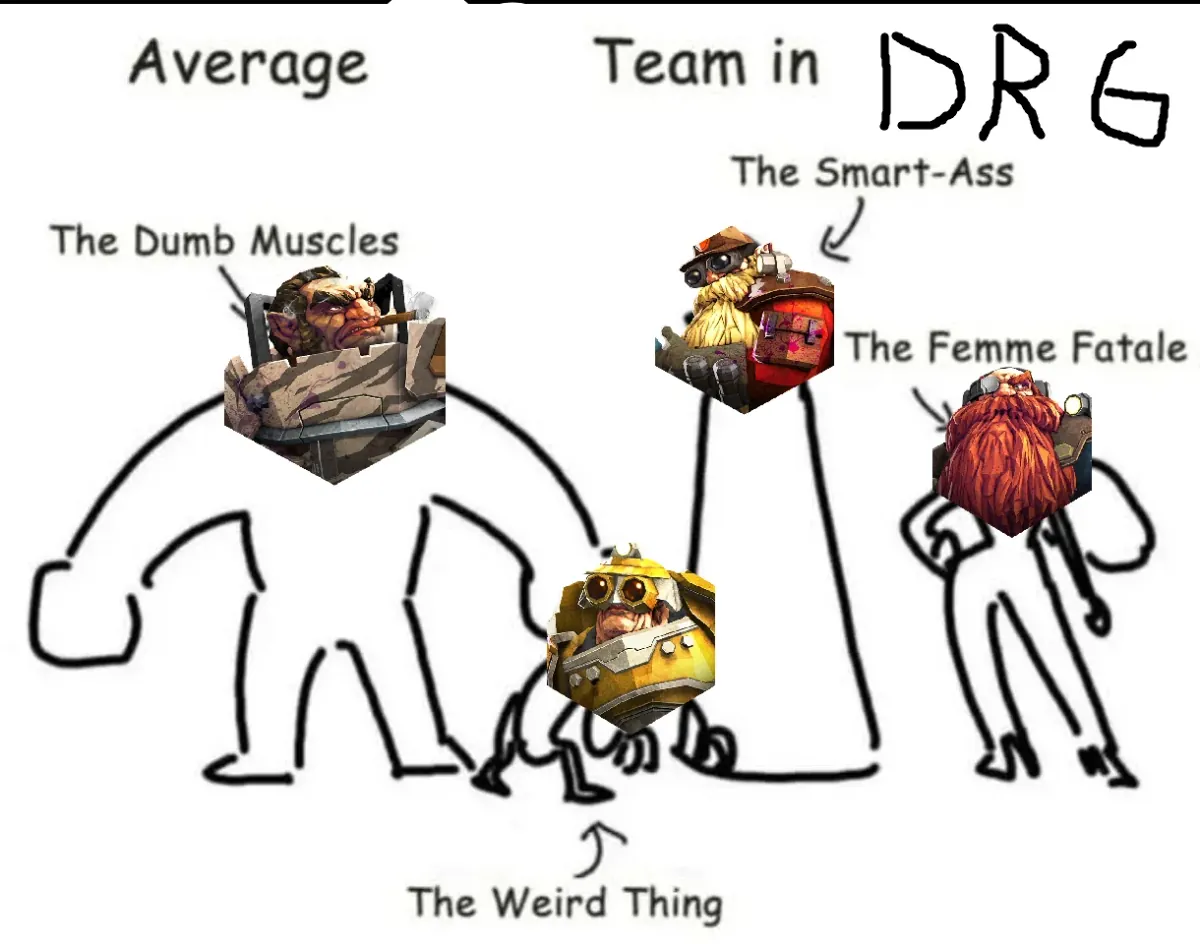
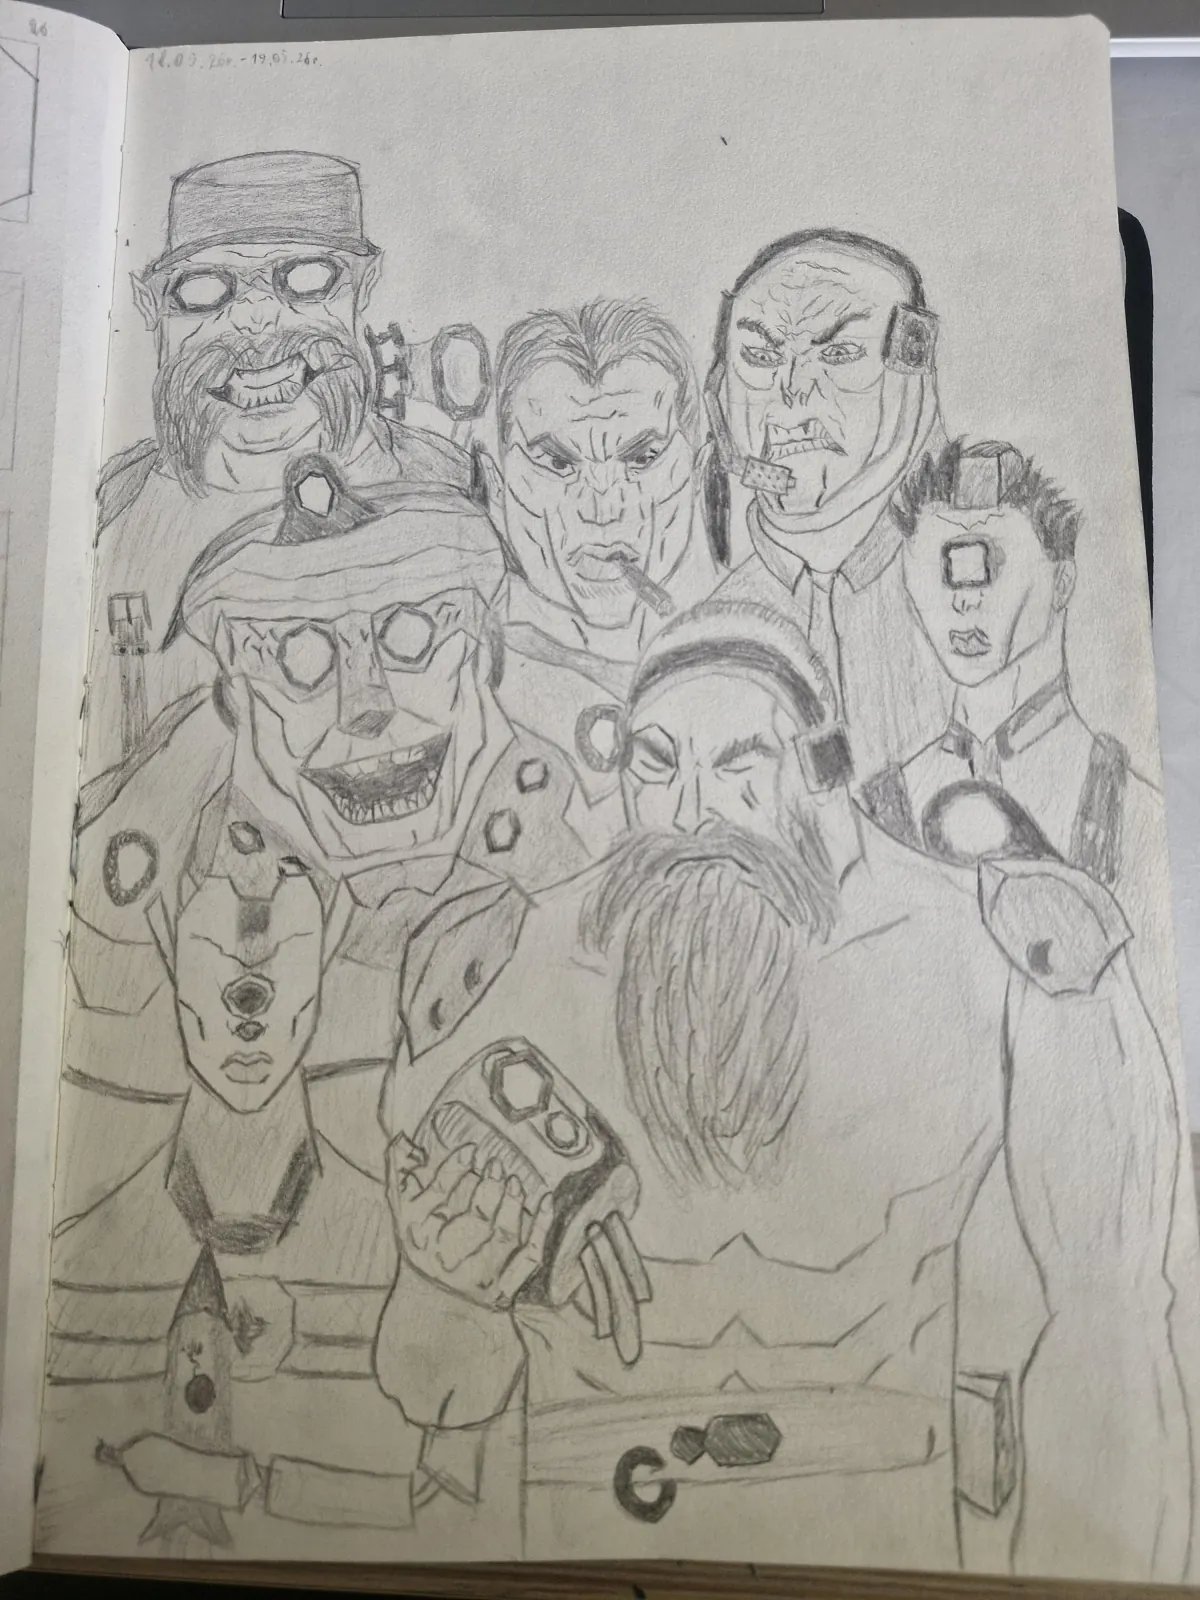
OP Archived Intel: Core Tenets of Deep Rock Operations
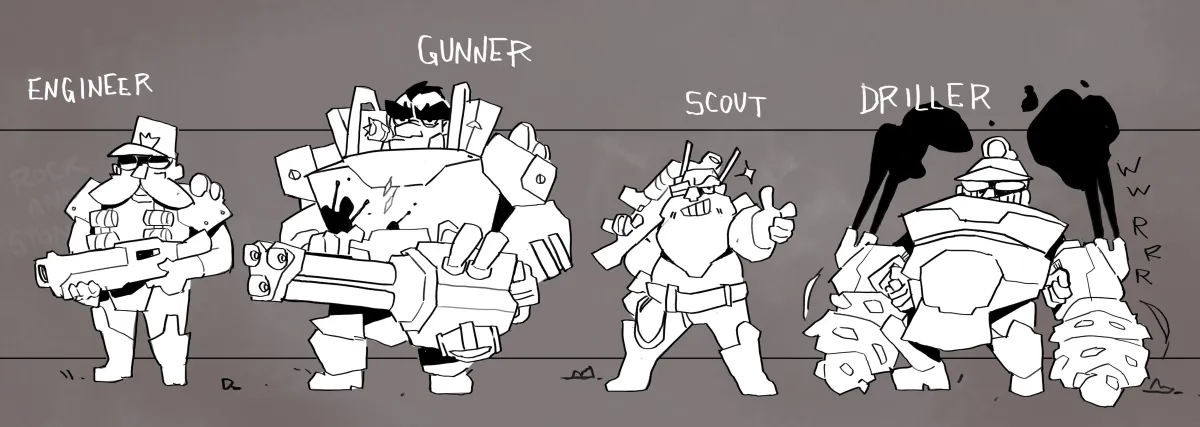
This rediscovered visual intel from 2018 outlines critical class responsibilities and fundamental operational doctrines essential for survival on Hoxxes IV. It serves as a timeless reminder of basic tactical principles for all Dwarves.
 OP
OP Hoxxes Protocol: Overclock Necessity and Team Synergy Post-Early Access
Early access intel confirmed **Overclocks** are critical for shaping effective **Miner** **builds** and mission success. Disorganized **team composition** and random weapon selections lead to inefficient **combat**, leaving **Miners** vulnerable on **Hoxxes IV**.
OP Solo Threat Engagement: Protocols for Lone Dwarves
This intel outlines critical tactical adjustments for solo operations against high-priority targets. Self-sufficiency and efficient target elimination are paramount for survival without a full team.
 OP
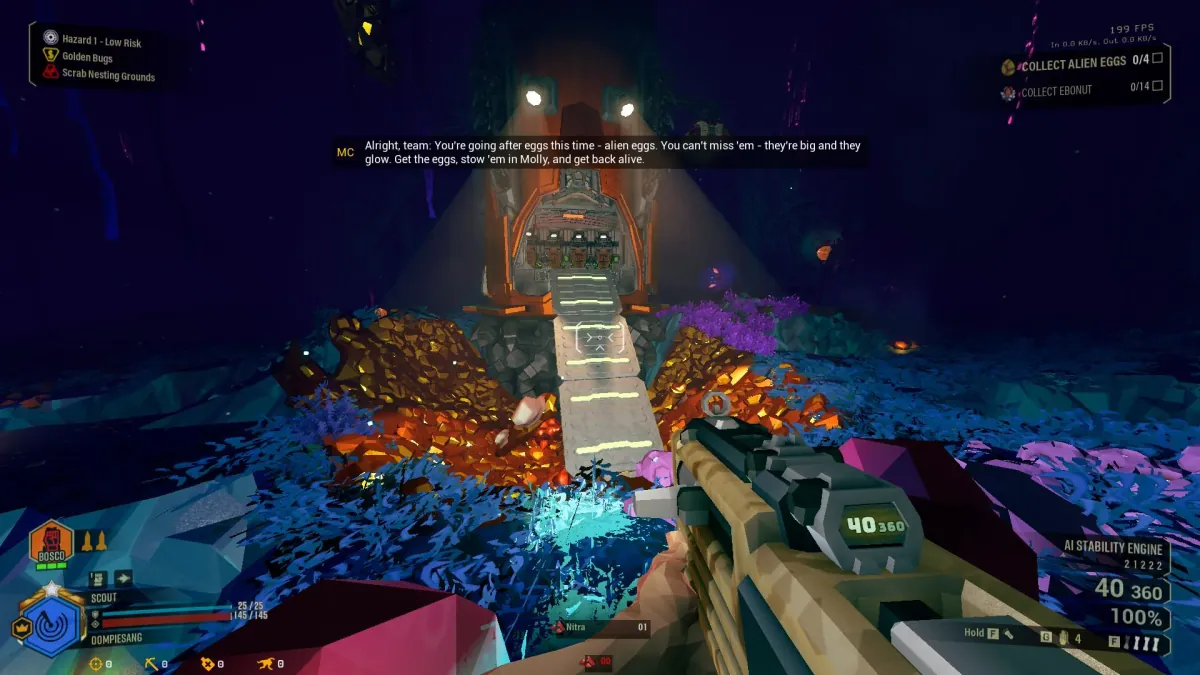
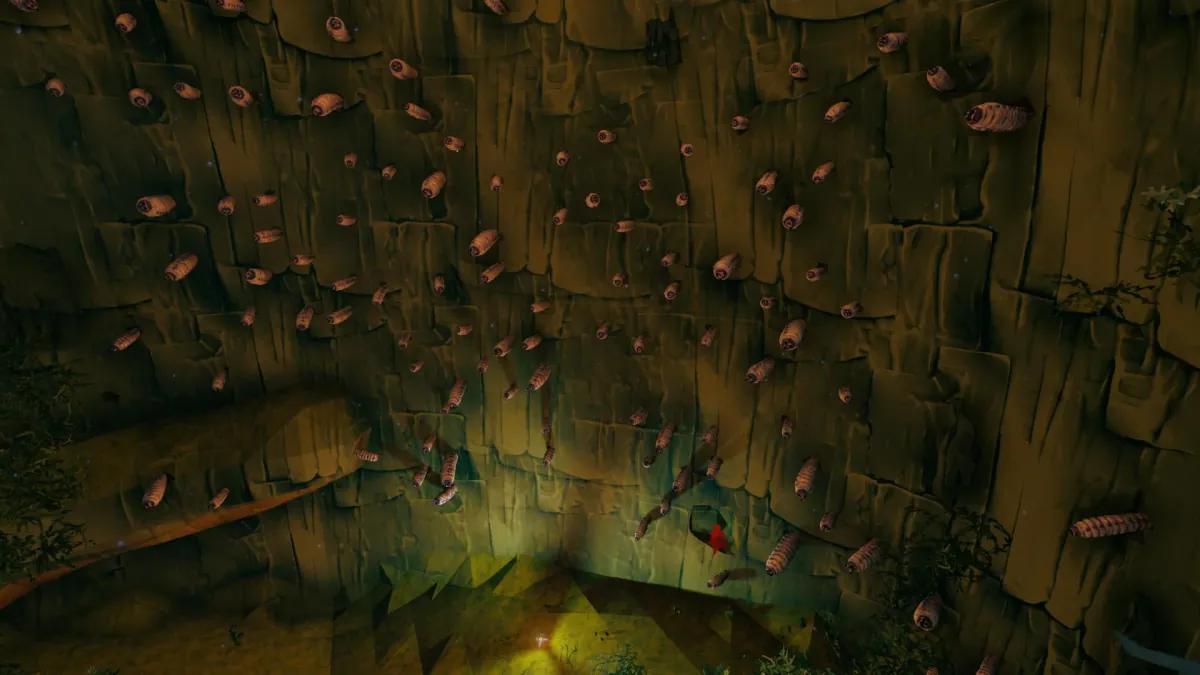
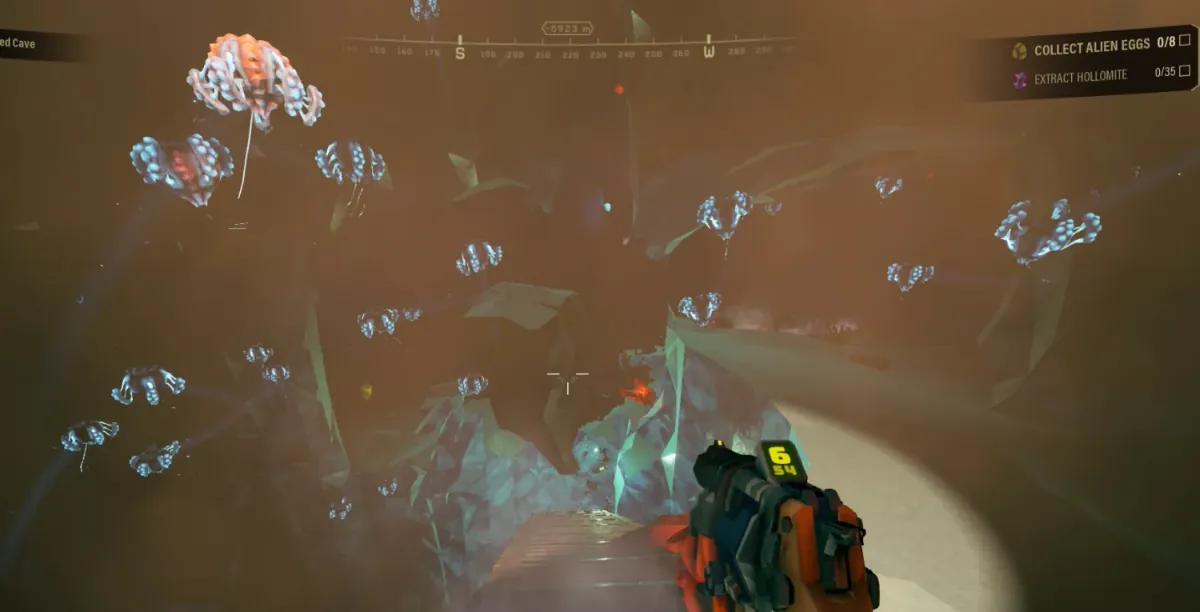
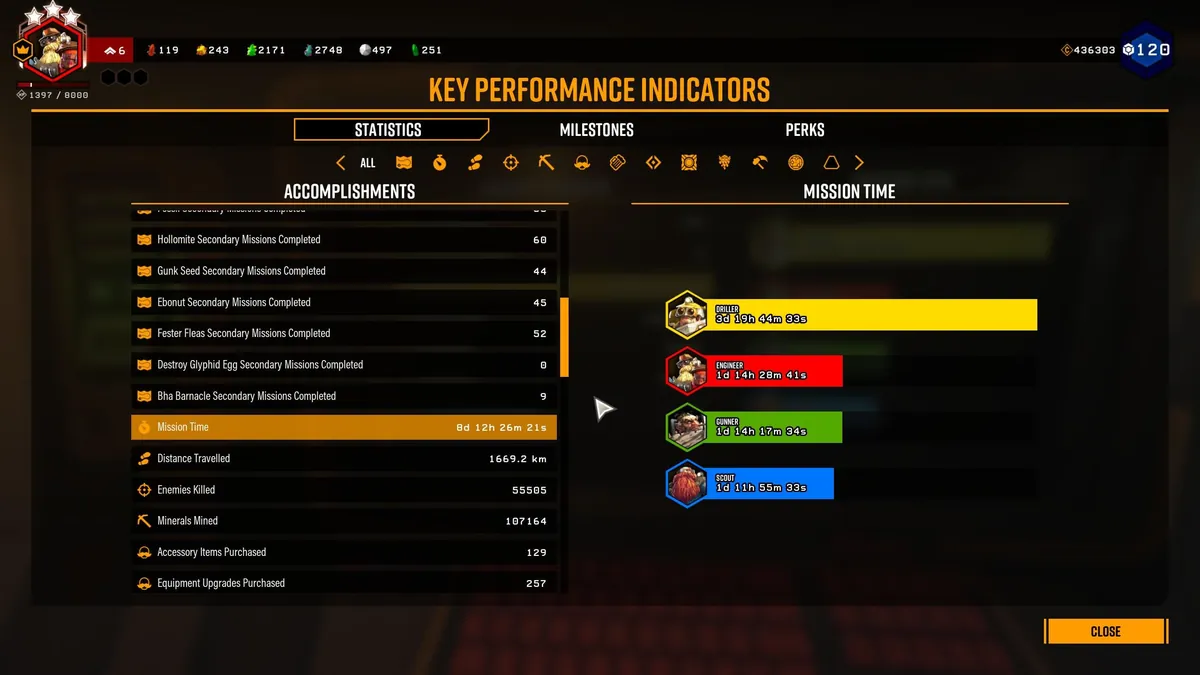
OP Glyphid Egg Secondary Objective: Tactical Re-evaluation
The current 40-Glyphid Egg secondary objective consistently hinders mission flow and often remains incomplete due to tedious engagement and scarcity. Miners report significant frustration with the hunt, impacting overall mission efficiency and resource allocation.
 OP
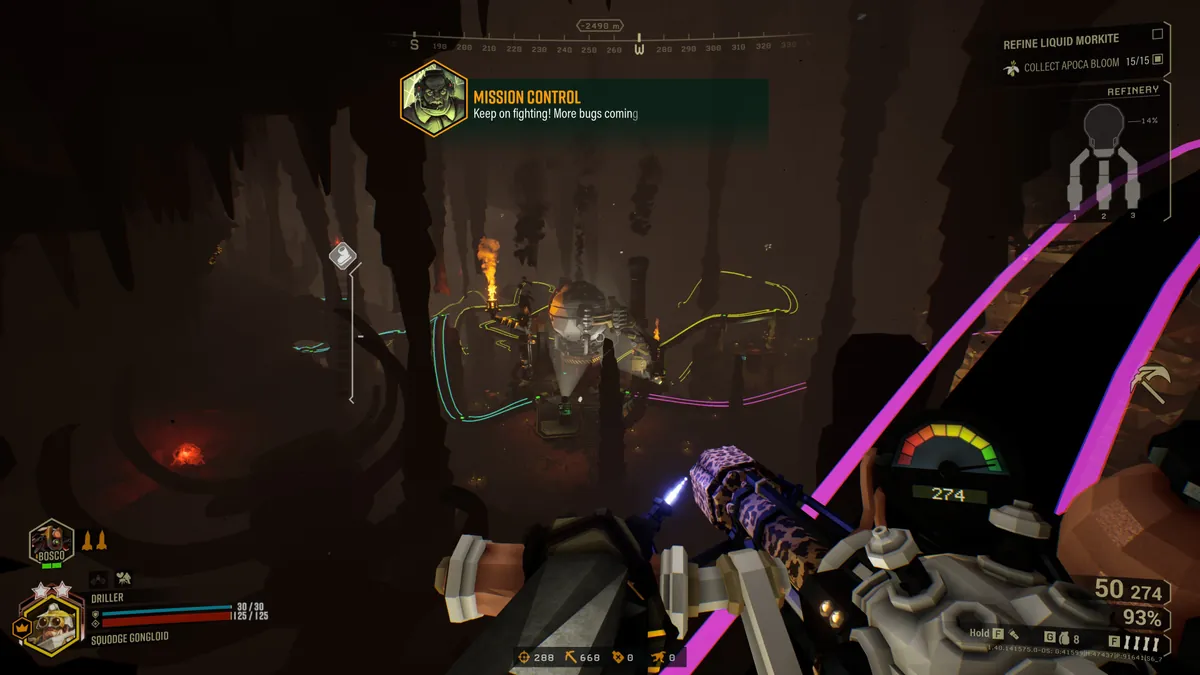
OP On-Site Refining: Optimizing Pipe Layouts for Combat Efficiency
Pipe laying in On-Site Refining is a critical tactical decision, impacting team movement, line of sight, and defensive strategy. Prioritize efficient, defensible routes over complex aesthetics to ensure mission success and Miner survival.
OP Achieving Carpool: PlayStation Tactical Briefing
The 'Carpool' achievement demands specific team composition and tactical execution on PlayStation. Optimal success is found with a quad-Engineer strategy on Hazard 3 Refinery missions for efficient Glyphid management and objective completion.
OP Squad Synergy: Unlocking Full Potential on Hoxxes IV
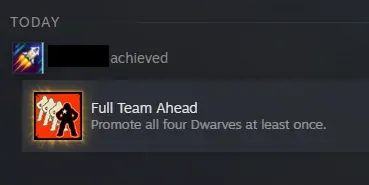
This intel reinforces the critical need for a full, balanced four-Dwarf squad on Hoxxes IV. Each class plays a unique, indispensable role in mission success and overall team survival.
 OP
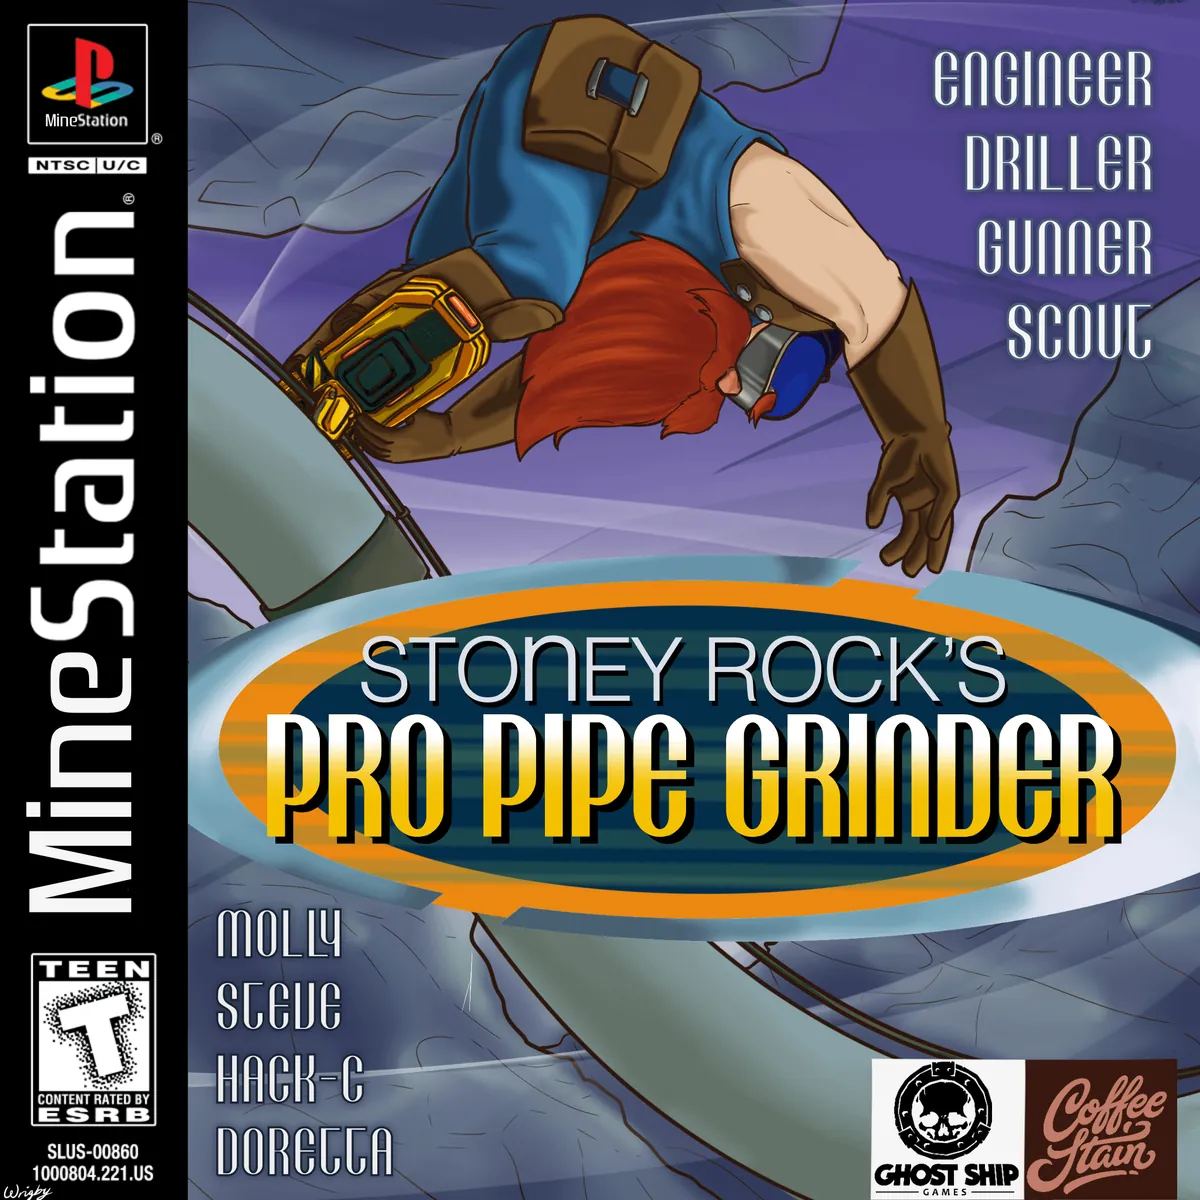
OP Driller's Optimized Pipeline Grinding Protocols: On-site Refining Efficiency Guide
This intelligence report details a highly effective Driller methodology for rapid pipeline construction and defense in On-site Refining missions. Master efficient terrain negation and resource utilization to secure successful extractions.
OP Tactical Perk Selection: Optimizing Early-Game Dwarf Performance & Survival Strategies
This intelligence report details crucial perk selections for new Deep Rock Galactic recruits, focusing on class synergy and sustained combat effectiveness. Prioritize high-impact utility perks like Iron Will and Vampirism to enhance mission survival and resource management.
OP Scout Combat Efficacy Report: Primary & Secondary Loadout Optimization for Hazard Operations
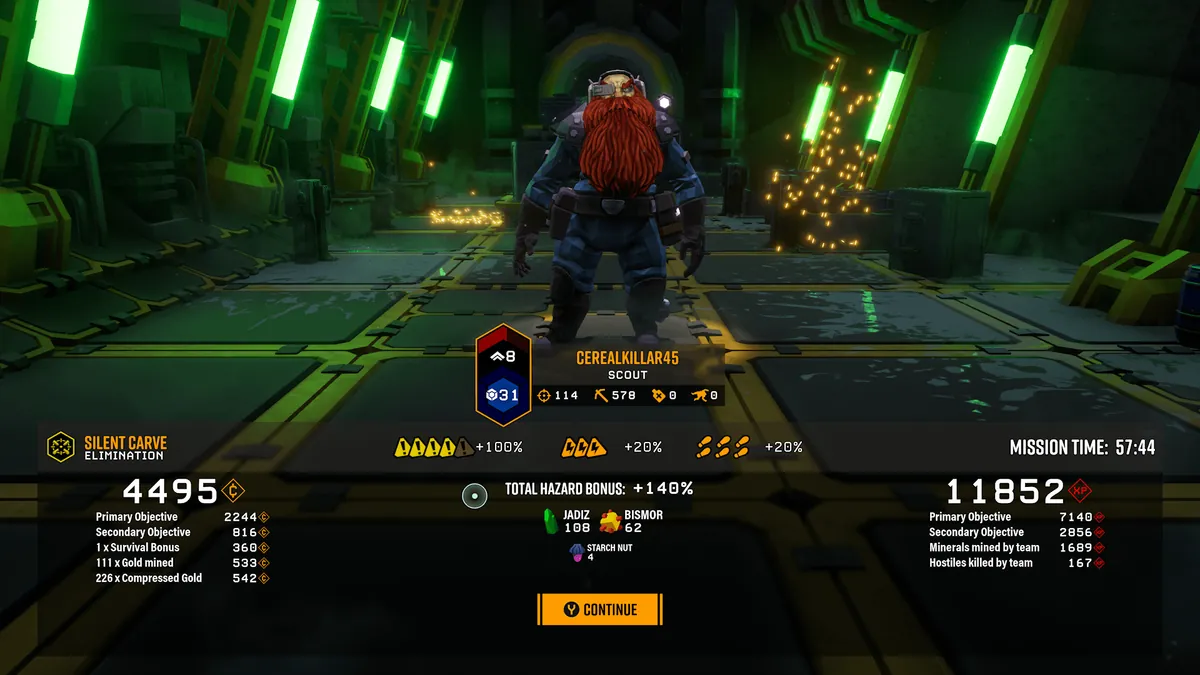
This intelligence report details recommended Scout primary and secondary weapon loadouts, focusing on synergistic overclocks and tactical applications for diverse mission parameters. Learn to leverage elemental effects and crowd control to enhance frontline combat efficacy against hostile flora and fauna.
 OP
OP Solo Dreadnought Elimination: Advanced Tactics & Preparation Protocol
This intelligence brief details effective strategies for solo Dreadnought elimination, focusing on advanced preparation and combat adaptation. Learn to mitigate stress and enhance efficiency against all Dreadnought variants.
OP Driller CRSPR Flamethrower & Secondary Synergy: A Frontline DPS & Utility Guide for New Miners
This intelligence brief details optimal Driller loadout strategies for new operatives, focusing on CRSPR Flamethrower optimization for frontline swarm control and secondary weapon synergy for high-value targets. Master your weapon perks to dominate Haz 3+ environments and elevate your combat effectiveness.
 OP
OP Threat Prioritization & Mitigation: Pitjaws and Cave Leeches
This report details advanced strategies for neutralizing Pitjaw and Cave Leech threats, emphasizing situational awareness and critical perk selection for optimal frontline performance.
 OP
OP Rogue Core Recon: Achieving Peak Operational Efficiency in Deep Rock Galactic
This intelligence brief outlines advanced methodologies for maximizing miner performance and ensuring optimal mission success. Adopt these protocols to elevate your squad's tactical prowess and resource acquisition capabilities on any deployment.
 OP
OP Frontline Analysis: Gunner's Protective Barrier and Strategic Zone Control
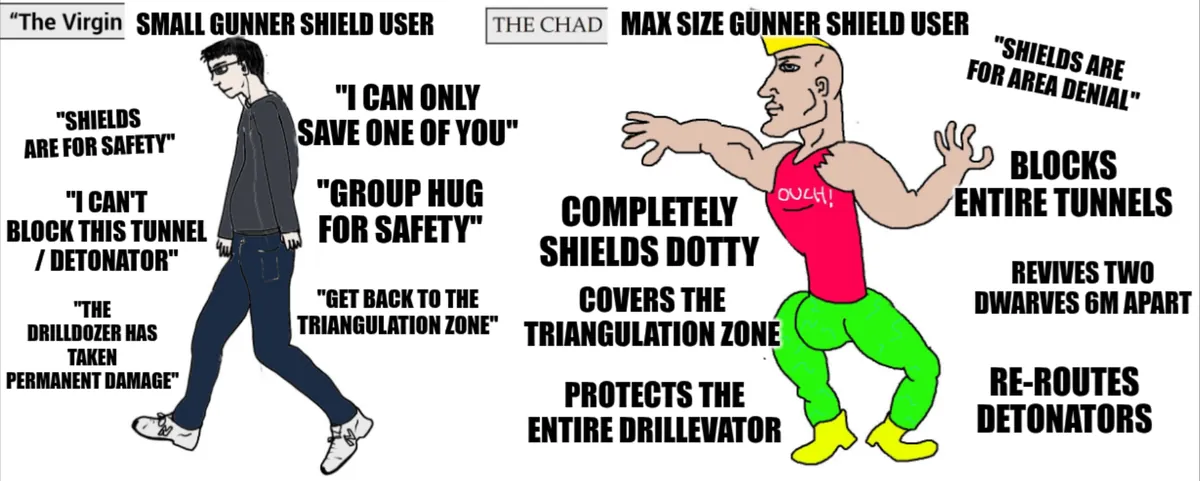
This report details the critical advantages of maximizing the Gunner's Protective Barrier radius, emphasizing its role in area denial and team survivability. Learn optimal deployment strategies to enhance defensive operations across all hazard levels.
 OP
OP Optimal Gold Vein Exploitation: Solo Extraction Protocols with Pots O' Gold
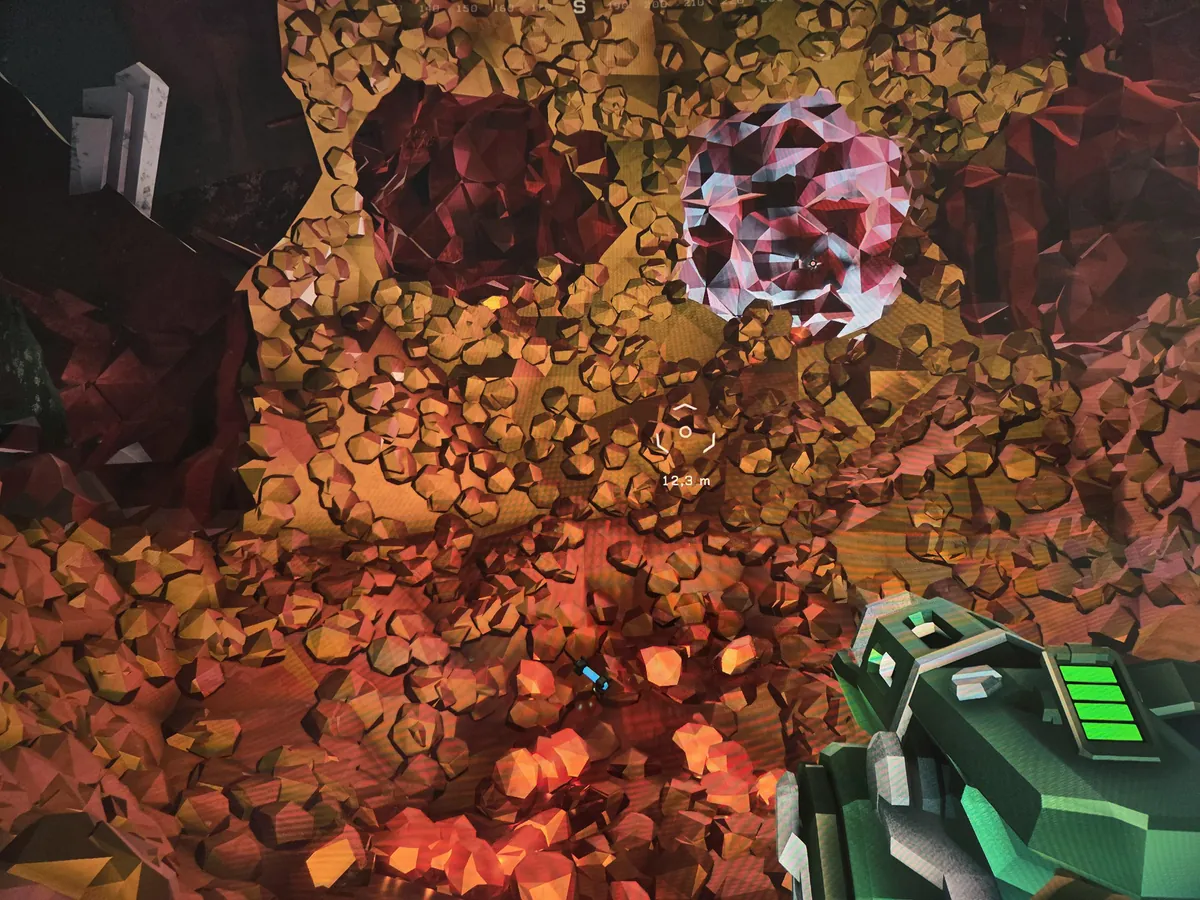
This report details advanced strategies for maximizing gold yield from rare high-density veins, specifically during [solo operations](/tags/solo-operations/). Focus is placed on efficient resource management and [swarm mitigation](/tags/swarm-mitigation/) while under [Pots O' Gold](/tags/pots-o-gold/) effects.
OP Weekly Deep Dives Briefing: May 14th 2026 – Terrain & Threat Assessment
This week's dives demand sharp terrain navigation and threat prioritization. Elite Deep Dive Stage 1 presents significant environmental challenges requiring expert class coordination, particularly from Drillers and Scouts.
 OP
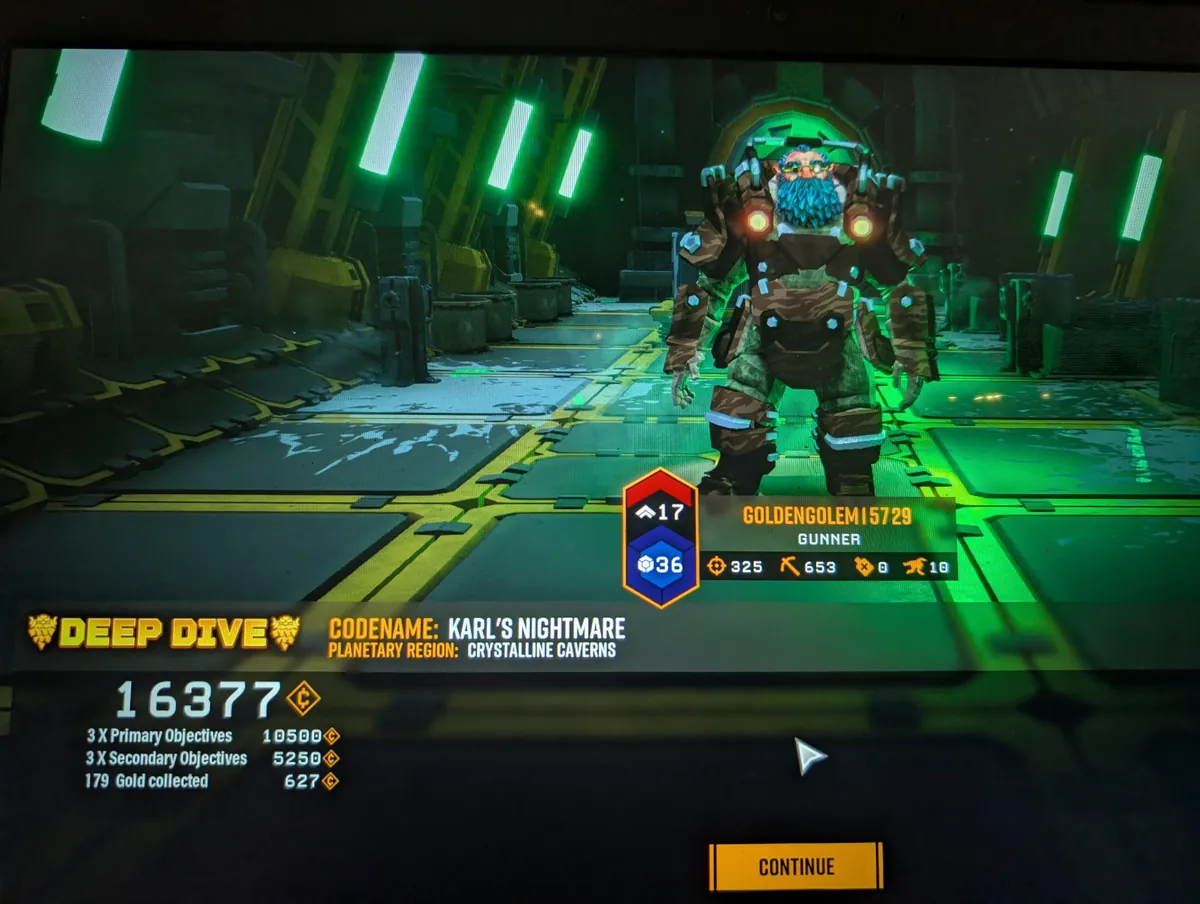
OP Weekly Deep Dives: May 14th Tactical Briefing
This week's Deep Dives demand tactical precision; Karl's Nightmare brings Volatile Guts and a Dreadnought, while Irrational Senit's Elite Deep Dive requires serious terrain navigation and resource scouting on Stage 1.
OP Engineer Throwable Combat Analysis: Decoy L.U.R.E. vs. Proximity Mines for Defensive Operations
This report meticulously dissects the combat effectiveness of the Engineer's Decoy L.U.R.E. and Proximity Mines, offering strategic insights for optimal defensive loadouts. We analyze their utility across various mission profiles and hazard levels, providing clear recommendations for frontline application.
 OP
OP Frontline Intel: Greater Core Stone Zipline Exploitation & Proposed Counter-Measures
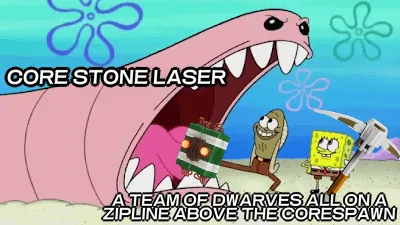
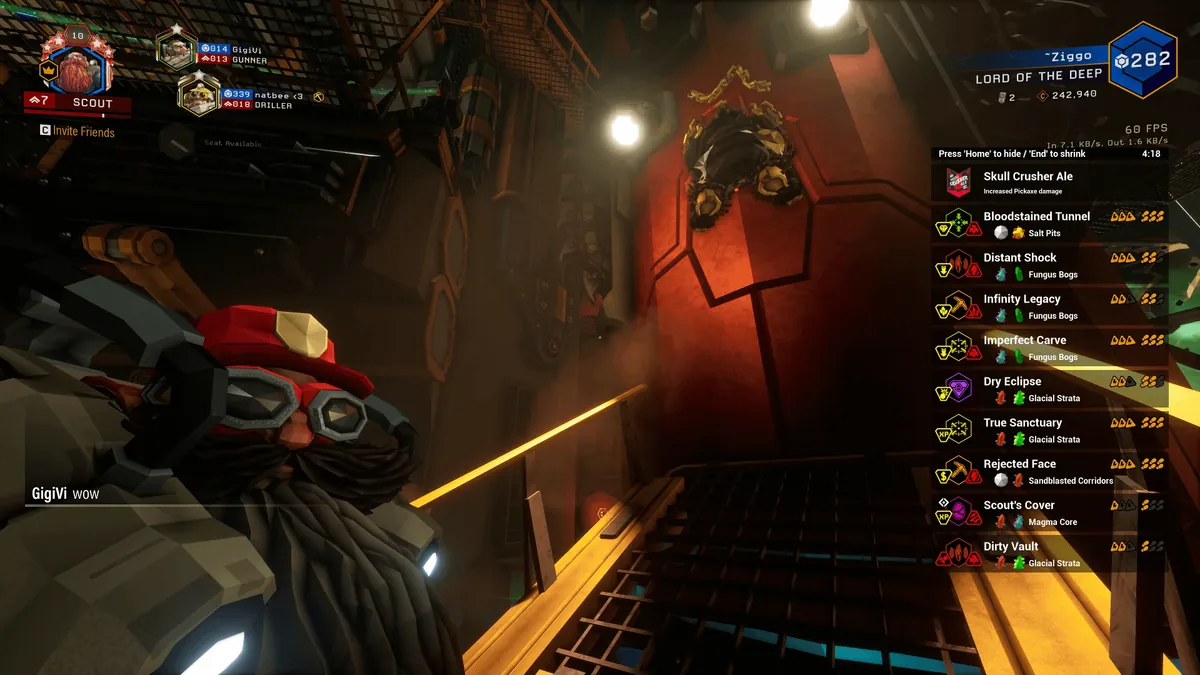
This report details a pervasive tactic for neutralizing Greater Core Stone threats and proposes adaptive enemy mechanics to maintain high-hazard challenge integrity. Critical analysis for veteran miners operating at elevated difficulty.
 OP
OP Scout Aggressive Engagement: Leveraging Grapple Momentum for Critical Strike Delivery
This report details advanced Scout combat protocols for high-threat target neutralization. Emphasizing precise grapple maneuvers and calculated power attacks, it outlines methods for maximizing damage output in volatile situations.
 OP
OP Deep Rock Galactic: 'Rock and Stone!' - A Tactical Analysis of Miner Morale and Communication Efficiency
This report dissects the foundational 'Rock and Stone!' phrase, examining its critical role in frontline [Miner Morale](/tags/miner-morale/) and effective [Tactical Communication](/tags/tactical-communication/). Understanding its cultural significance is paramount for maintaining team cohesion and ensuring mission success.
OP High Gravity Hazard Analysis: Strategic Implications for Deep Rock Galactic Operations
This intelligence brief details the critical impact of a theoretical 'High Gravity' environmental modifier on dwarf mobility and fall damage mechanics. It outlines essential class-specific tactical adjustments and loadout considerations for maintaining mission efficiency.
 OP
OP Resource Efficiency Protocol: Strategic Gold Vein Extraction & Management
This intelligence report details optimal strategies for gold vein extraction, emphasizing its critical role in mission success and long-term expedition sustainability. It outlines tactical considerations to maximize resource recovery across all hazard levels.
 OP
OP Operational Tenets: The 'Rock and Stone' Mandate for Miner Cohesion
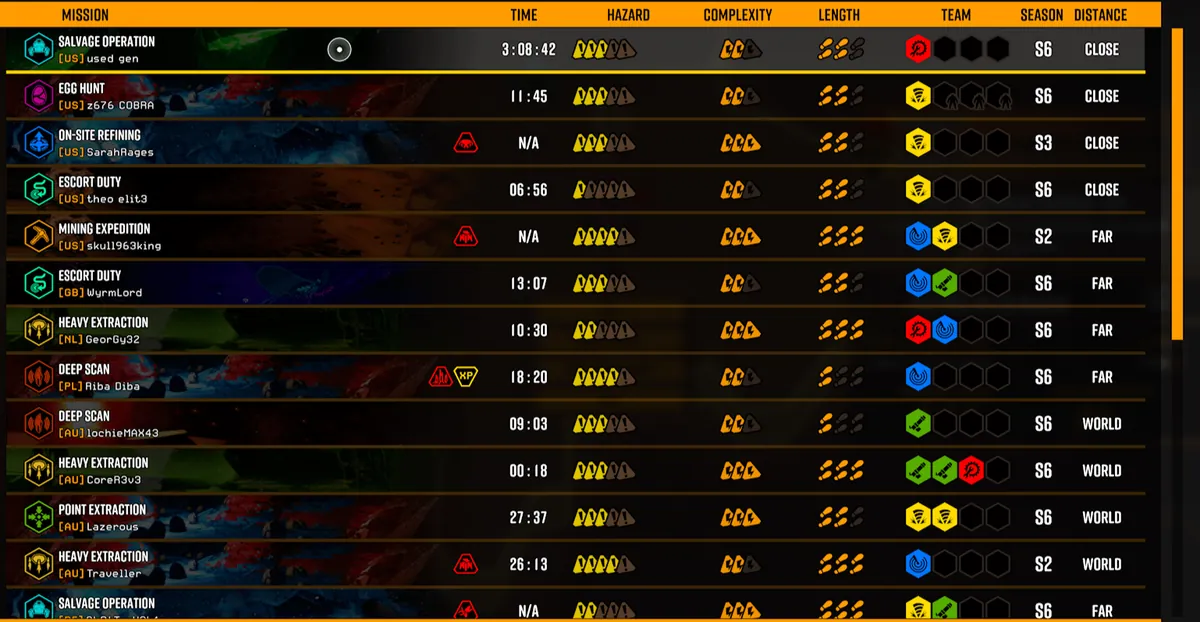
This intel report analyzes the critical role of the 'Rock and Stone' creed in maintaining miner morale and operational integrity across all deep space assignments. Understanding its strategic importance is paramount for fostering team unity and enhancing mission success.
 OP
OP Extended Expedition Endurance: Mitigating Fatigue and Resource Drain on Hoxxes IV
This report details strategies for maintaining operational efficiency and morale during prolonged deep-space mining expeditions, focusing on resource sustainment and objective completion under duress.
 OP
OP Core Spawn Crawler Analysis: Elite Threat Assessment and Tactical Engagement Protocols in Rogue Core
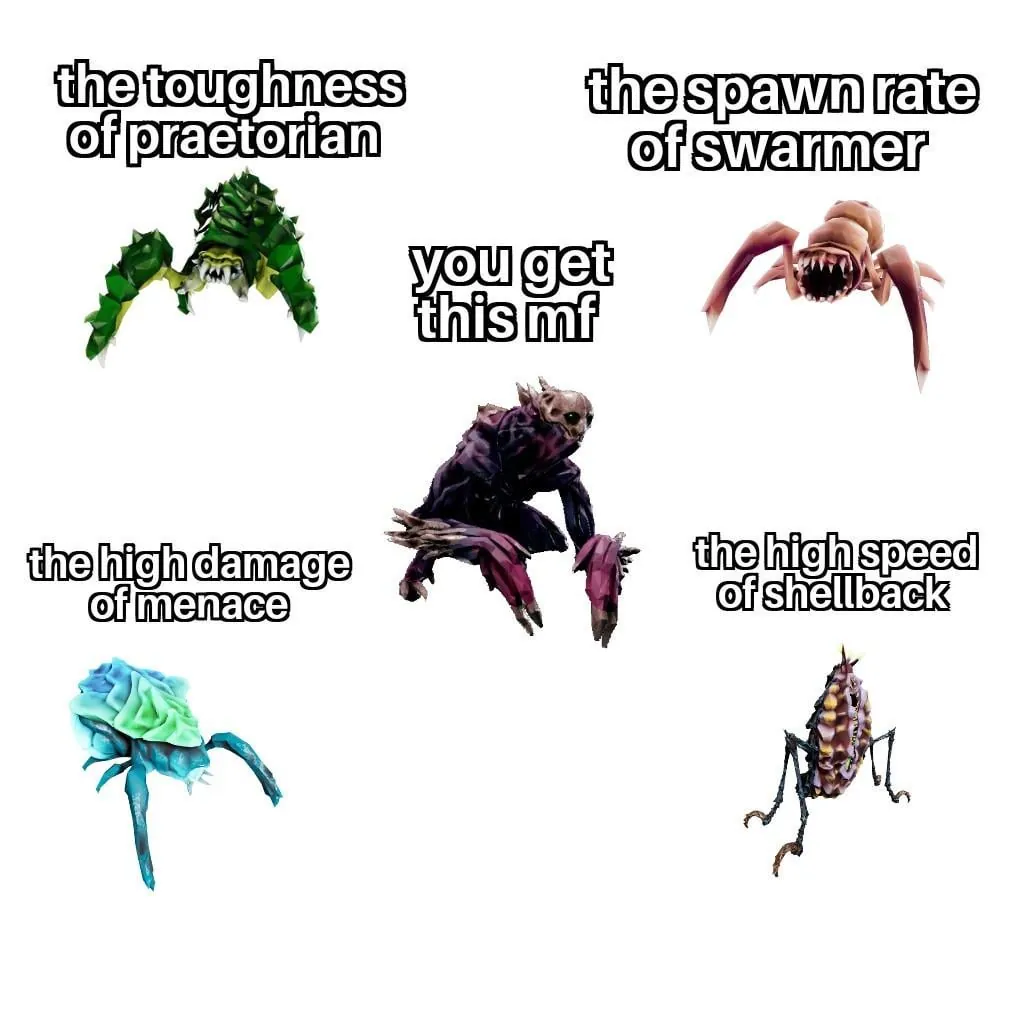
This report details the combat profile of Core Spawn Crawlers, identifying them as elite threats within Rogue Core deployments. It outlines essential loadout considerations and engagement tactics to mitigate their high mobility and resilience.
 OP
OP Seasonal Assignment Brief: Decoding Warning-Specific Mission Parameters
This intel clarifies a common point of confusion regarding seasonal assignments, specifically when an objective appears to be an 'unknown mission type' but is, in fact, a requirement for completing any mission under a specific environmental warning. Understanding this mechanism is crucial for efficient assignment progression and avoiding unnecessary reconnaissance.
 OP
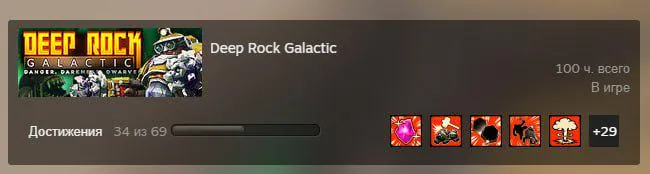
OP Miner Development & Operational Timeline: First 100 Hours Assessment
This intelligence report provides a critical assessment of a new recruit's progression during their initial 100 hours of Deep Rock Galactic deployment. It aims to calibrate expectations and outline a strategic path for long-term operational effectiveness.
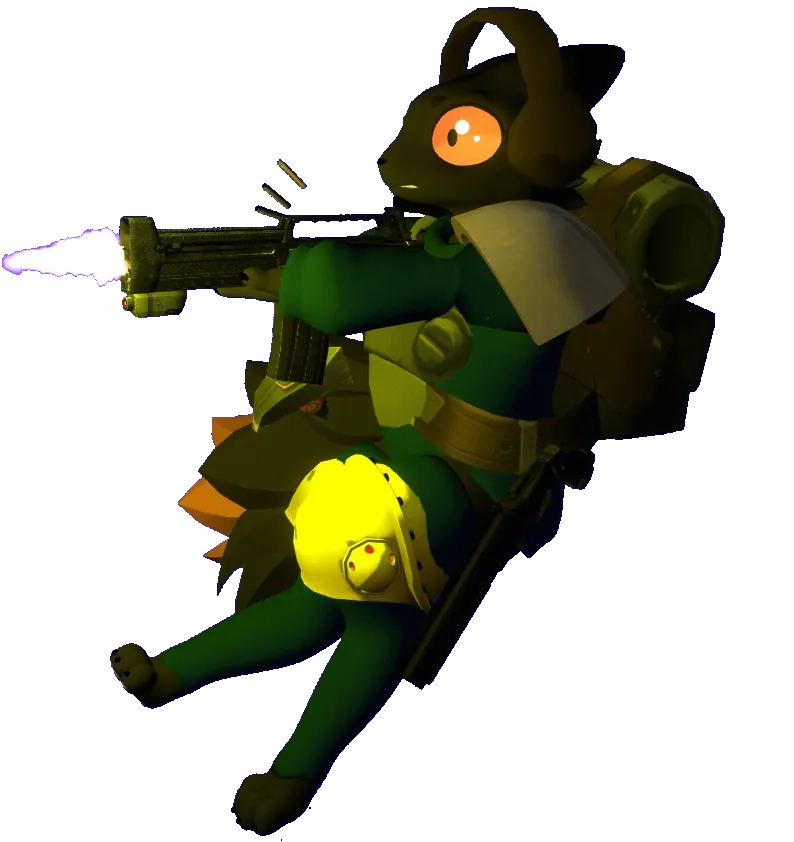
OP Projected Operational Expansion: Analyzing Non-Mining Trade Sectors & Hostile Planet Threat Profiles
This intelligence report details strategic assessments of Deep Rock Galactic's potential future operational expansions beyond traditional mining. It evaluates diversified trade sectors, anticipating novel environmental hazards, specialized equipment demands, and emerging hostile entity profiles across uncharted galactic biomes.
 OP
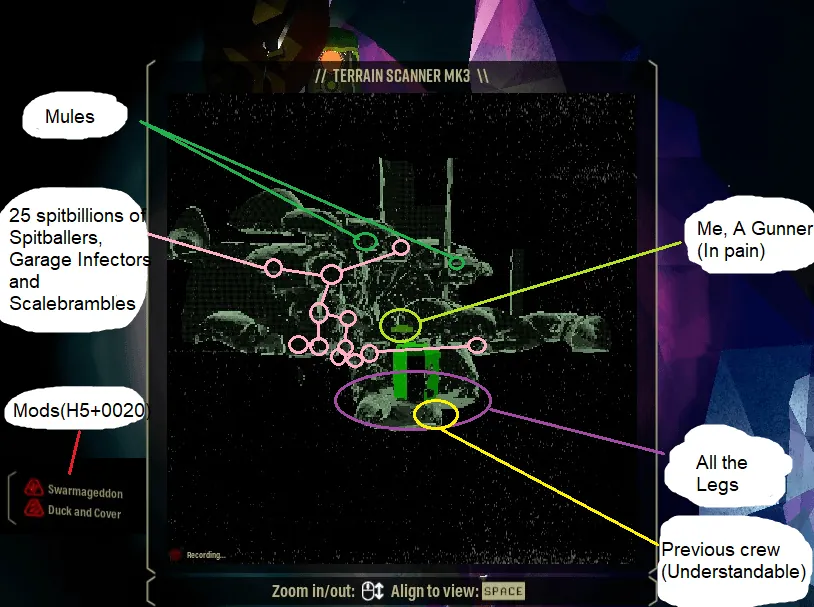
OP External Threat Analysis: Universal Combat Principles & Survivability on Hoxxes IV
This report dissects the foundational combat principles essential for dwarven survival, analyzing hypothetical external threats and re-validating DRG's doctrine against any unknown variable. Adaptability and core tactical tenets are paramount for mission success and miner longevity.
 OP
OP Hollomite Extraction Protocols: Optimizing Optional Objective Completion
This report details strategic approaches to optional Hollomite extraction, emphasizing efficient resource allocation and threat management. It provides critical insights for integrating secondary tasks without compromising primary mission success.
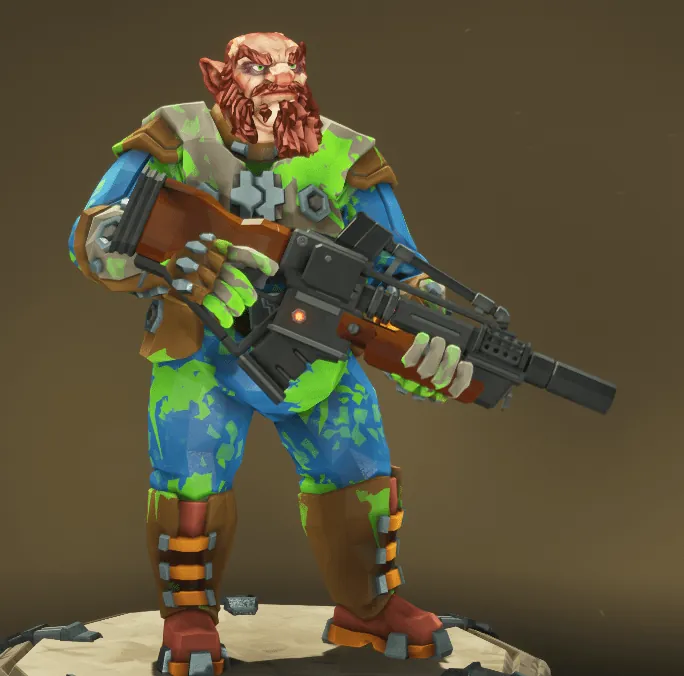
OP Greater Core Stone: Critical Crust Placement Anomalies & High Hazard Mitigation
This report details critical anomalies in Greater Core Stone Crust placement during Core Corruption events, particularly at elevated Hazard levels. It provides actionable strategies to mitigate mission failure due to inaccessible or poorly positioned targets, ensuring continued operational success.
 OP
OP Operational Aesthetics: Strategic Miner Customization for Enhanced Field Presence
This intelligence brief details the tactical implications of miner personal aesthetics, focusing on their role in projecting readiness, bolstering team morale, and signaling veteran experience. Strategic cosmetic choices are analyzed for their impact on operational identity within hazardous deep-space environments.
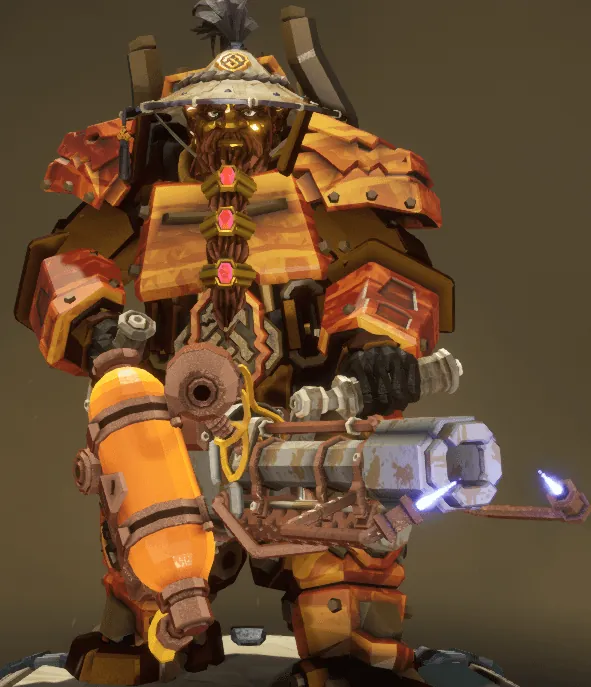 OP
OP Tactical Garb Protocols: Optimizing Visual Cues for Rapid Squad Identification and Operational Readiness
This intelligence report dissects the strategic value of deliberate dwarf loadout aesthetics, moving beyond mere 'fashion' to critical battlefield recognition. Proper visual protocols enhance team cohesion, streamline target acquisition, and bolster unit morale under extreme duress.
OP Rogue Core Tactical Brief: Understanding Divergent Gameplay & Strategic Implications
This intelligence confirms Rogue Core as a distinct, new operational theatre, separate from standard Deep Rock Galactic deployments. Veteran miners must prepare for a fundamentally different gameplay pace and mission objective structure.
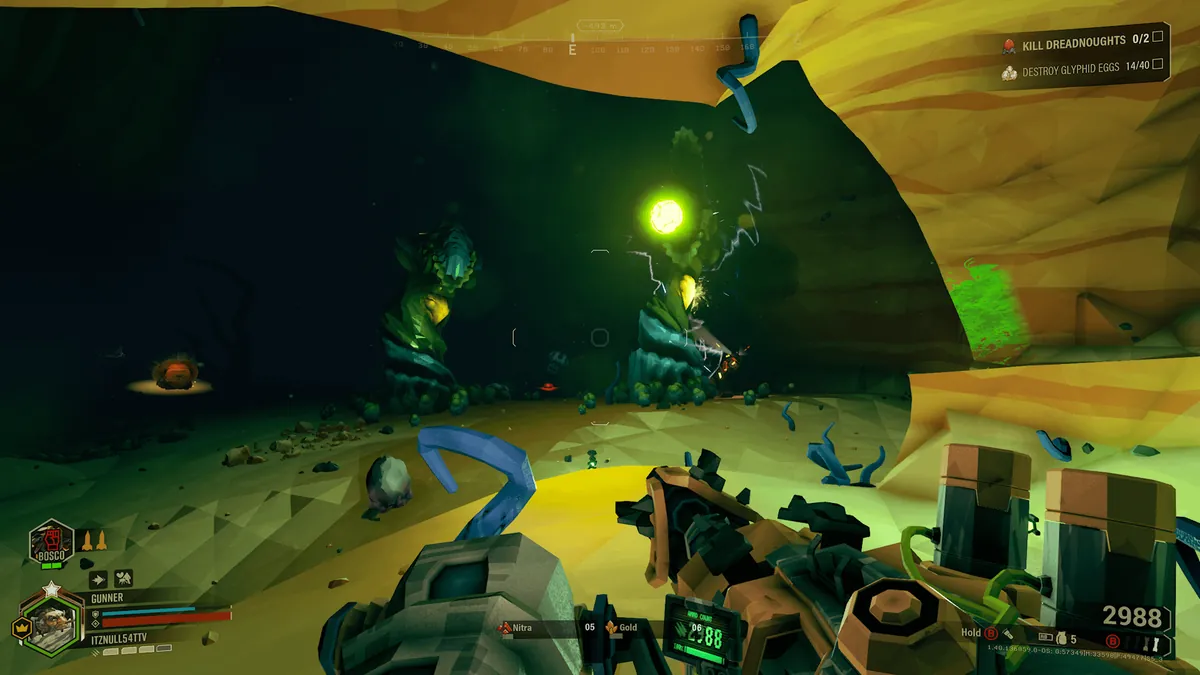 OP
OP Hazard 5 Multi-Threat Engagement: Prioritization and Projectile Interception Strategies
This report details critical multi-threat engagement protocols for high-hazard environments, focusing on overlapping enemy threats and environmental ambushes. Key intelligence includes enemy prioritization tactics and effective projectile neutralization techniques for sustained operational success.
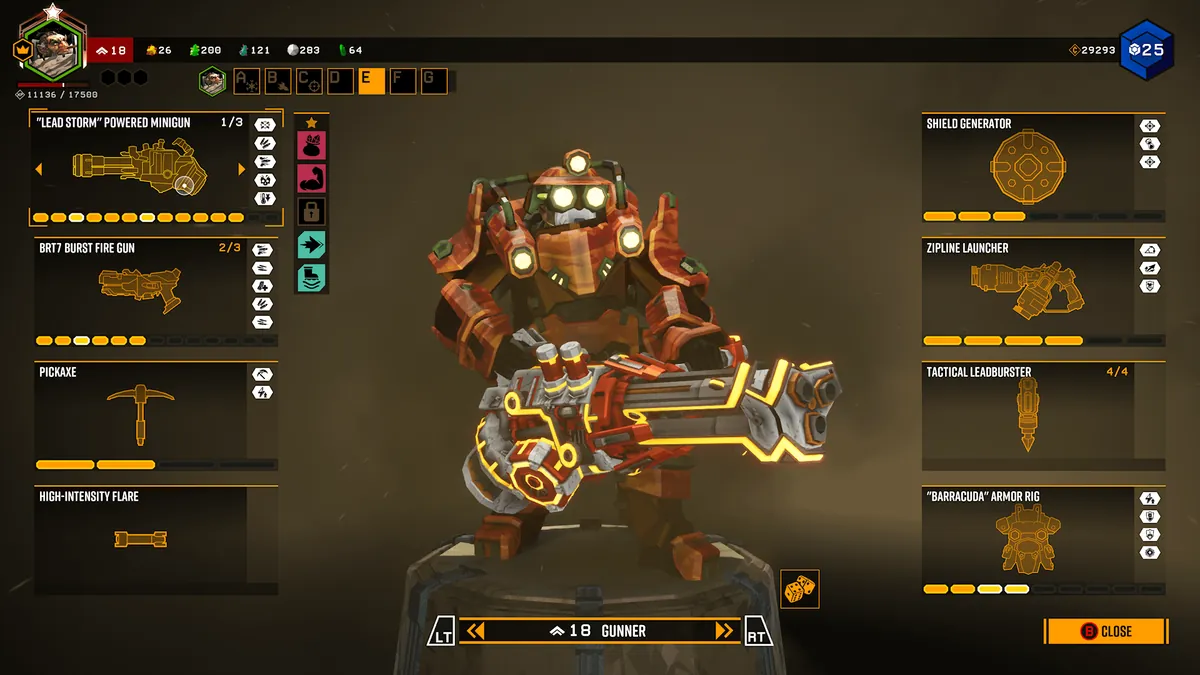 OP
OP Gunner Loadout Evaluation: Core Principles & Optimization Tactics
This report details fundamental principles for constructing effective Gunner loadouts, emphasizing module completion and synergy. Crucial for maximizing combat efficiency and team support across all threat levels.
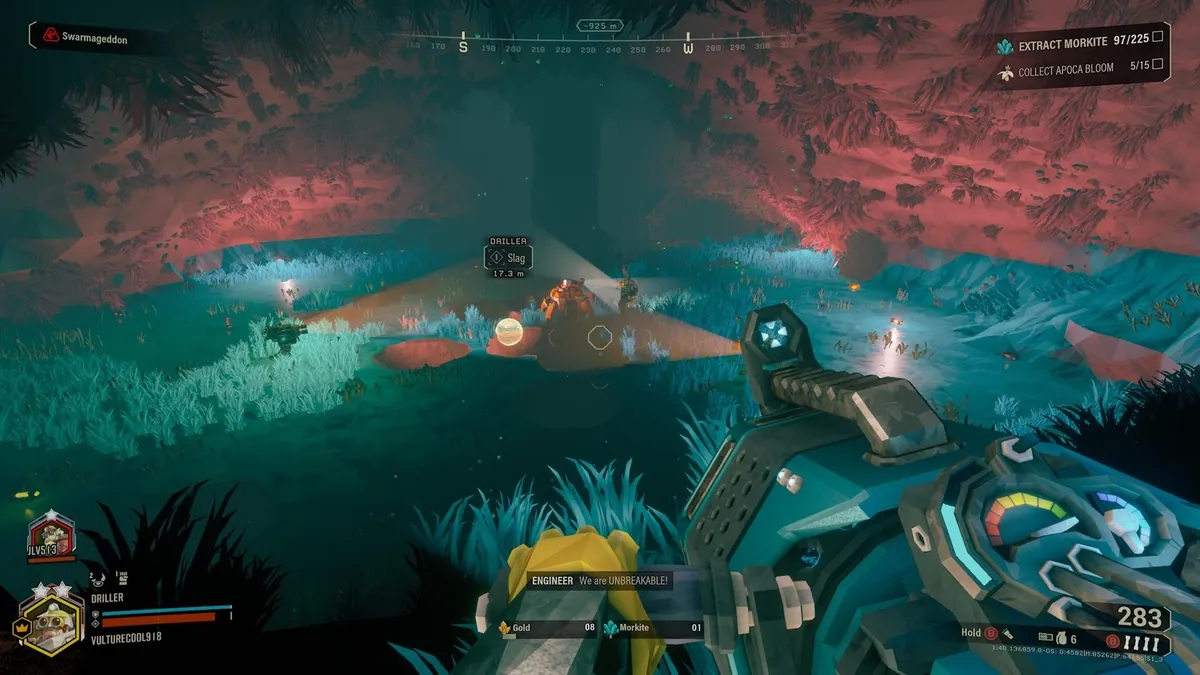 OP
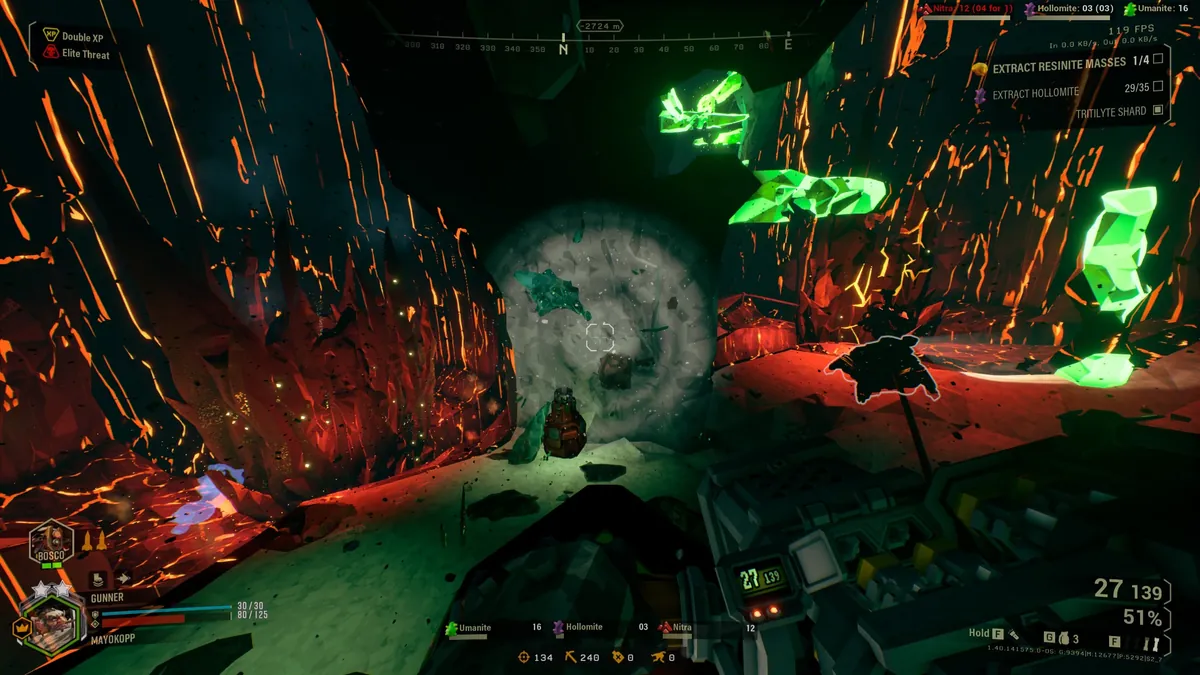
OP Dreadnought Hiveguard: Arena Identification & Pre-Engagement Protocol
This intelligence report details critical environmental cues preceding a Dreadnought Hiveguard encounter, enabling proactive team positioning and loadout optimization. Early recognition is paramount to mitigating unexpected threats and ensuring mission success against this formidable foe.
 OP
OP Lithophage Meteorite Event Analysis: Double Impact Probabilities & Rock Cracker Deployment Doctrine
This intelligence report dissects the rare occurrence of multiple Lithophage Meteorites and critical considerations for Rock Cracker deployment protocols. Understanding these variables is vital for optimizing resource allocation and maintaining operational efficiency during Lithophage Outbreak missions.
 OP
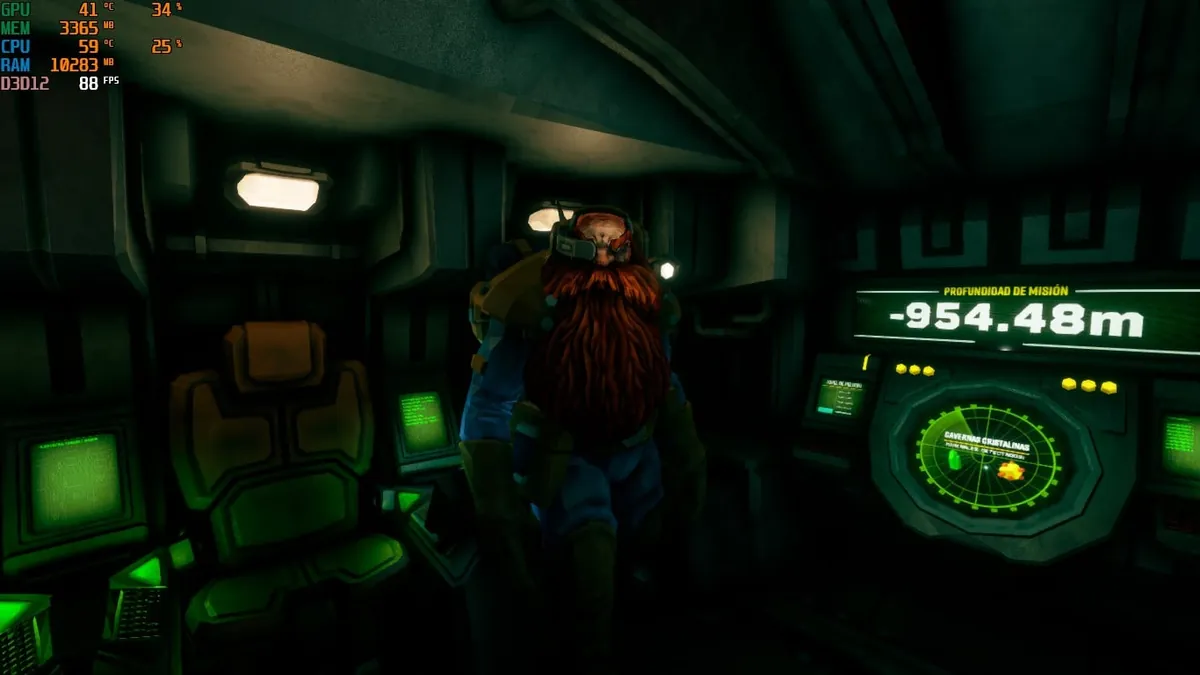
OP Level 1000 Driller Tattoo?! UNLOCKING True Deep Rock Galactic VETERAN STATUS – My Proven Path!
You've seen the legends, now become one! Discover the strategies, mindset, and dedication it takes to reach Level 1000 as a Driller in Deep Rock Galactic, just like this veteran who commemorated his journey with an epic tattoo.
 OP
OP DRG: ROGUE CORE - YOU WON'T BELIEVE OUR FIRST MISSION ESCAPE! (15 SECONDS TO LIVE!)
Just jumped into Deep Rock Galactic: Rogue Core and barely made it out alive? Learn from our nail-biting first mission escape and discover the critical tips that saved our lives (with only 15 seconds left!).
 OP
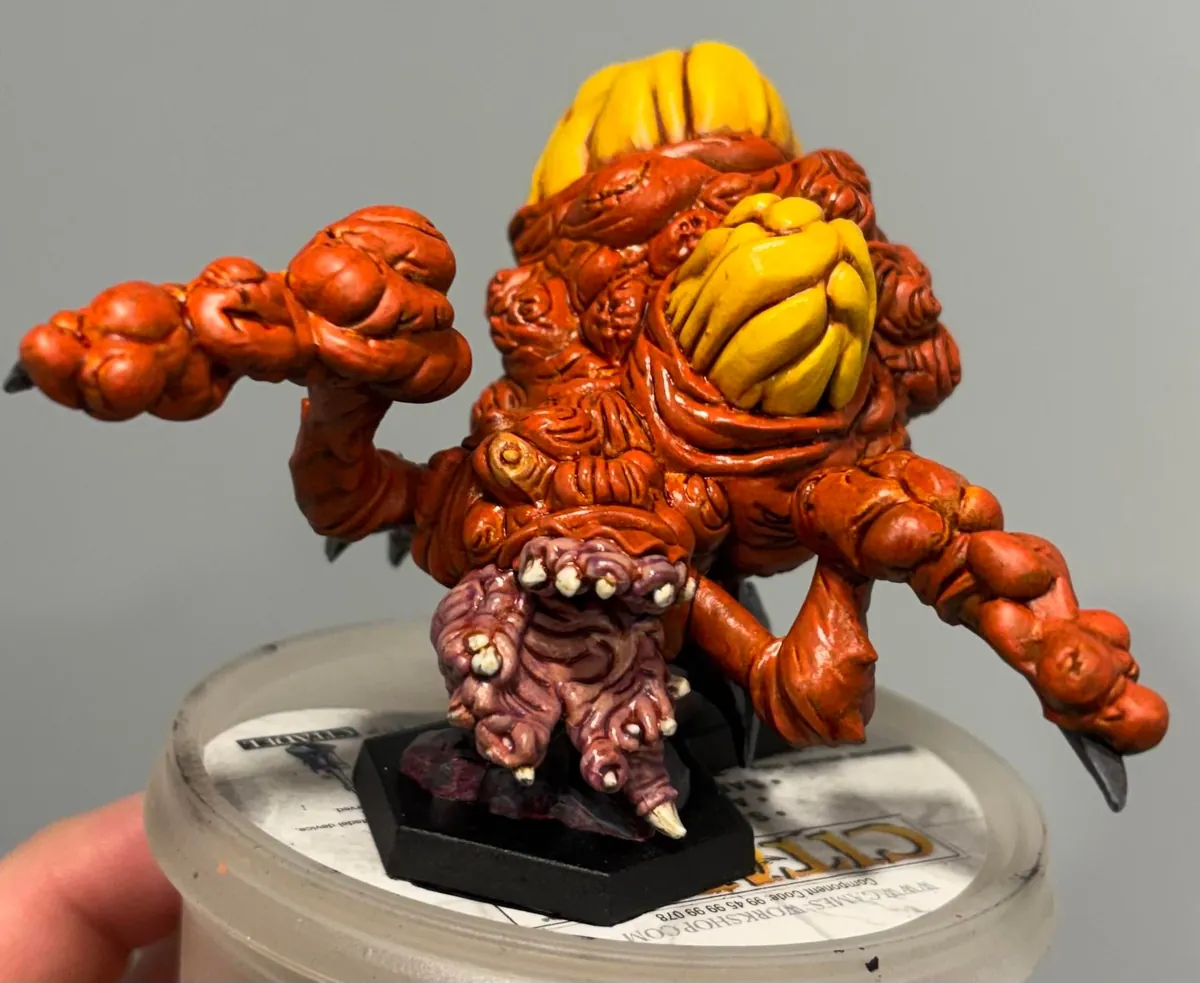
OP UNVEILED: The SHOCKING TRUTH About Bulk Detonators & How to EXTERMINATE Them FAST! (FEAT. TACTICAL LEADBURSTER)
Every veteran dwarf knows the dread: that gargantuan, yellow abomination shambling towards your team, threatening total annihilation. But what if you knew the *secret* weapon and tactics that turn these terrifying encounters into mere speed bumps on your path to glory? Prepare to dissect the horror and conquer it!
 OP
OP STOP Being an ELF! Your ULTIMATE Deep Rock Galactic Rookie Guide (Don't Be Dead Weight!)
Just started your Deep Rock Galactic journey and terrified of being 'dead weight' or, worse, an 'elf'? This essential guide reveals the unspoken rules and critical tactical advice every greenbeard needs to master the caves and earn their beard!
 OP
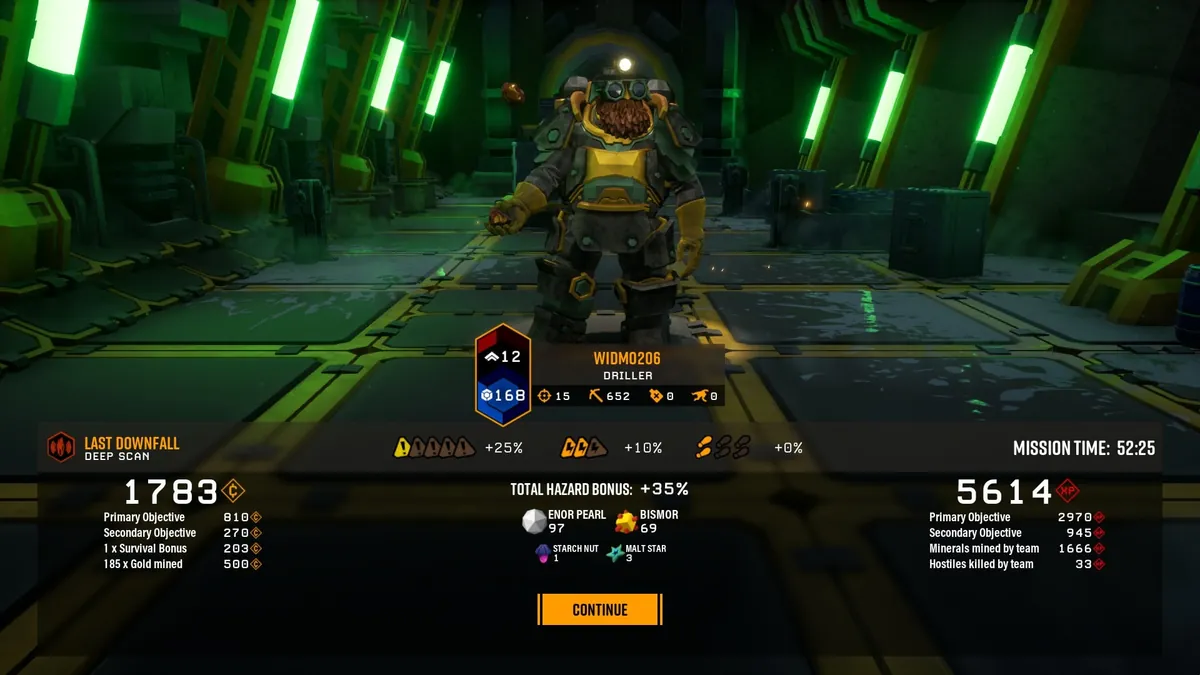
OP UNBELIEVABLE! NEVER Fail a Deep Scan Mission AGAIN! The SECRET 'No-Drillevator' Solo Strategy PROS HATE!
Tired of losing Deep Scan missions on high hazard, especially solo? This game-changing tactic reveals how to bypass the drillevator entirely, securing victory even when your back's against the wall and your team is down!