▶ Classified: VIDEO INTEL
 OP
OP On-site Refining: Master Pipe Grinding & Efficient Builds
Mastering pipe grinding and efficient placement streamlines On-site Refining missions. Prioritize smooth routes for rapid traversal and resource flow.
 OP
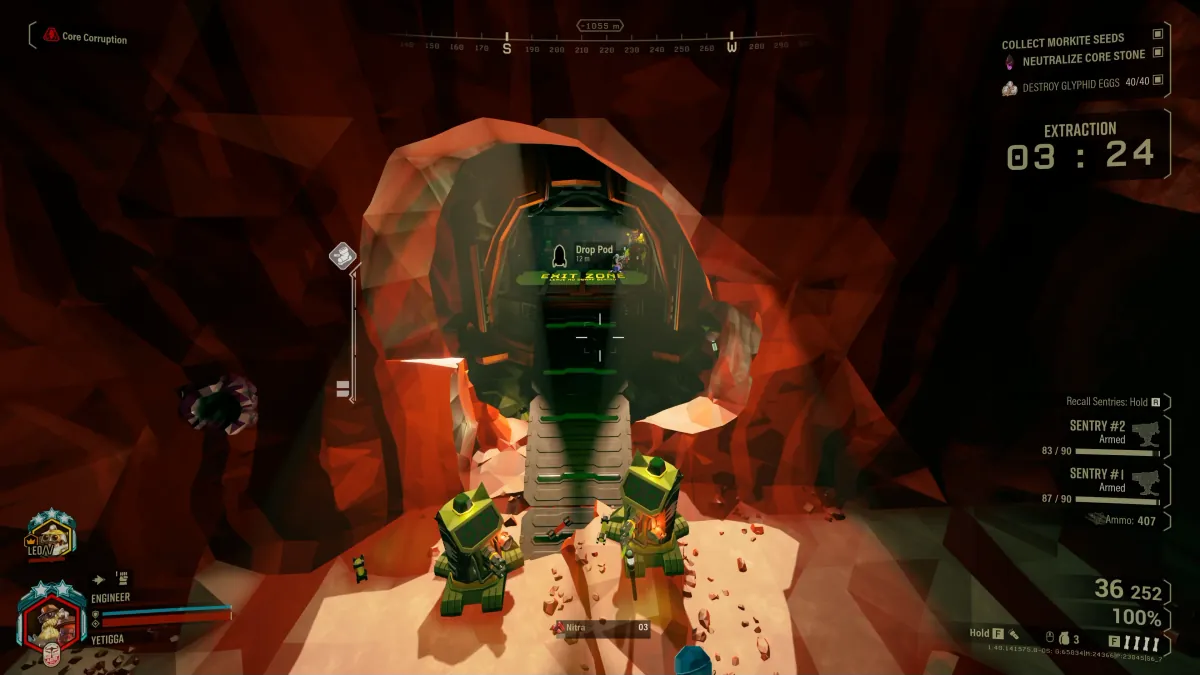
OP Stingtail Counter Tactics: Avoid Pulls and Environmental Traps
Stingtails are lethal threats, especially near the Drop Pod. Learn to identify their telegraphs, use terrain, and leverage mobility tools to avoid deadly pull attacks and environmental traps.
 OP
OP DRG Overclocks: What Happens When You Have Them All?
Once all available weapon Overclocks are forged, rewards shift to Infused Matrix Cores or cosmetic cores instead. This signals complete mastery of current weapon modifications.
 OP
OP Deep Rock Galactic Swarm Survival Tips
Mastering Swarm Survival is critical on Hoxxes. Prioritize kiting, focused fire on high-threat targets, and strategic use of team utility to avoid being overrun.
 OP
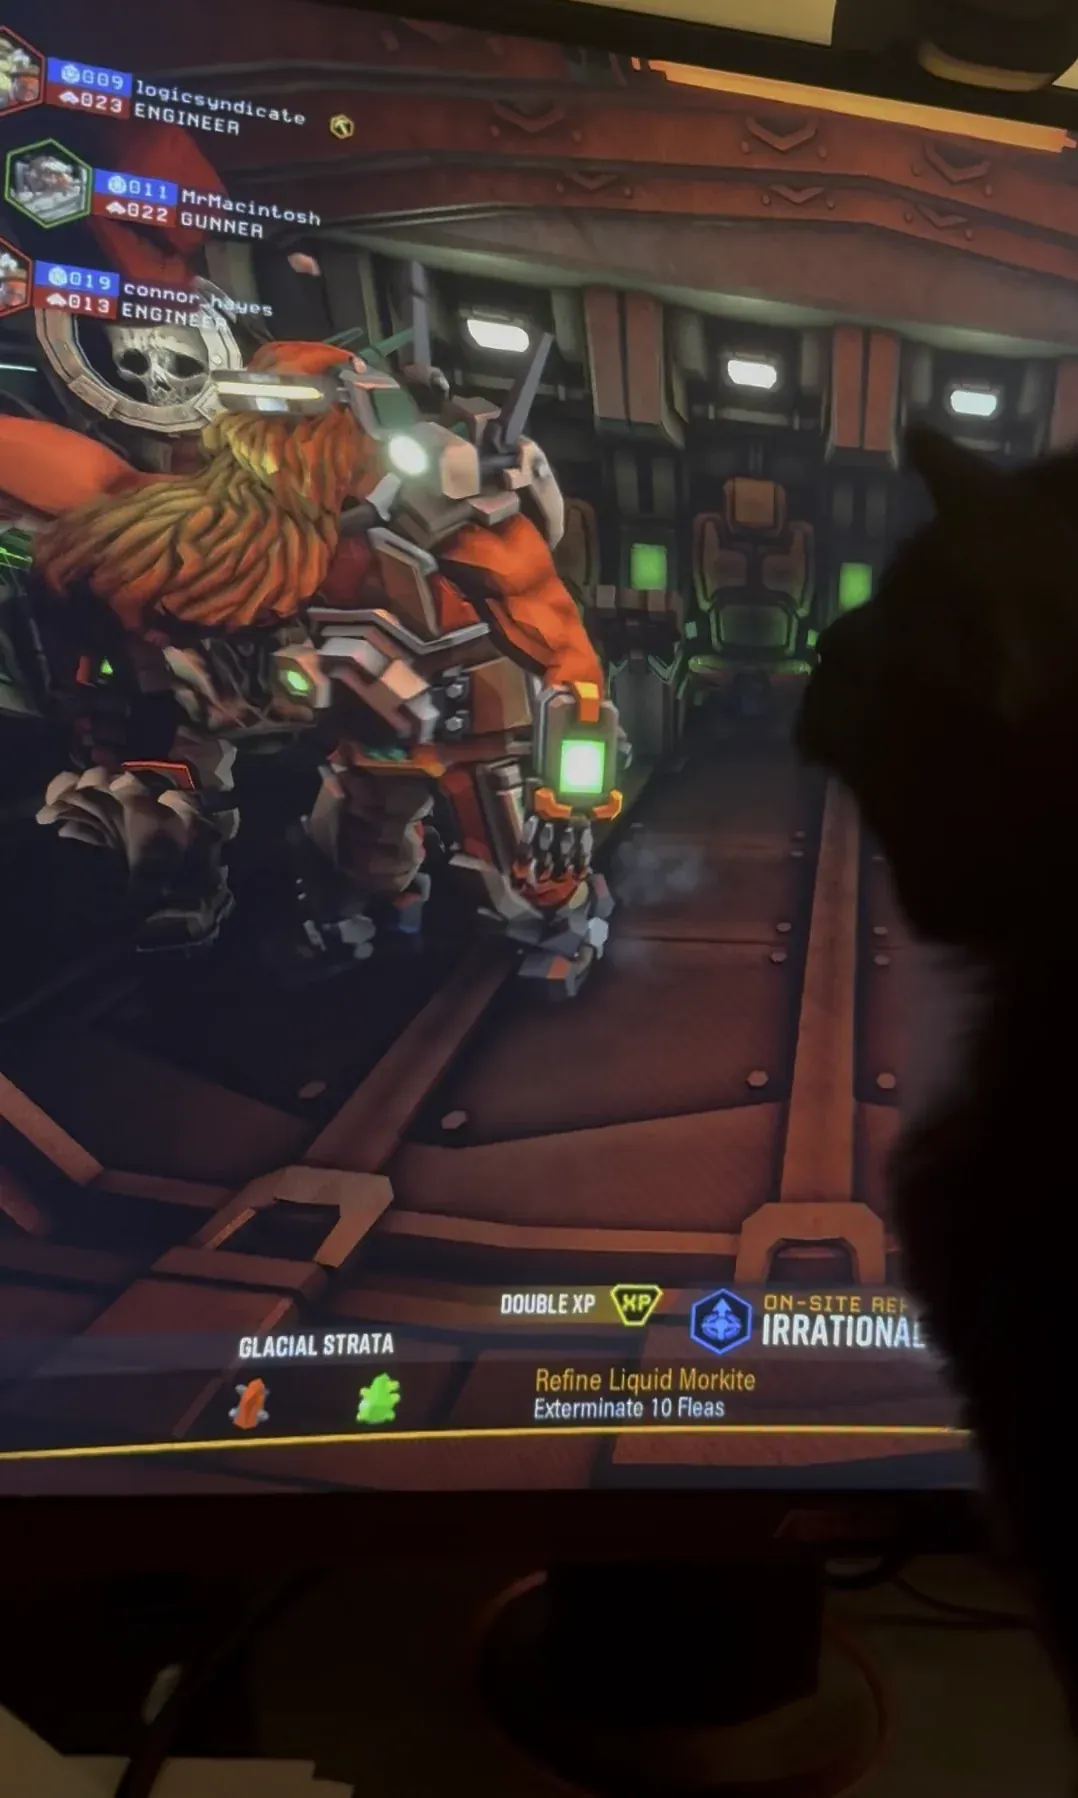
OP Deep Rock Galactic Scanner Tips: Swarm Identification & Response
Learn to interpret your scanner for incoming swarms and high-threat areas. Quickly identify dangerous enemy densities and prepare your team for effective combat.
 OP
OP Deep Rock Galactic Lost Pack Guide: How to Find Miner's Gear
Lost Packs are fallen Miners' gear caches, often yielding cosmetics and precious minerals. Learn to spot the faint beeping and locate them quickly for bonus rewards.
 OP
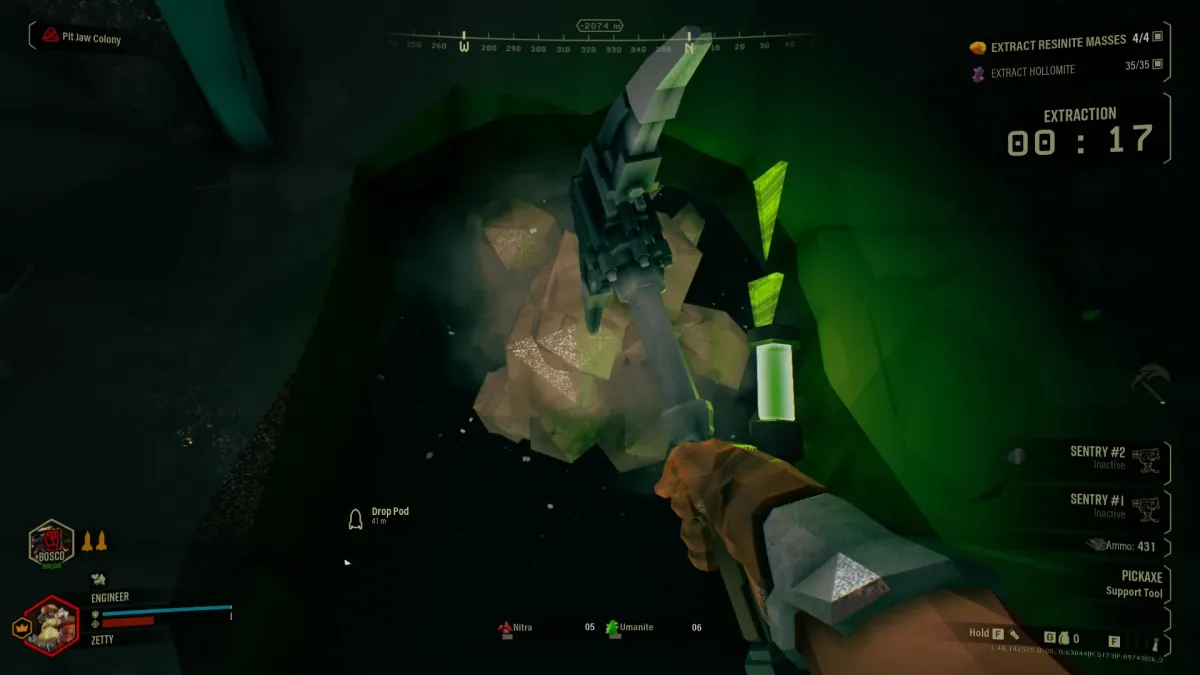
OP How to Guide Molly for Faster Extraction
Learn how to effectively guide Molly's path during complex extractions to avoid getting lost and running out of time. Strategic placement helps ensure a swift return to the Drop Pod.
 OP
OP Rogue Core Pitjaw Warning: How to Survive Ambushes
Pitjaws are deadly ambush predators in Rogue Core; avoid running into unexplored zones blindly. Always check your radar and listen for their growls to prevent an ambush.
 OP
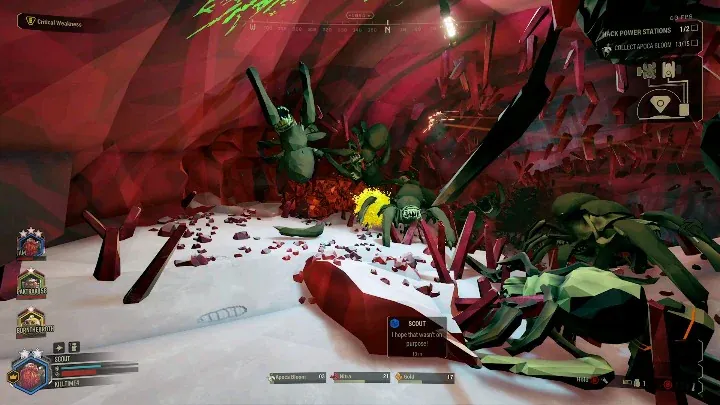
OP Scout Explosive Bolts: Pheromone Combo for Swarm Clear
Master the Scout's Explosive Bolts by pairing them with Pheromone Canisters to effectively clear Glyphid swarms. Grouped enemies explode, maximizing damage.
 OP
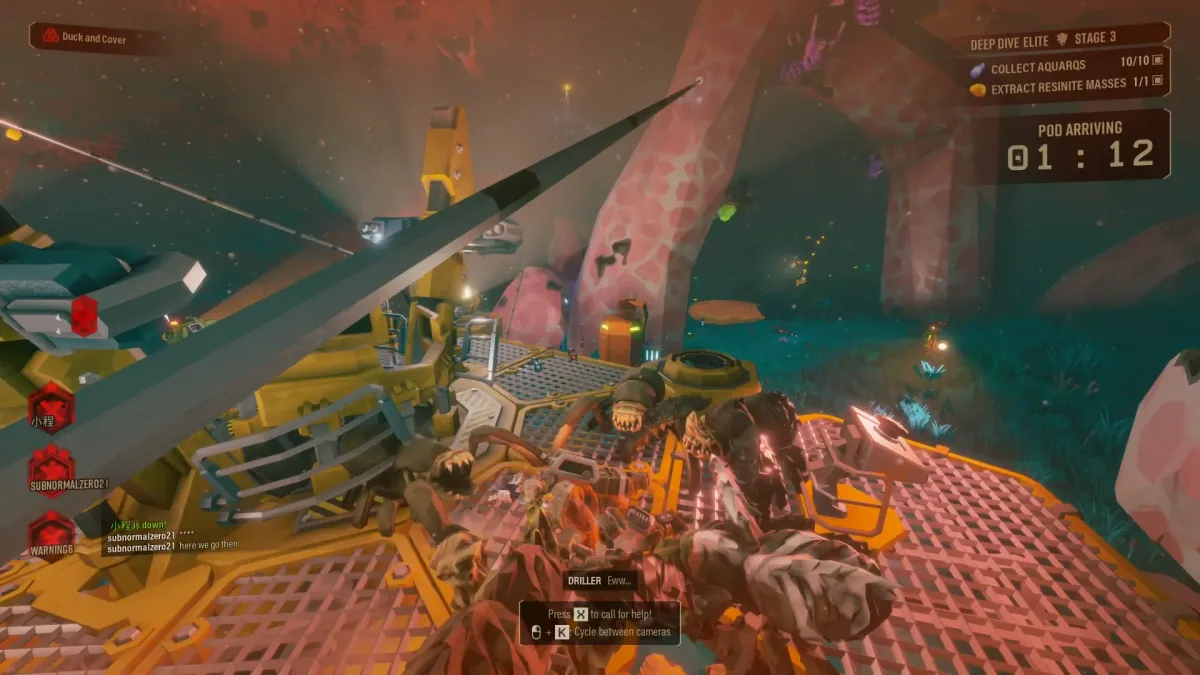
OP Deep Rock Galactic Swarm Management Tips
Learn effective strategies to manage overwhelming Glyphid swarms and create vital breathing room on Hoxxes IV. Master positioning and class abilities for survival.
 OP
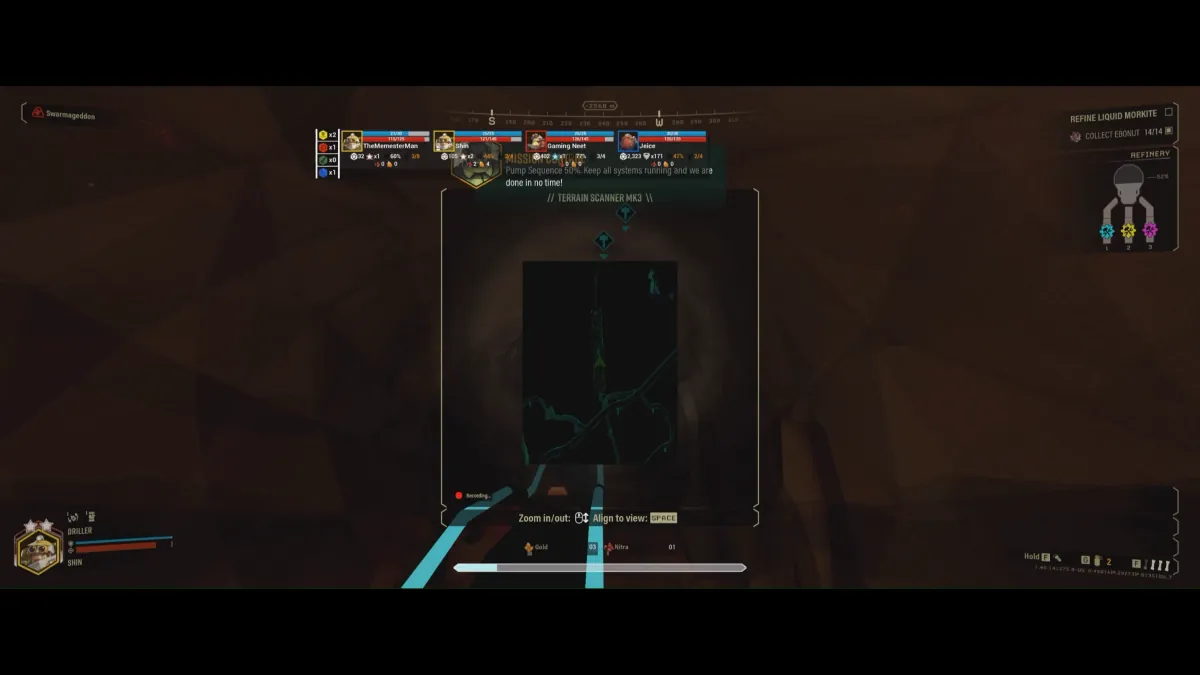
OP Deep Rock Galactic: How to Get Karl's Got Your Back Achievement
To earn the 'Karl's Got Your Back' achievement, extend any Deep Rock Galactic mission past 60 minutes. Focus on resource management and cautious exploration to survive the duration.
 OP
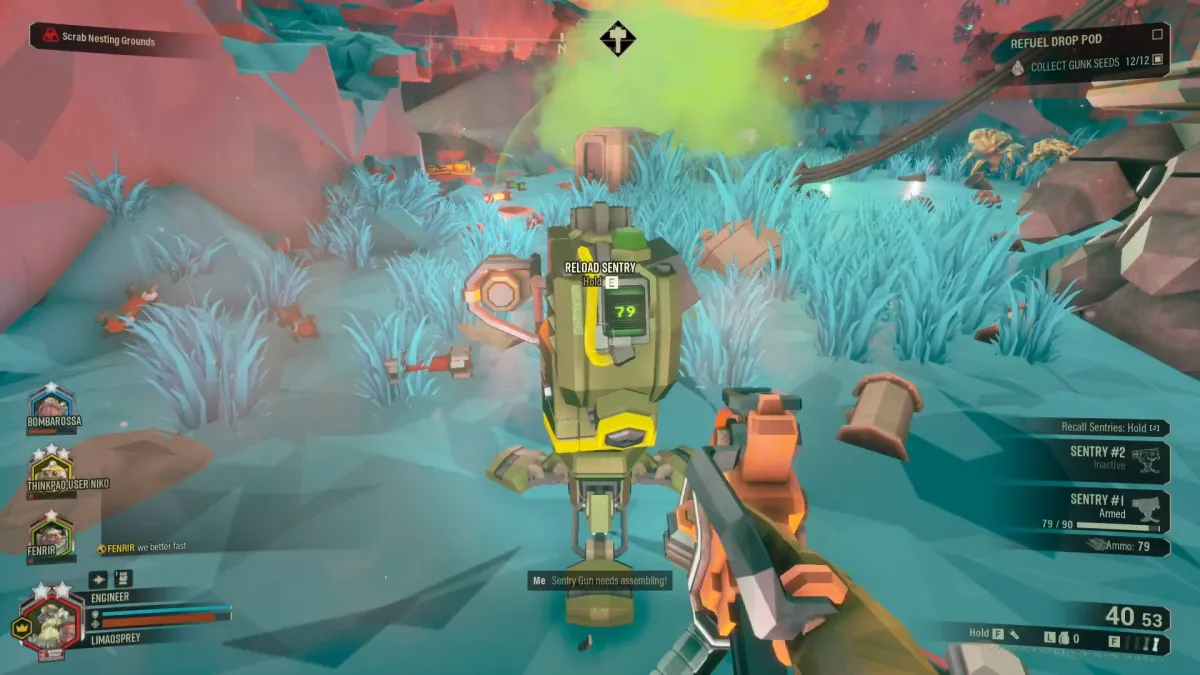
OP DRG Nitra Management Tips: Survive Low Resupply
Mastering Nitra Management is crucial for deep dives and difficult missions. Learn tactics to conserve ammo, collect efficiently, and survive when resupply pods are scarce.
 OP
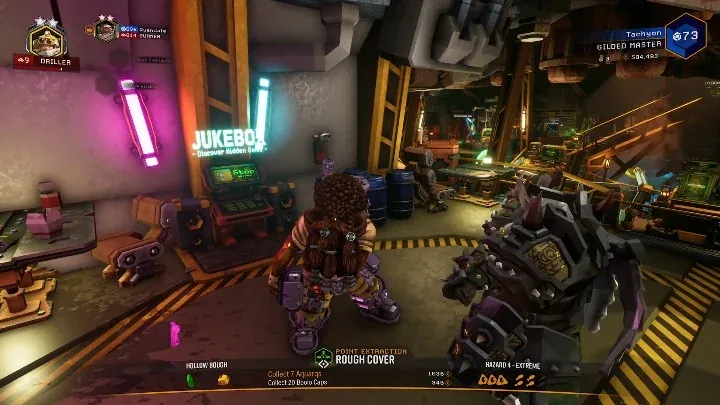
OP Deep Rock Galactic Jukebox Songs Explained
Learn how to identify Deep Rock Galactic Jukebox songs and their origins. Discover why some tracks are difficult to pinpoint and where to find the full soundtrack.
 OP
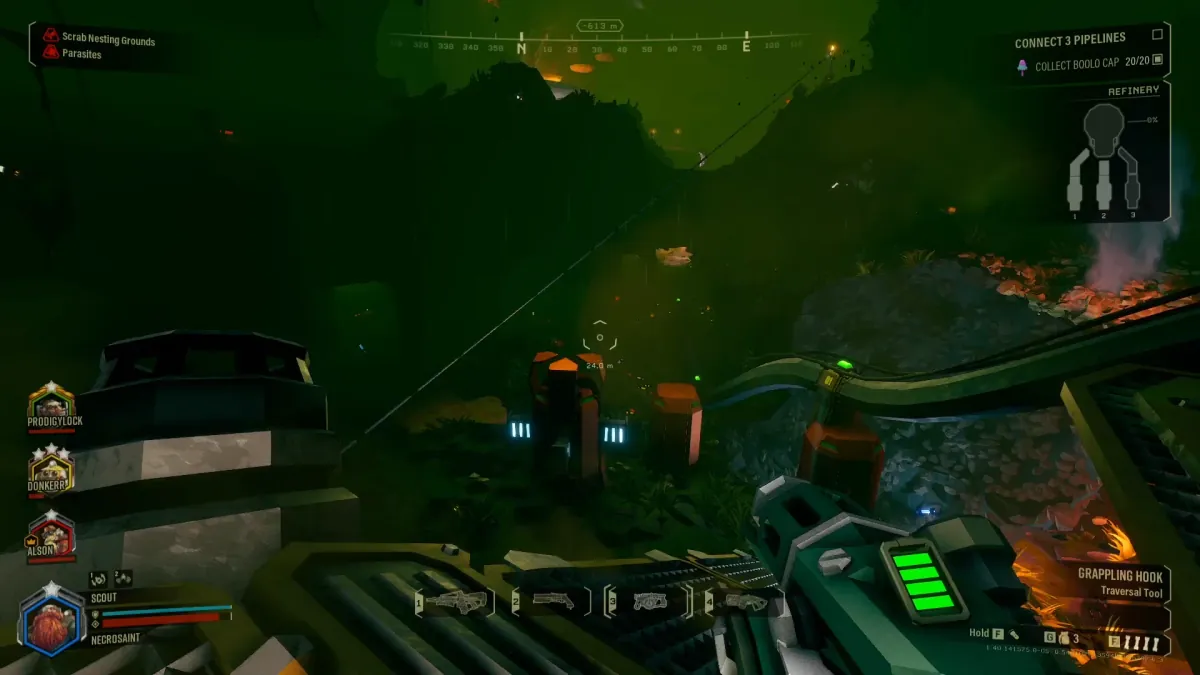
OP Scout Tips: Maximizing Flare Gun Visibility
Efficient Scout Flare Gun usage is crucial for team survival and resource extraction. Learn how to maximize your visibility to spot threats and minerals effectively.
 OP
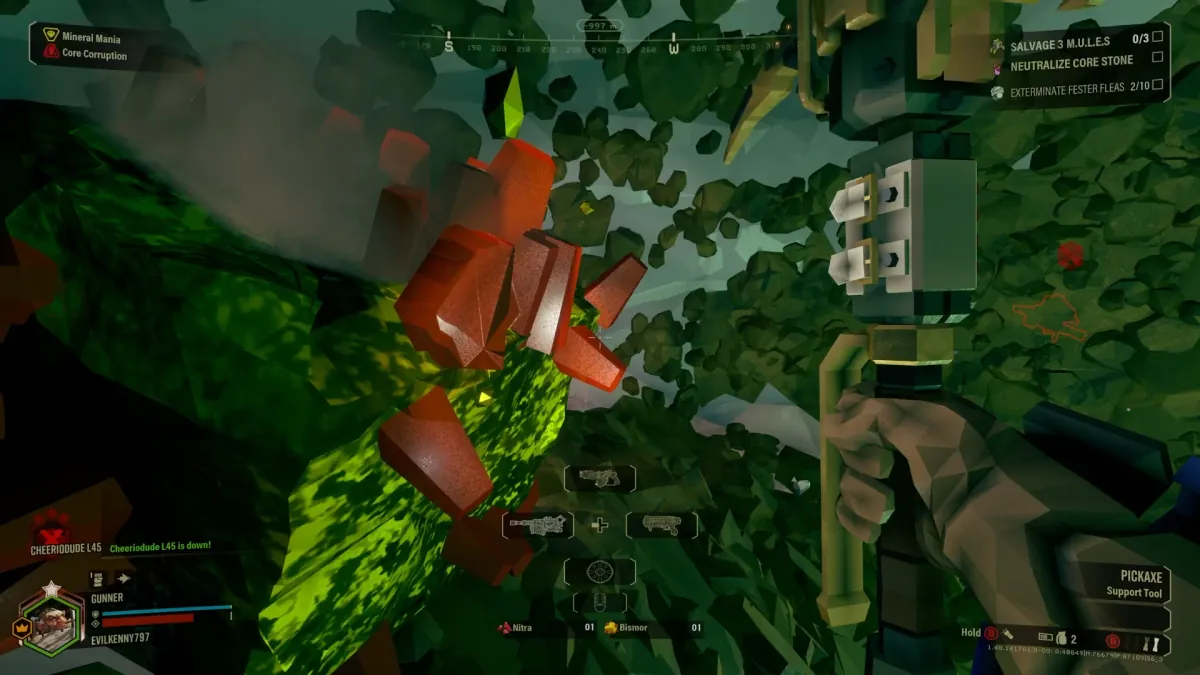
OP DRG Sudden Deaths: Identify & Avoid Common Hazards
Learn to quickly identify and counter the most common causes of sudden death on Hoxxes IV. Understand environmental threats and unexpected enemy attacks to survive longer.
 OP
OP How to Spot Cave Leeches Before They Grab You
Always check the ceiling and listen for tell-tale hisses to avoid Cave Leeches. These silent ambush predators can snatch unwary Miners, costing valuable time and Nitra.
 OP
OP DRG Drop Pod Resources: How to Mine Heartstone Efficiently
Learn the best methods for extracting Heartstone and other valuable resources that appear below the DRG Drop Pod after landing. Maximize your take and avoid leaving valuable minerals behind.
 OP
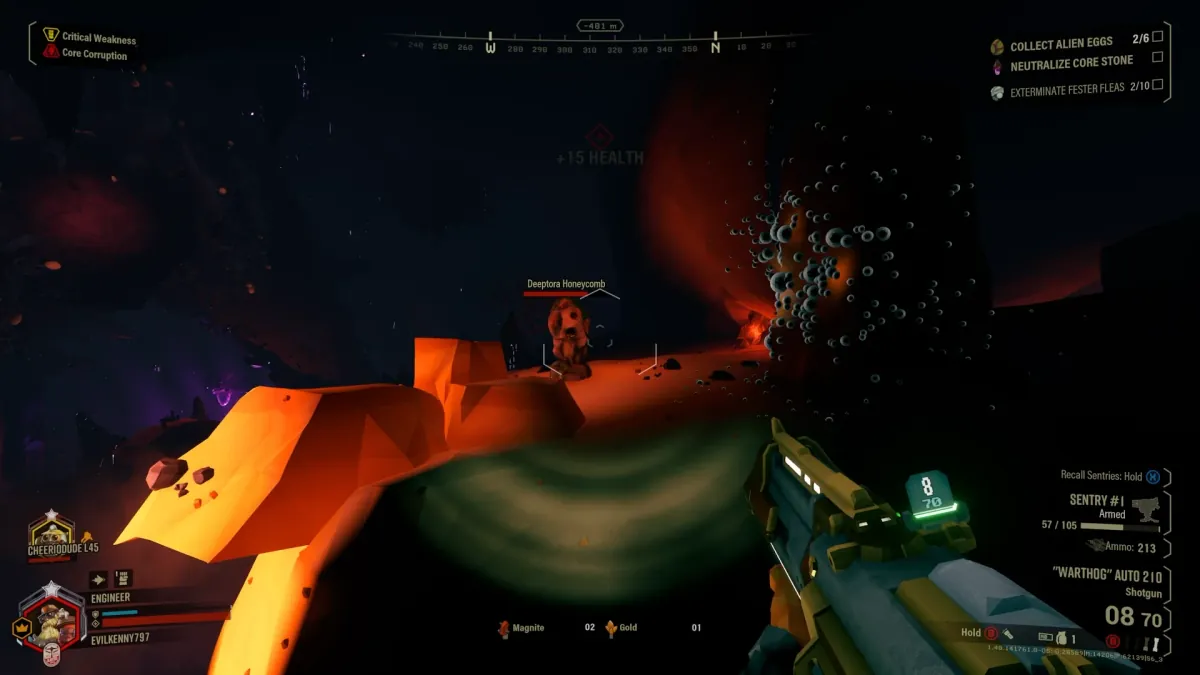
OP Mactera Trawler Guide: Counter & Escape Tips
Mactera Trawlers demand quick reactions; focus fire and avoid isolated positions to counter their grab attack. Learn their weaknesses and escape tactics to survive these ambushing Mactera.
 OP
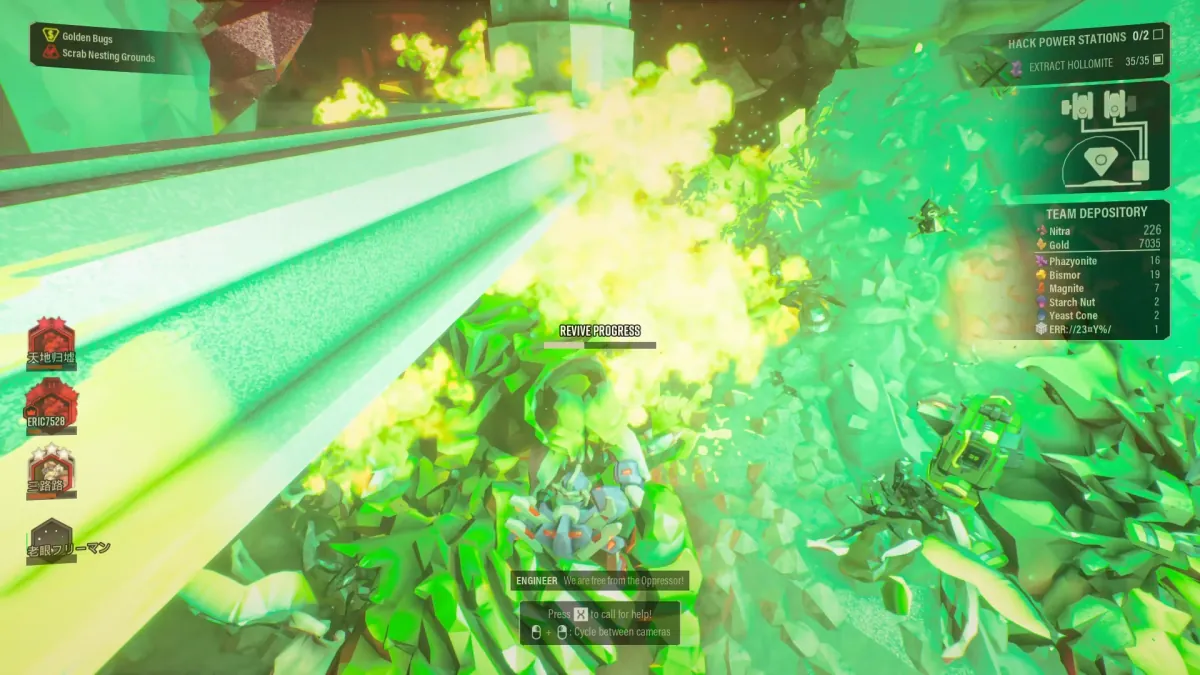
OP Deep Rock Galactic Swarm Clear: Hazard 4 Optimizations
Master effective swarm clear tactics for Hazard 4. Learn to funnel Glyphids and optimize area-of-effect abilities to secure critical breathing room against overwhelming numbers.
 OP
OP Deep Rock Galactic Custom Difficulty & Modded Lobbies Guide
Understand what makes a Deep Rock Galactic lobby unexpectedly difficult, from official custom difficulty settings to unofficial mods. Learn to identify and survive extreme custom challenges.
 OP
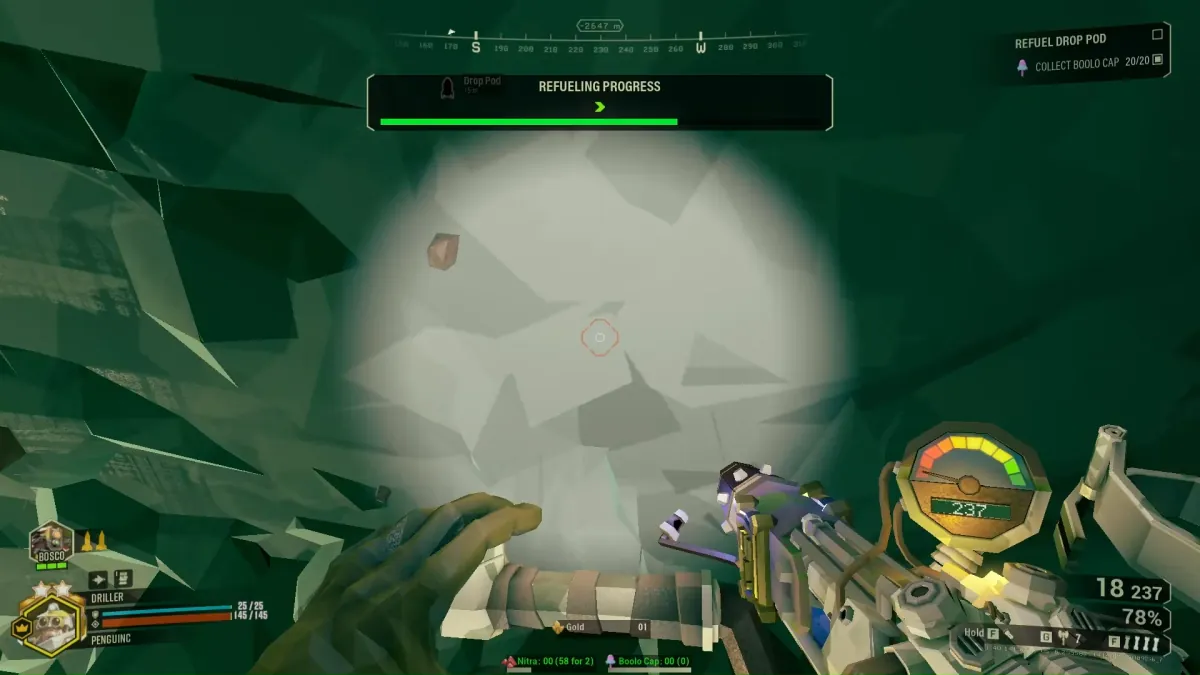
OP How Driller Survives Bulk Detonator in a Bunker
Learn how a solo Driller can survive a Bulk Detonator attack while bunkered, even on Hazard 5. Strategic kiting and evasion are key when direct combat isn't an option.
 OP
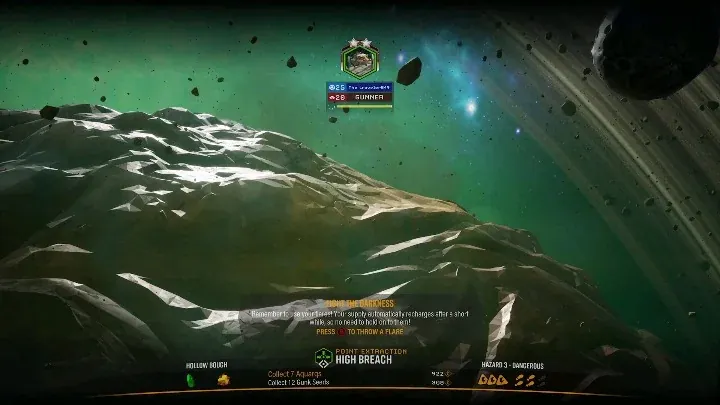
OP Optimizing Team Positioning for Clear Shots
Proper team positioning prevents friendly fire and ensures clear sightlines for all Miners. Learn key angles and movement patterns to maximize team firepower and avoid hindering fellow Dwarves.
 OP
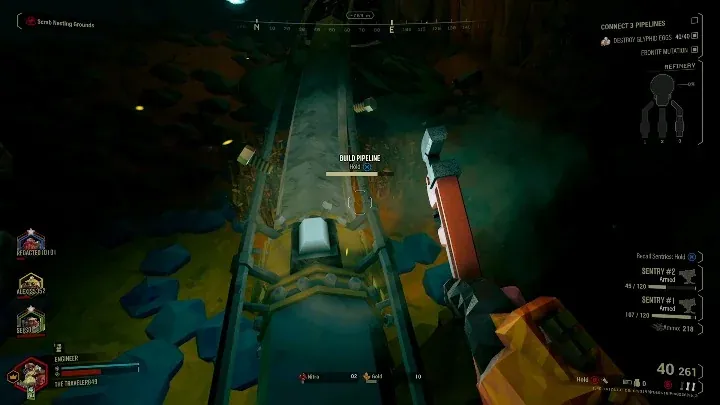
OP Driller Swarm Clear Guide: Efficient 'Little Ones' Elimination
Master effective Driller strategies for eliminating Glyphid Swarmers and other minor pests quickly. Learn which weapons and tactics turn small threats into negligible dust.
 OP
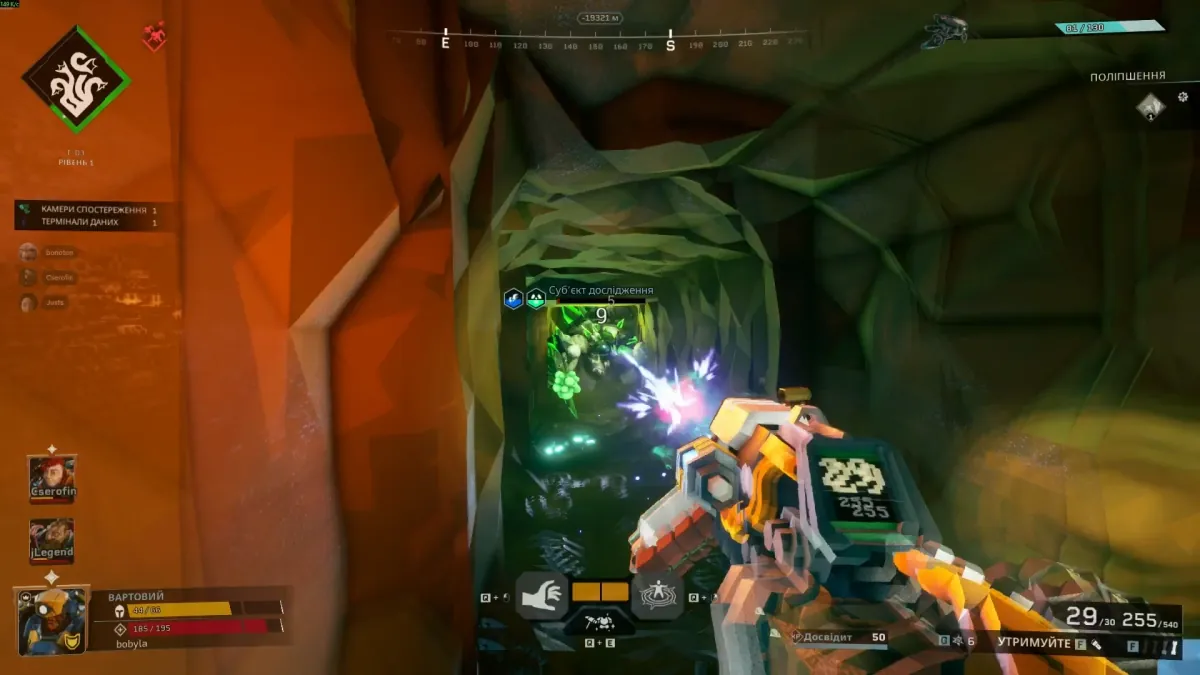
OP Rogue Core Gold Detonator: How to Maximize XP & Gold
Learn the best strategies for exploiting the Rogue Core Gold Detonator to maximize your XP and gold gains. This tactical guide ensures your crew extracts maximum value from every encounter.
 OP
OP How to Efficiently Mine Compressed Gold in DRG
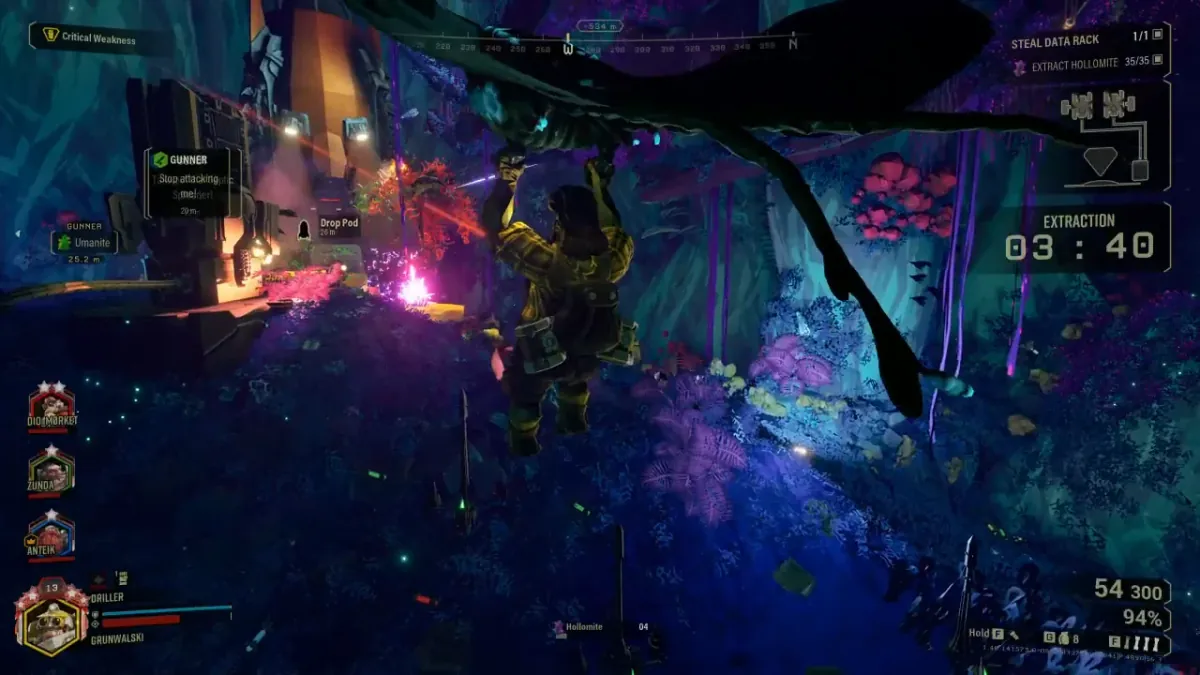
Maximize gold extraction from Compressed Gold veins with effective team coordination. Learn efficient mining techniques and communication for these lucrative finds.
 OP
OP Deep Rock Galactic: How to Avoid Stingtail Grabs as a Scout
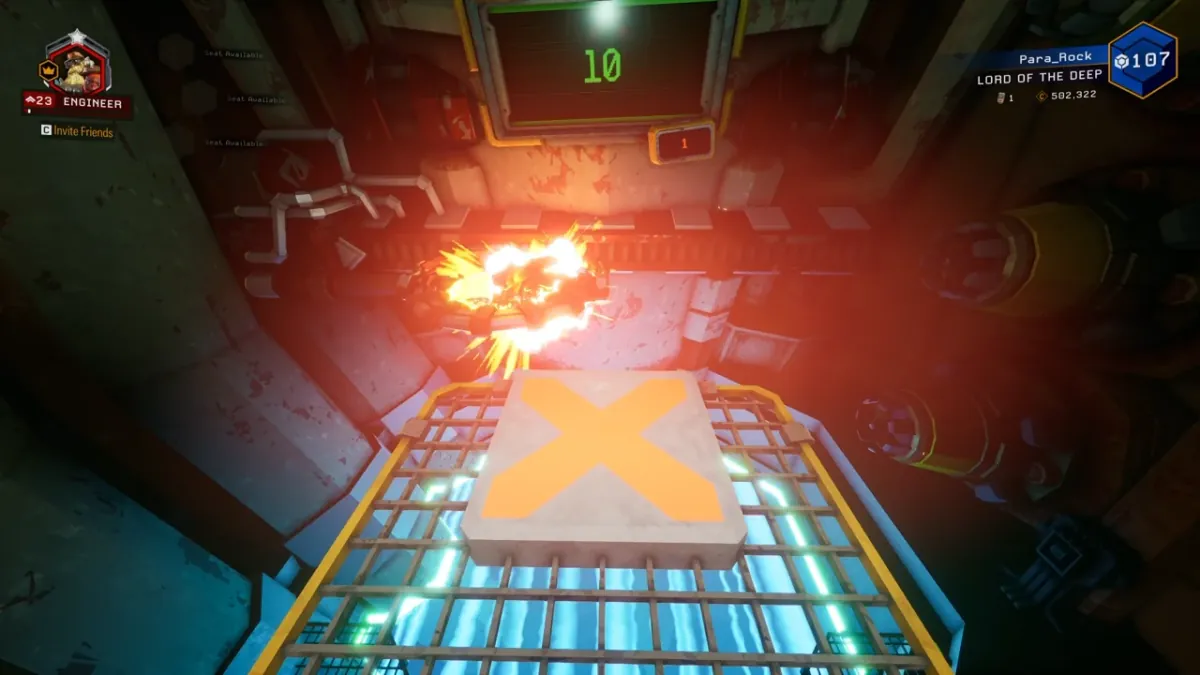
Avoid Stingtail grabs as a Scout by staying low and listening for audio cues. Getting pulled while airborne can be a fatal mistake during critical moments near the Drop Pod.
 OP
OP How to Spot DRG Environmental Hazards: Visual Cues Guide
Learn to identify DRG environmental hazards quickly before they down your team. Mastering visual cues is crucial for survival in any mission.
 OP
OP Driller Sticky Fuel Build: Maximize Flamethrower Swarm Control
Master the Driller's Sticky Fuel Flamethrower for ultimate swarm control. This guide details the best build and tactics to incinerate Glyphid hordes.
 OP
OP Deep Rock Galactic Swarm Management: Essential Miner Tactics
Mastering Deep Rock Galactic Swarm Management is key to survival. Learn essential positioning, crowd control, and resource tactics to overcome any Glyphid threat on Hoxxes IV.
 OP
OP Deep Rock Galactic Jukebox: When to Avoid it on the Space Rig
Avoid the Deep Rock Galactic Jukebox until mission prep is complete. Distractions in the Space Rig can lead to unprepared drops, costing Nitra and team efficiency. Prioritize readiness.
 OP
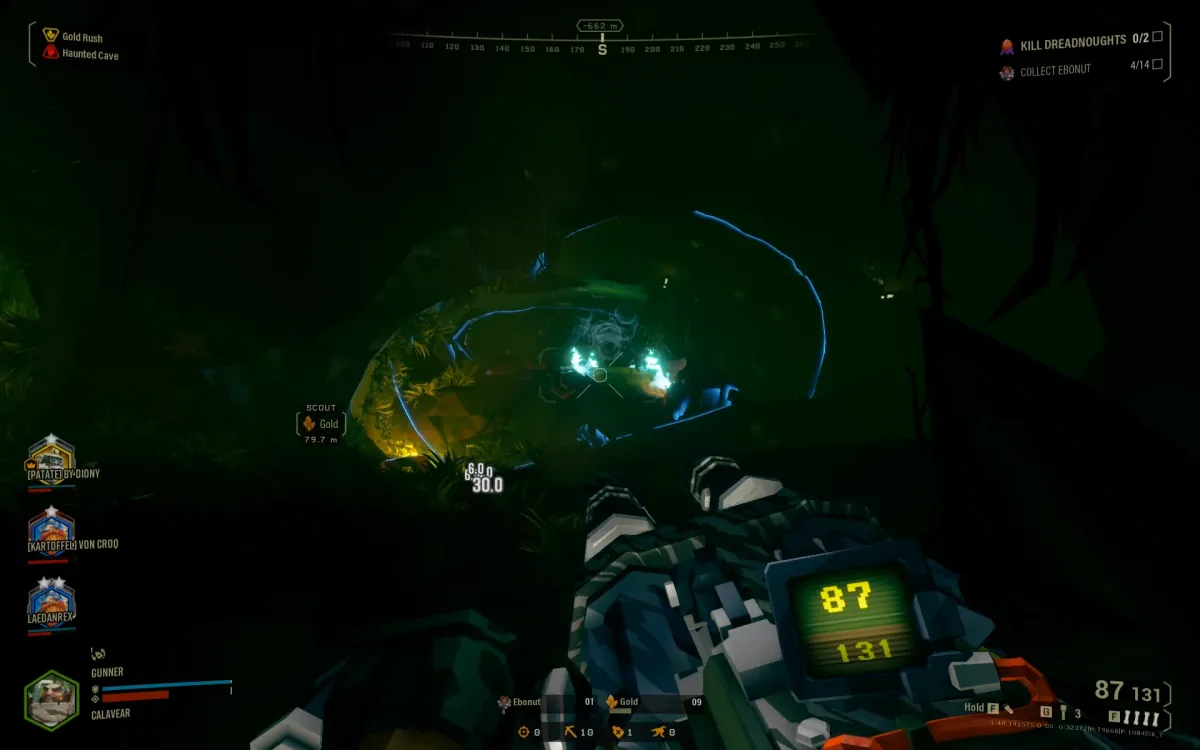
OP Bulk Detonator Guide: Tactics for the Walking Bomb
Learn how to effectively deal with a Bulk Detonator, one of the most dangerous enemies on Hoxxes IV. Master its weaknesses to protect your team and mission.
 OP
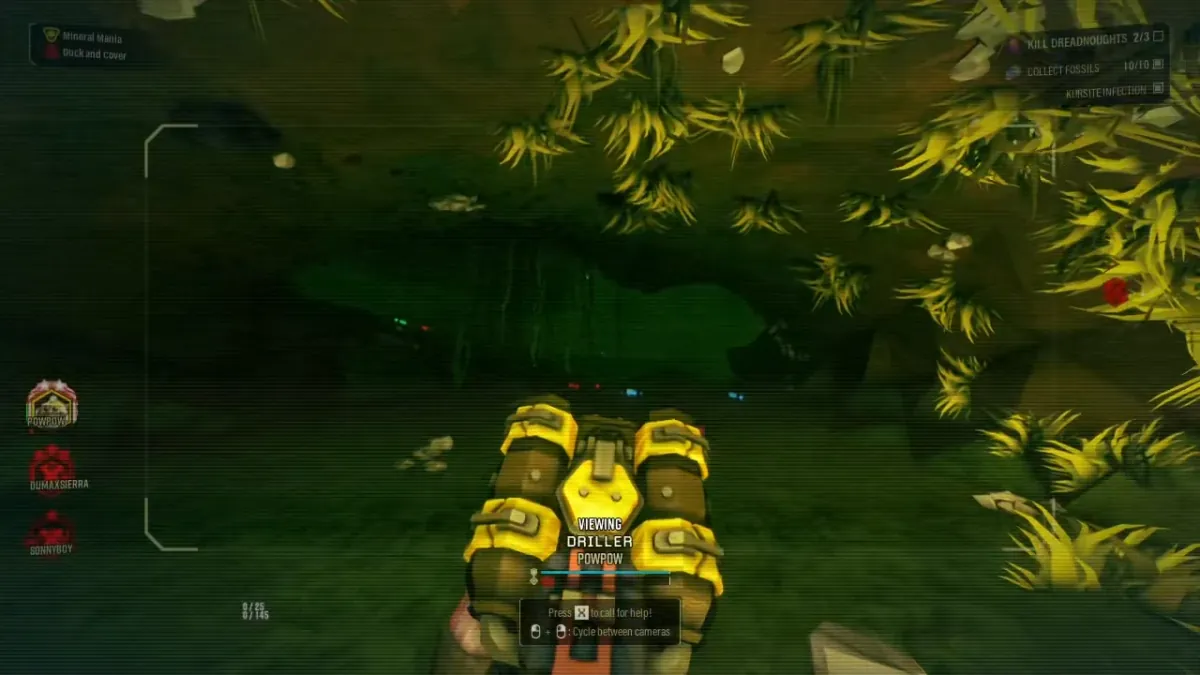
OP Deep Rock Galactic: Emergency Ammo Tactics for Dreadnoughts
Learn critical Deep Rock Galactic emergency ammo tactics to survive when your team runs dry against powerful enemies like Dreadnoughts. Wise miners always plan for the worst.
 OP
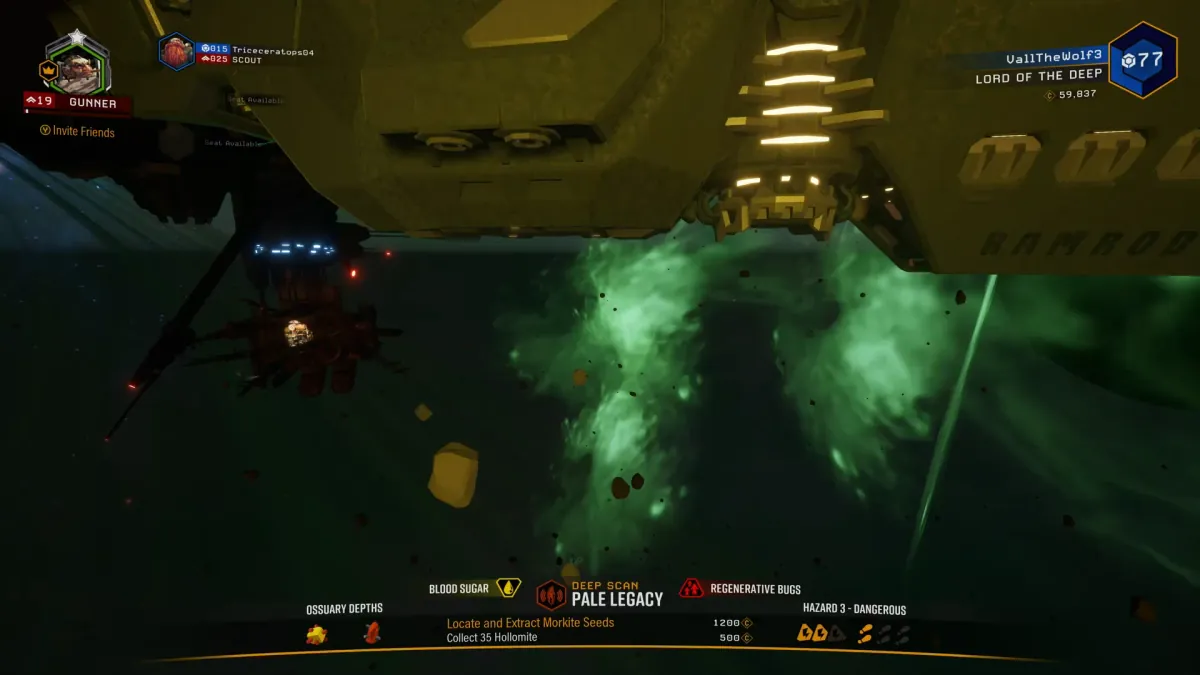
OP Rogue Core Reclaimer Guide: What Changes From DRG
Understand how Rogue Core Reclaimers function differently from standard Deep Rock Galactic missions. Learn their role and tactical impact on gameplay.
 OP
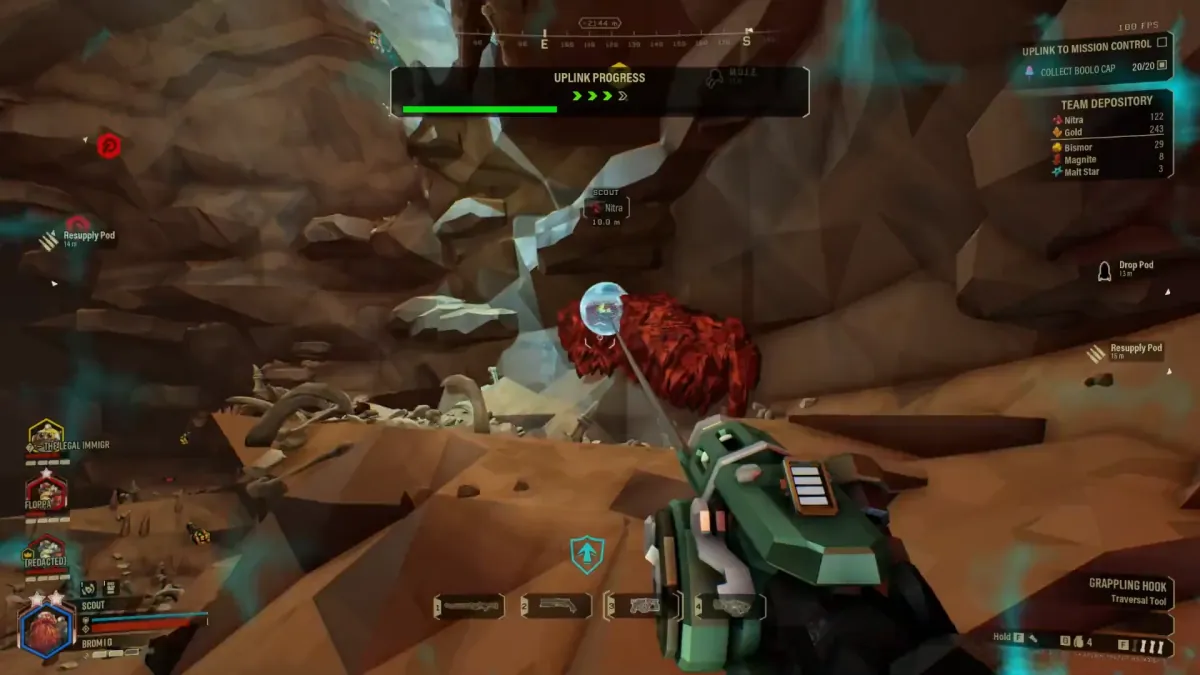
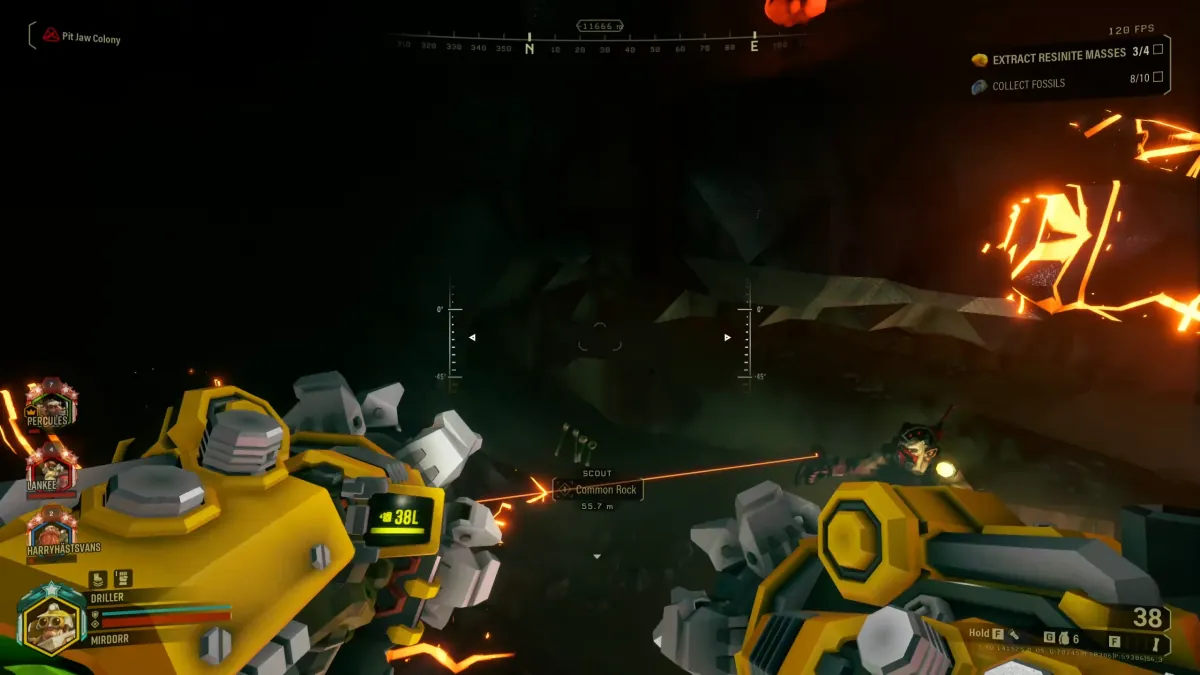
OP Deep Rock Galactic Scout Survival Tips: Use Mobility Wisely
Master Scout Mobility to escape sticky situations and avoid 'unlucky' deaths on Hoxxes IV. Learn how proper grapple usage, positioning, and target prioritization keep your Scout alive.
 OP
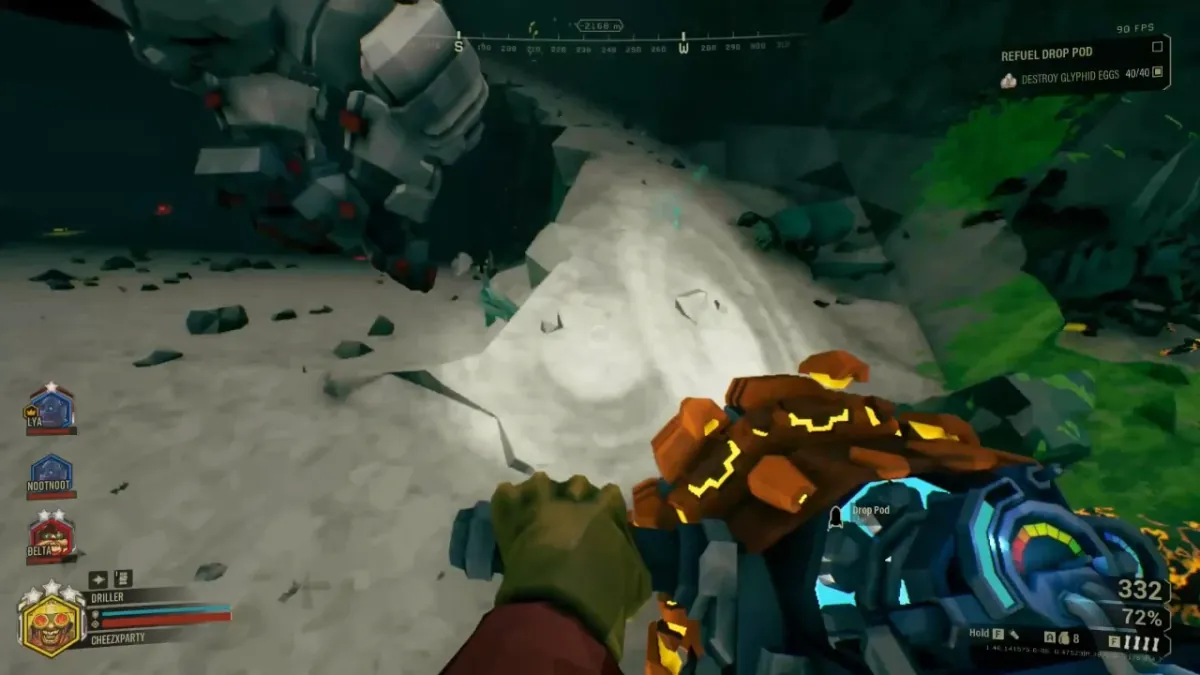
OP Deep Rock Galactic Combat Effectiveness Guide
Learn key strategies to boost your combat effectiveness in Deep Rock Galactic. Master positioning, resource management, and target priority to overcome any threat.
 OP
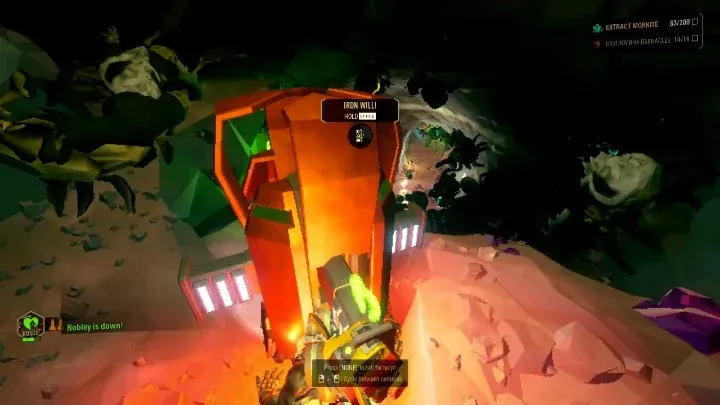
OP Deep Rock Galactic Hazard 5 Survival Tips
Mastering Hazard 5 requires meticulous movement and priority targeting. Learn essential survival tips to keep your beard intact under extreme pressure, minimizing mistakes.
 OP
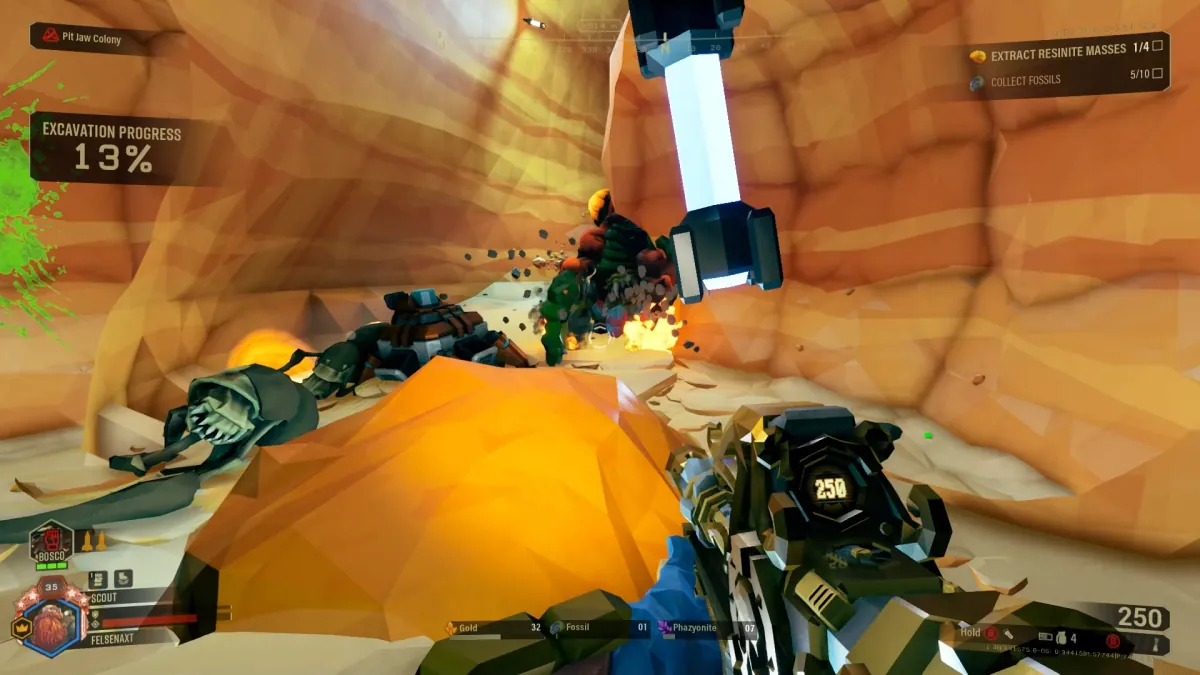
OP Deep Rock Galactic Swarm Clearing: Best Tactics Explained
Master effective swarm clearing in Deep Rock Galactic by using intelligent positioning, coordinated fire, and environmental traps. Learn to wipe out Glyphid hordes efficiently.
 OP
OP How to Use Exploder Glyphids for Area Denial
Learn to turn Exploder Glyphids into an asset for area control and damage against other foes. Master their timing and positioning to clear swarms efficiently.
 OP
OP Deep Rock Galactic: Lone Wolf Survival Mistakes
Going solo on Hoxxes IV often results in swift death and mission failure. Learn to leverage team synergy and avoid Lone Wolf Survival Mistakes for better Deep Rock Galactic outcomes.
 OP
OP Deep Rock Galactic: How to Disable Swarms with Custom Difficulty
Learn how to disable swarms in Deep Rock Galactic using the Custom Difficulty mod. Practice new builds or explore biomes without constant enemy pressure.
 OP
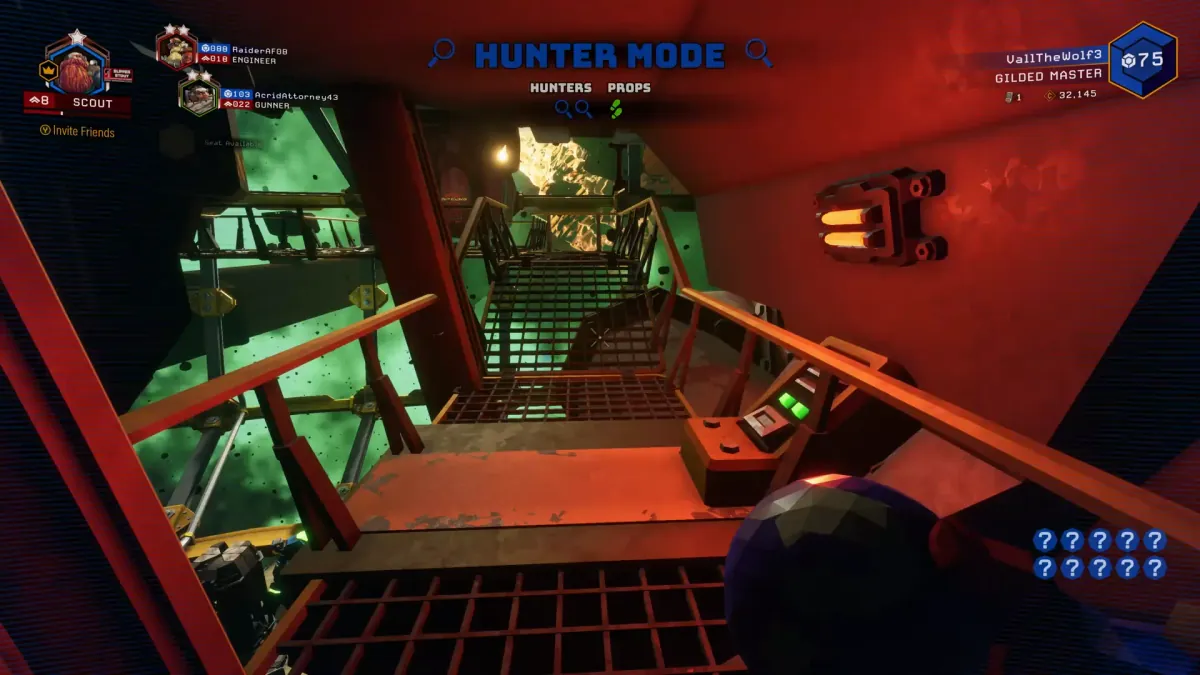
OP Rogue Core Reclaimers: Understanding Their Return
Understand the significance of Rogue Core Reclaimers and their visual return to the Outpost. This event reveals ongoing Deep Rock Galactic operations and resource cycles.
 OP
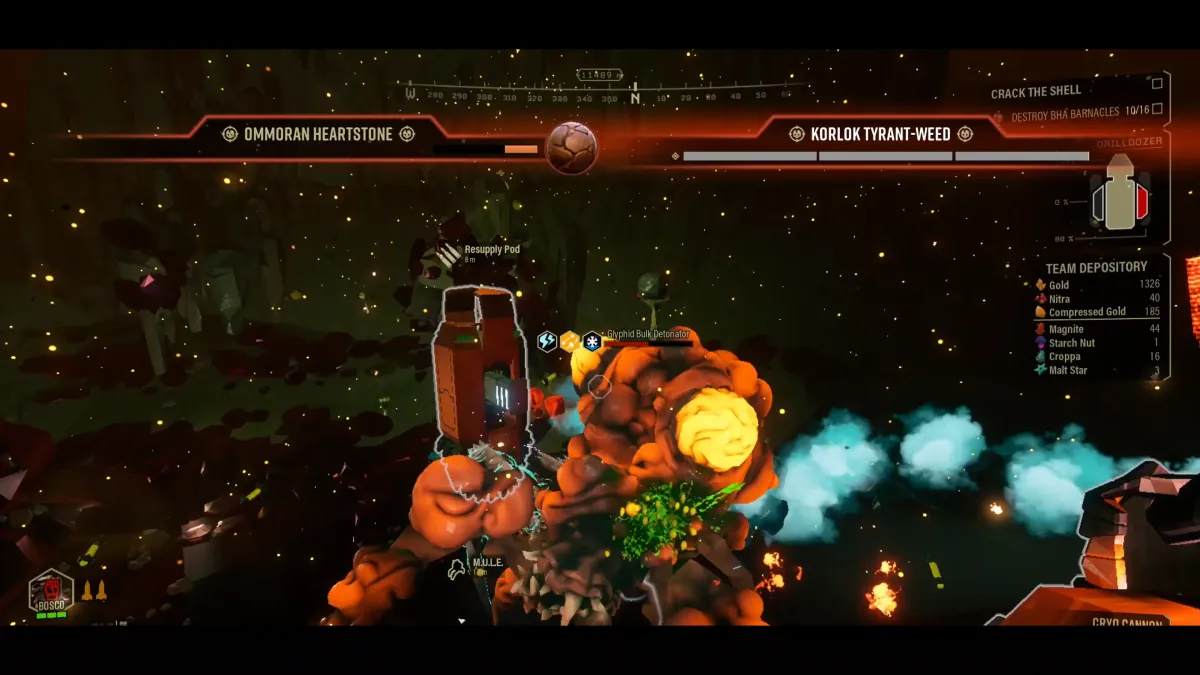
OP Glyphid Crassus Detonator: Maximize Gold & Survive
Learn how to best approach a Glyphid Crassus Detonator to maximize gold collection and minimize squad risk. Master safe detonation techniques to secure valuable resources.
 OP
OP Deep Rock Galactic Space Rig Noise Explained
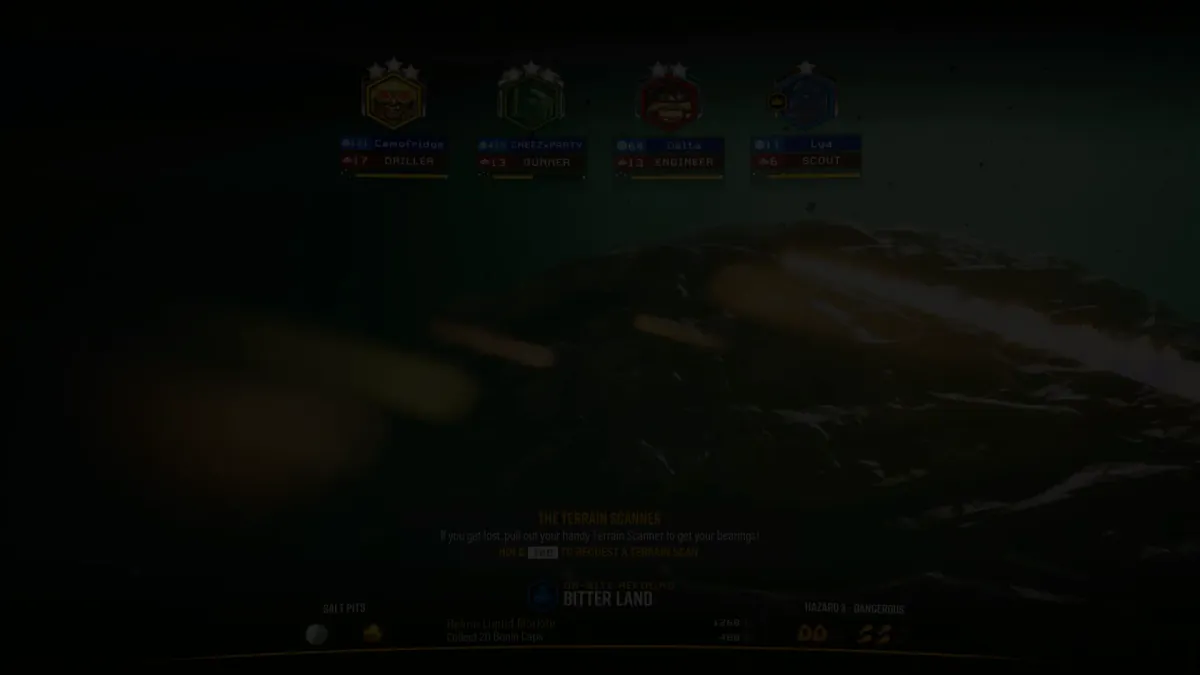
The strange noises heard at Deep Rock Galactic terminals are a subtle lore detail, not a bug, hinting at elusive creatures. Management ignores such minor atmospheric anomalies.
 OP
OP Deep Rock Galactic Late Join Rewards Explained
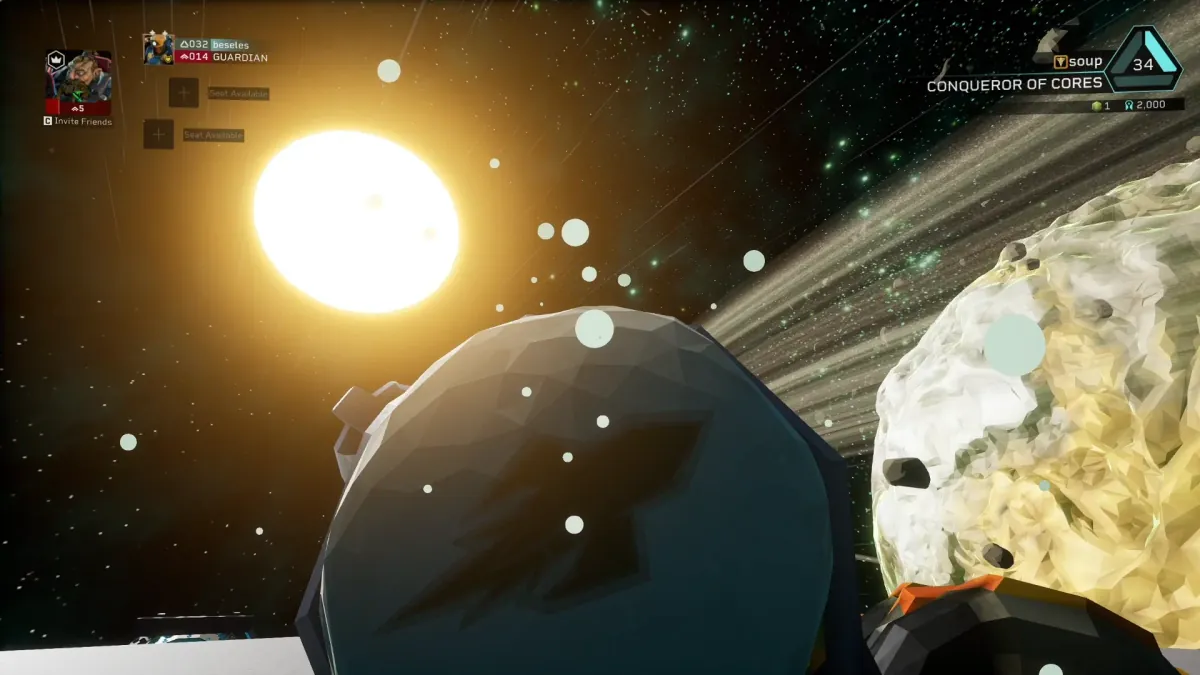
Late joiners in Deep Rock Galactic earn full mission rewards and XP, scaled to mission progress. Understand the mechanics to maximize your earnings when dropping in.
 OP
OP Rogue Core Reclaimer: Understanding Out-of-Bounds Spawns
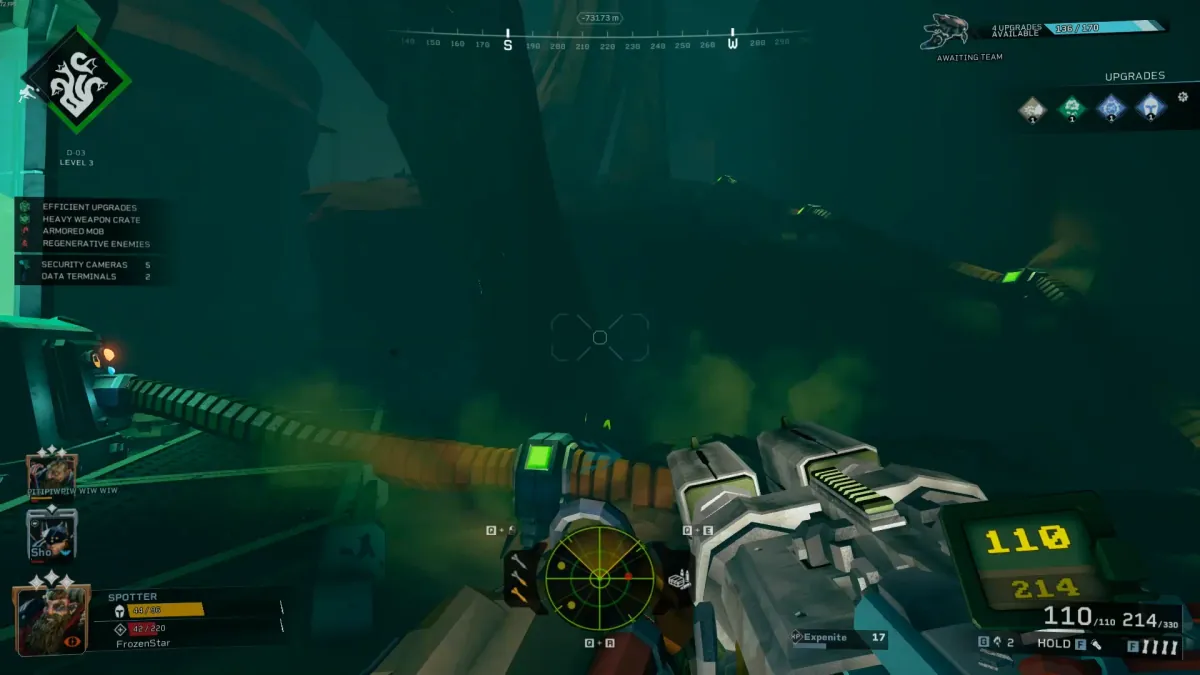
Encountering Rogue Core Reclaimer units outside expected combat zones can indicate a rare spawn bug. Report unusual behavior to Management to maintain operational integrity on the Glacial Strata.
 OP
OP Thunderhead Autocannon: Why Aura Effects Block Vision
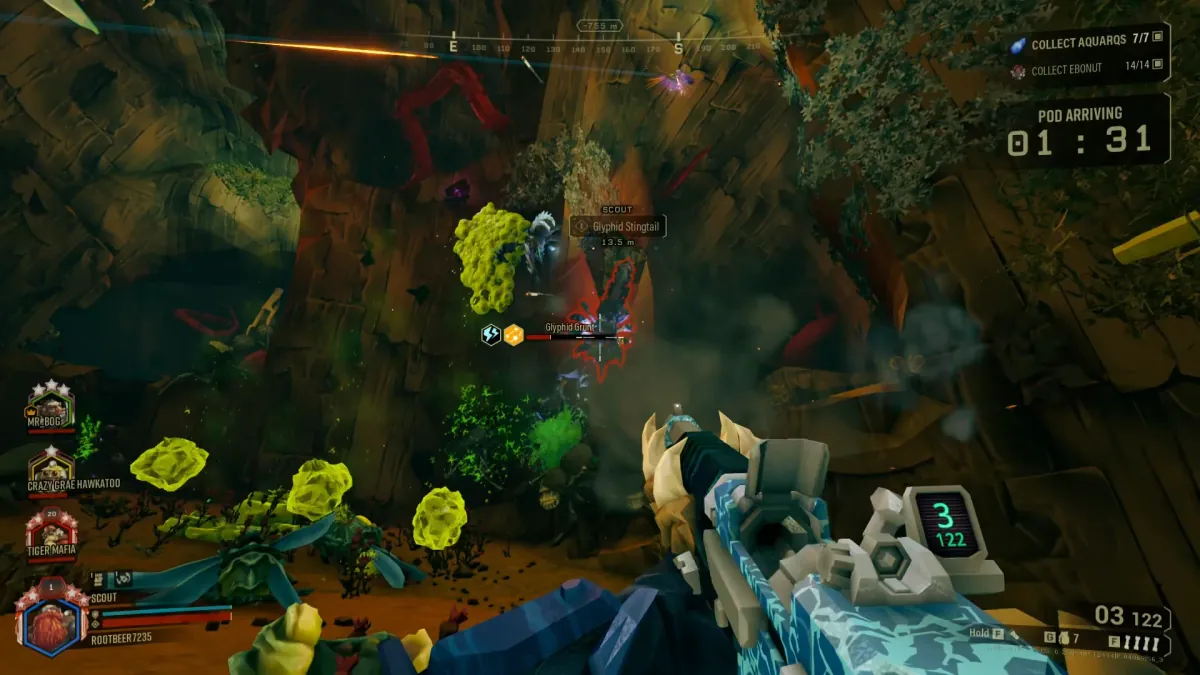
Thunderhead Autocannon combined with Poison or Ice Auras drastically reduces visibility, hindering combat effectiveness. Avoid these powerful but blinding combinations for clearer targeting.
 OP
OP How to Counter Glyphid Praetorians Effectively
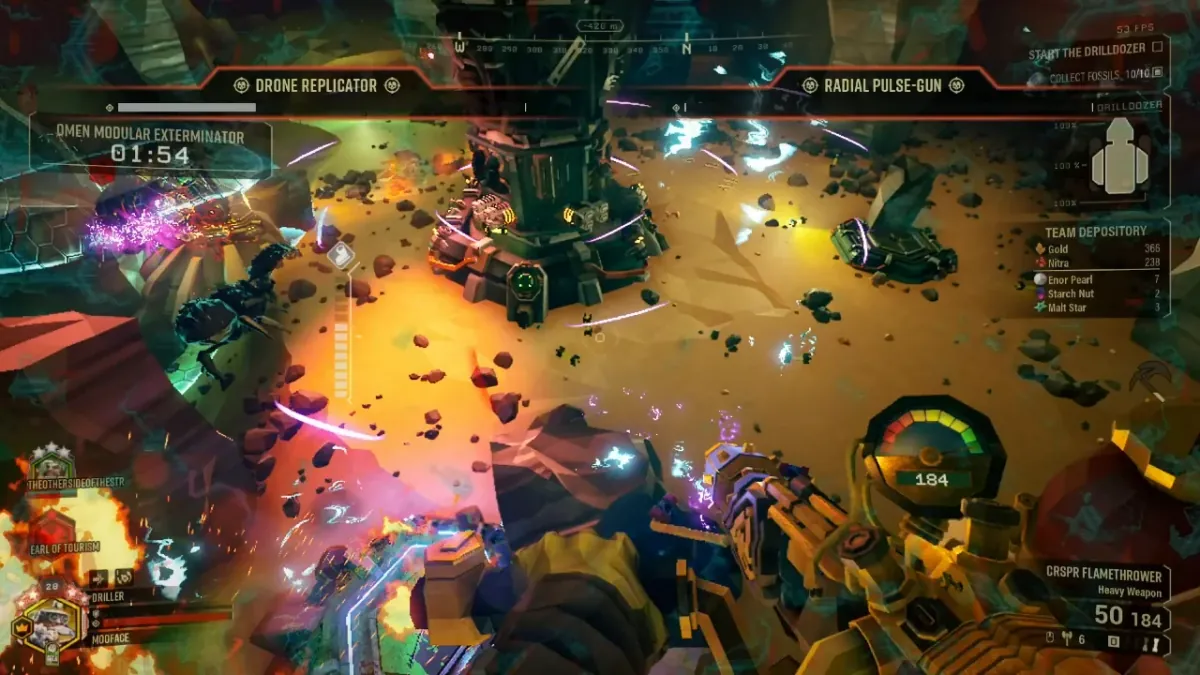
Glyphid Praetorians are tough, but focusing their weak points and exploiting their slow turns makes them manageable. Learn their attack patterns to stay safe.
 OP
OP How to Deal With Mactera Swarms: Tactics & Priorities
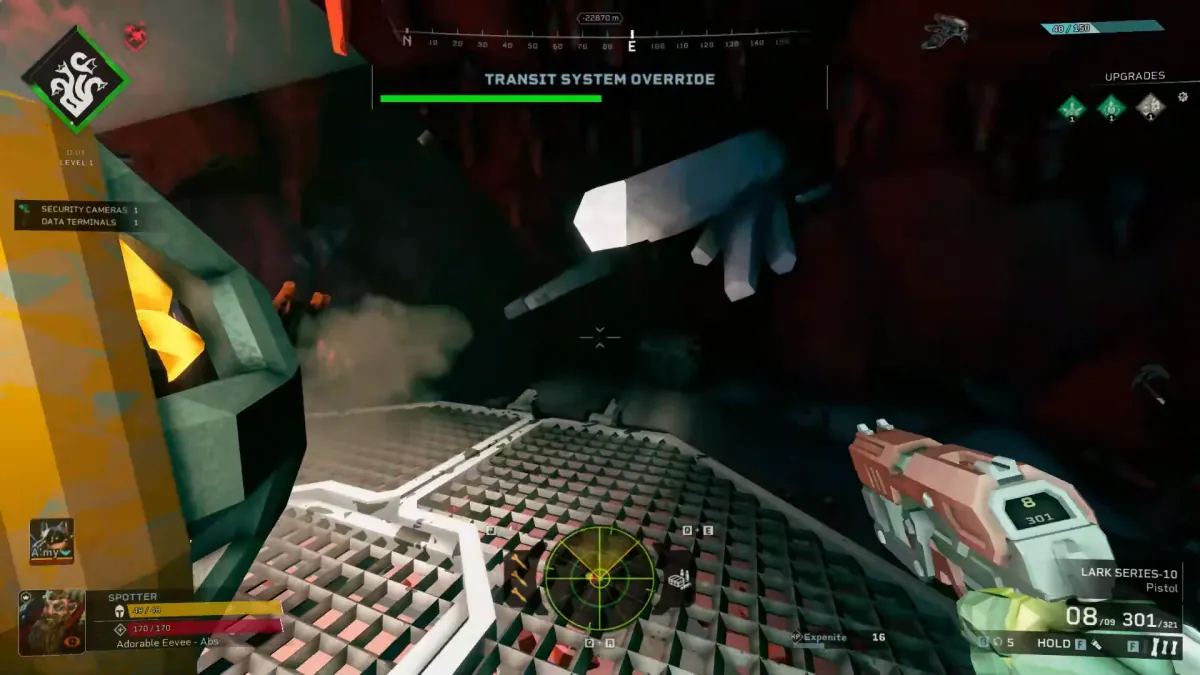
Mactera swarms are team-wipers. Prioritize these flying threats immediately with accurate fire. Learn effective tactics to quickly eliminate Mactera before they overwhelm the team.
 OP
OP DRG & Rogue Core: Team Positioning to Avoid Friendly Fire
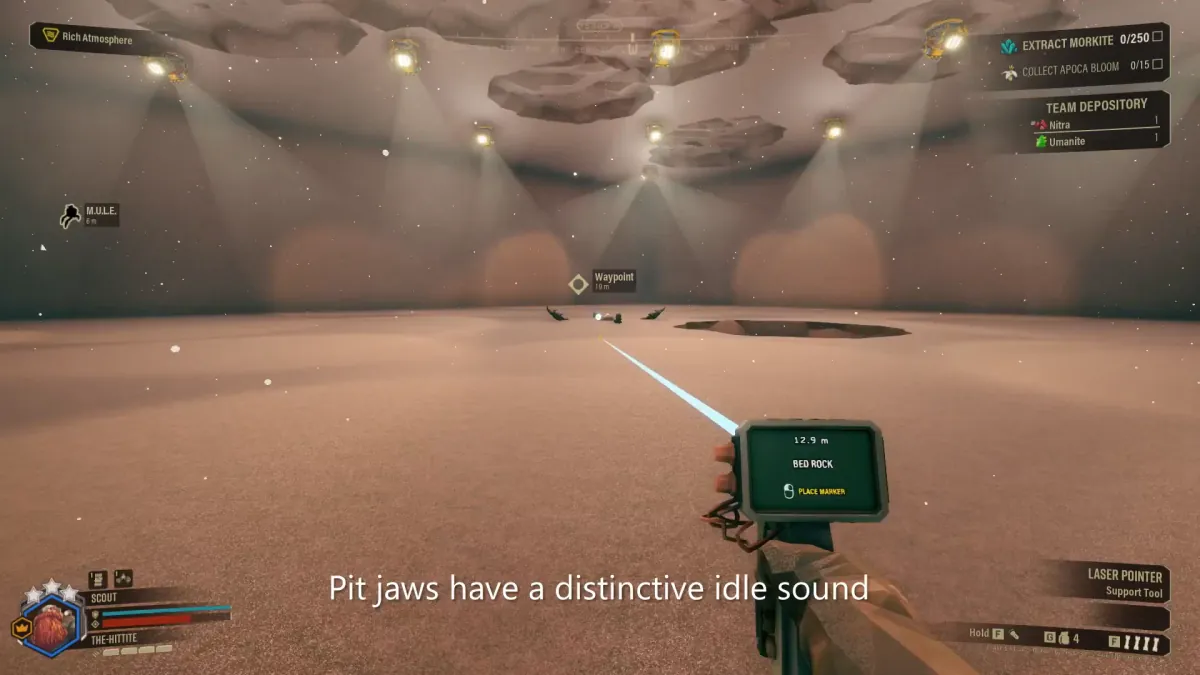
Master Team Positioning in Deep Rock Galactic and Rogue Core to prevent friendly fire incidents. Awareness of team abilities and enemy attacks keeps everyone alive.
 OP
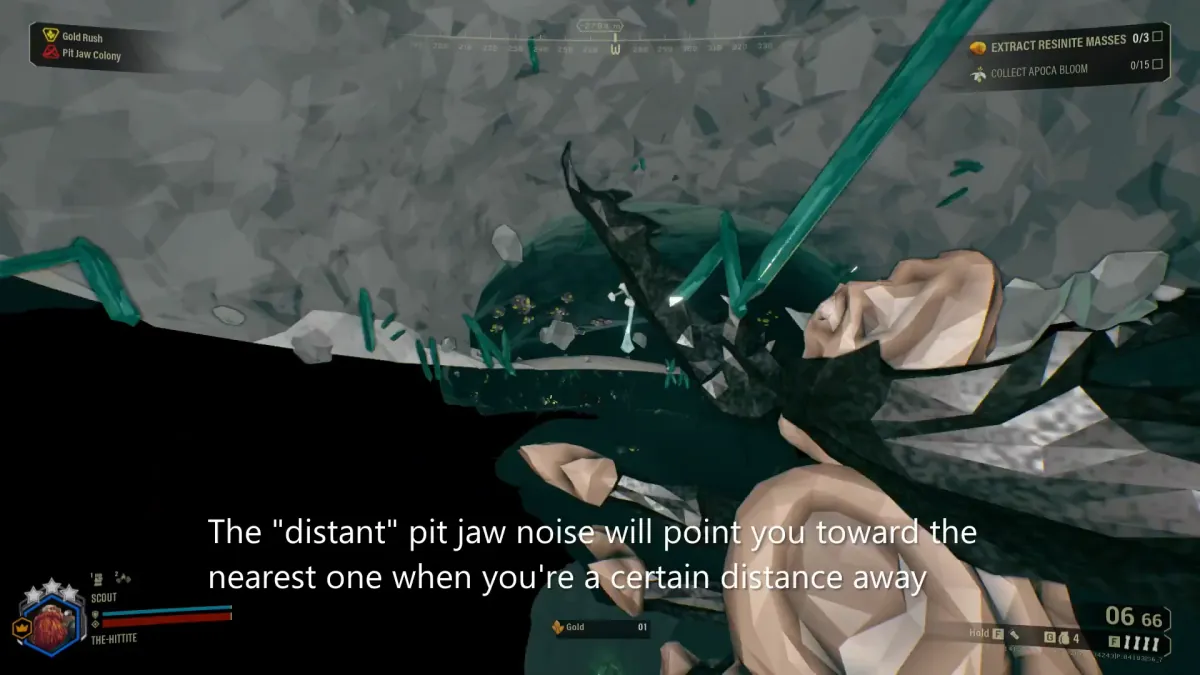
OP Rogue Core Pit Jaw Sound: Ambient, Not Proximity Alert
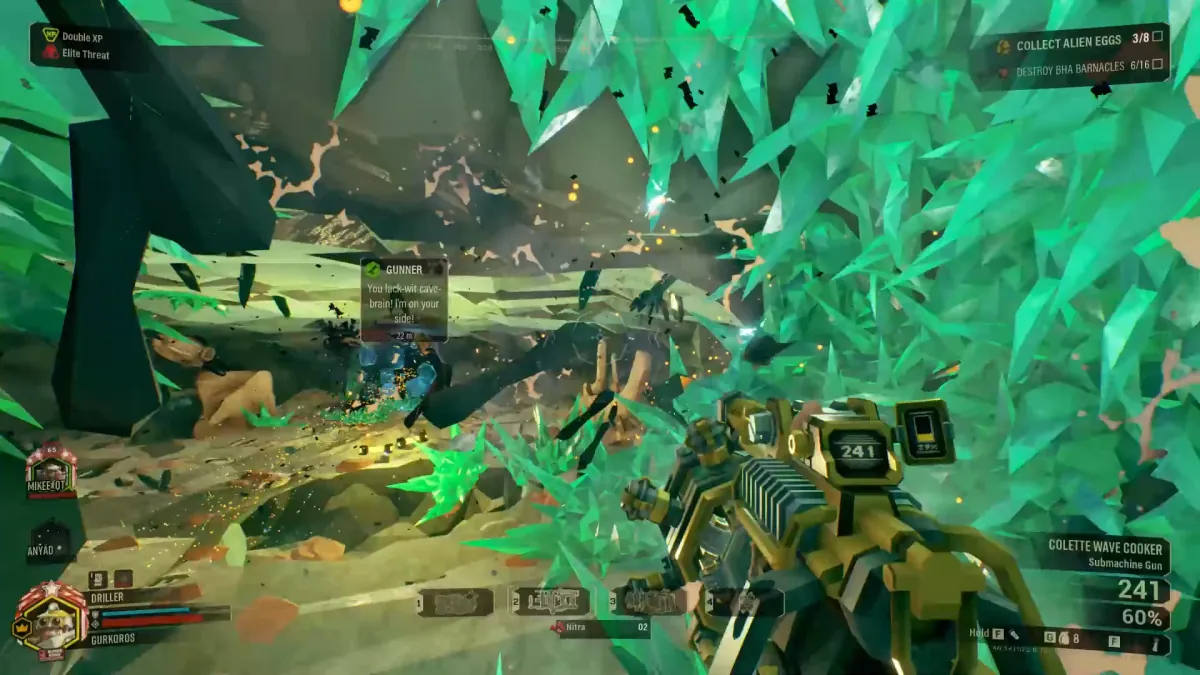
The familiar 'slurping' sound often attributed to Pit Jaws is ambient level noise, not a proximity alert. Do not rely on this Pit Jaw sound to locate the creature.
 OP
OP Scout Mobility Tips: Mastering DRG Grappling Hook Speed
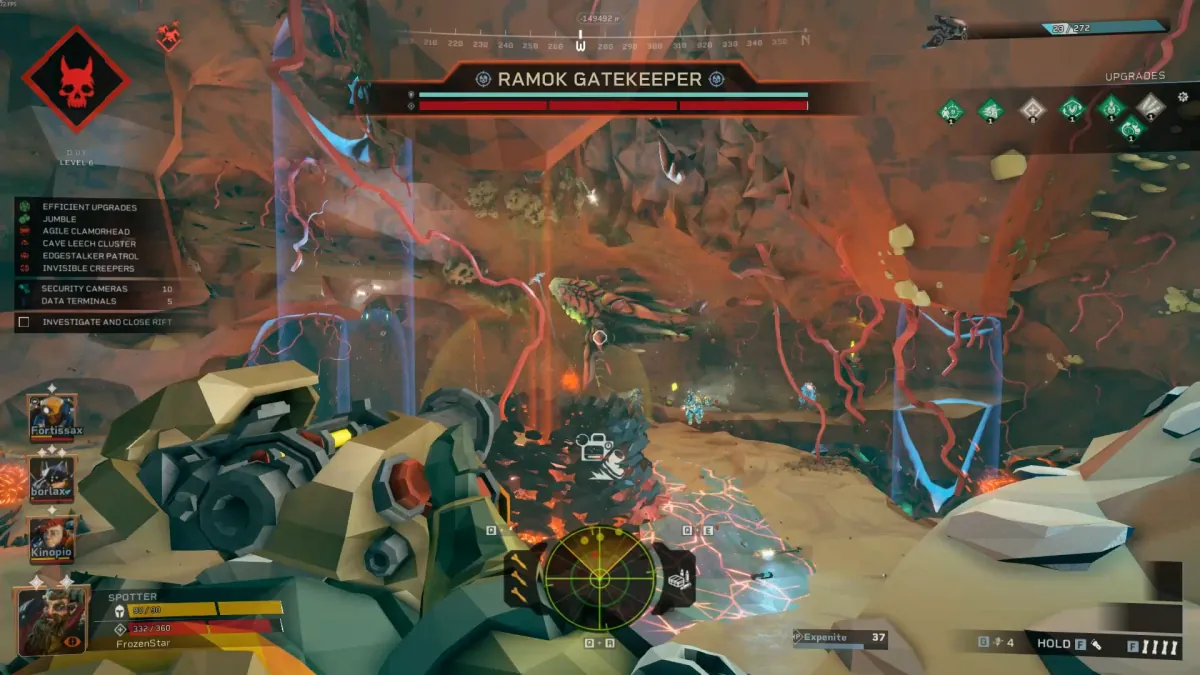
Mastering Scout mobility is critical for survival and objective completion in Deep Rock Galactic. Utilize precise Grappling Hook techniques to maximize speed and escape danger.
 OP
OP Rogue Core Devastator Pistol: Fusion Rod Build Guide
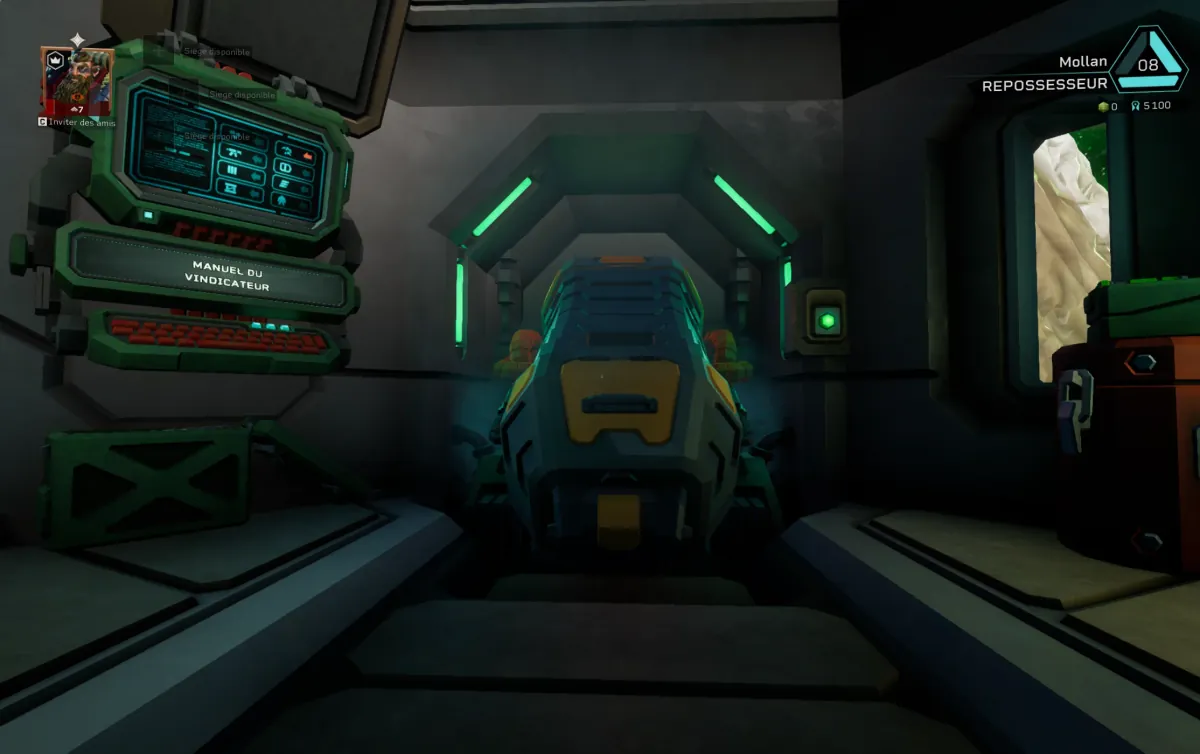
Master the Rogue Core Devastator Pistol with the Fusion Power Rod and Lucky Shot for massive damage. This high-risk, high-reward build excels at single-target elimination but demands careful ammo management.
 OP
OP Rogue Core Out of Bounds: What Miners Should Know
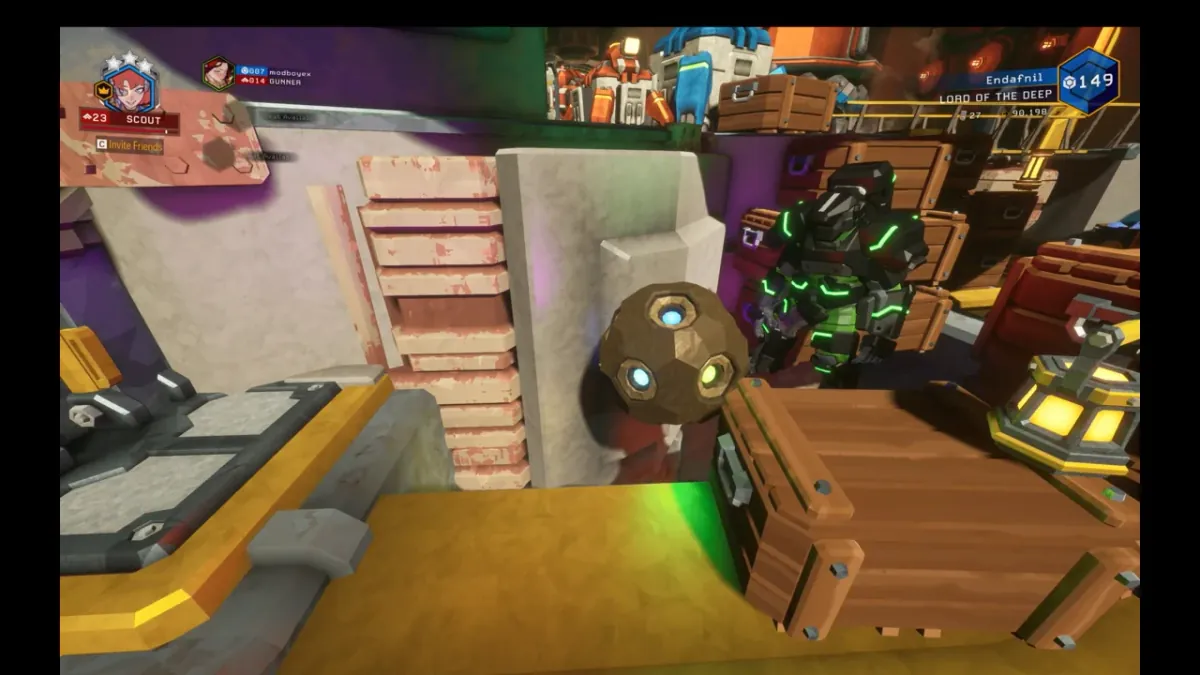
Out-of-bounds glitches in Rogue Core can lead to mission failure and lost gear. Understand map boundaries to prevent accidental exploits and secure your extraction.
 OP
OP Rogue Core Gotoorak Guide: Max Damage & One-Shot Tactics
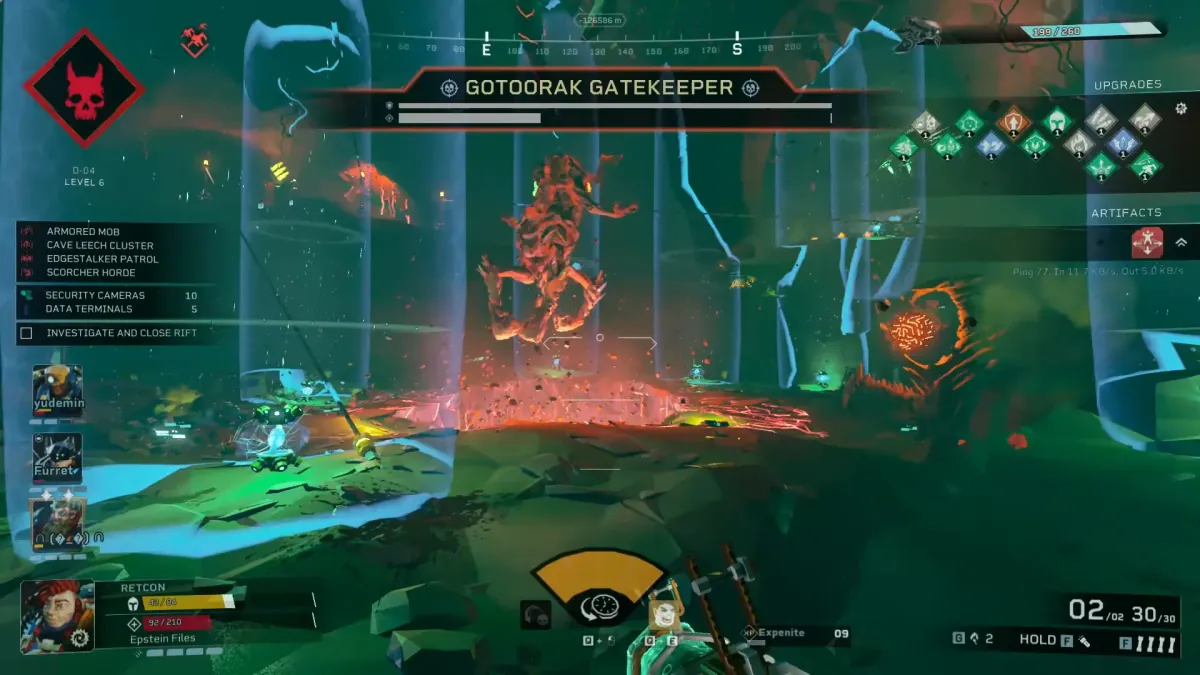
Learn how to quickly dispatch the Gotoorak boss in Rogue Core by exploiting its weak points for maximum damage. Master the one-shot tactics to dominate every encounter.
 OP
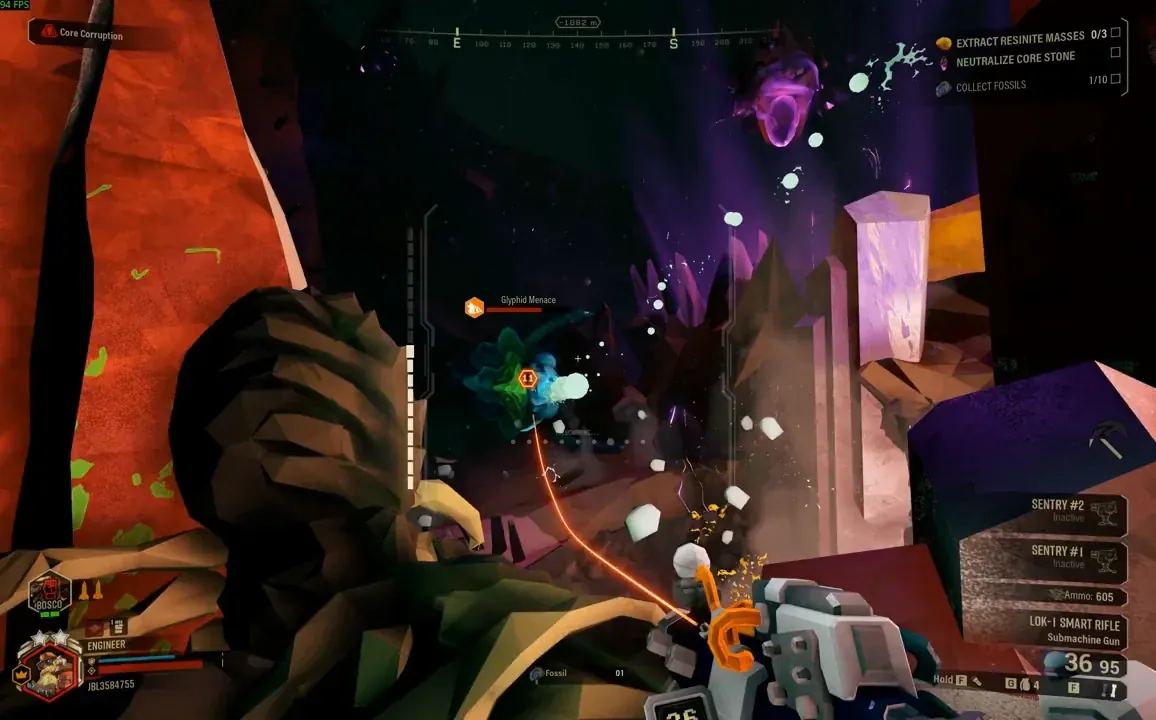
OP Engineer Turret Tactics: Maximizing Swarm Annihilation
Mastering Engineer Turret Tactics transforms you into a swarm-clearing powerhouse. Learn optimal placements and upgrades to maximize your team's survivability against any Glyphid assault.
 OP
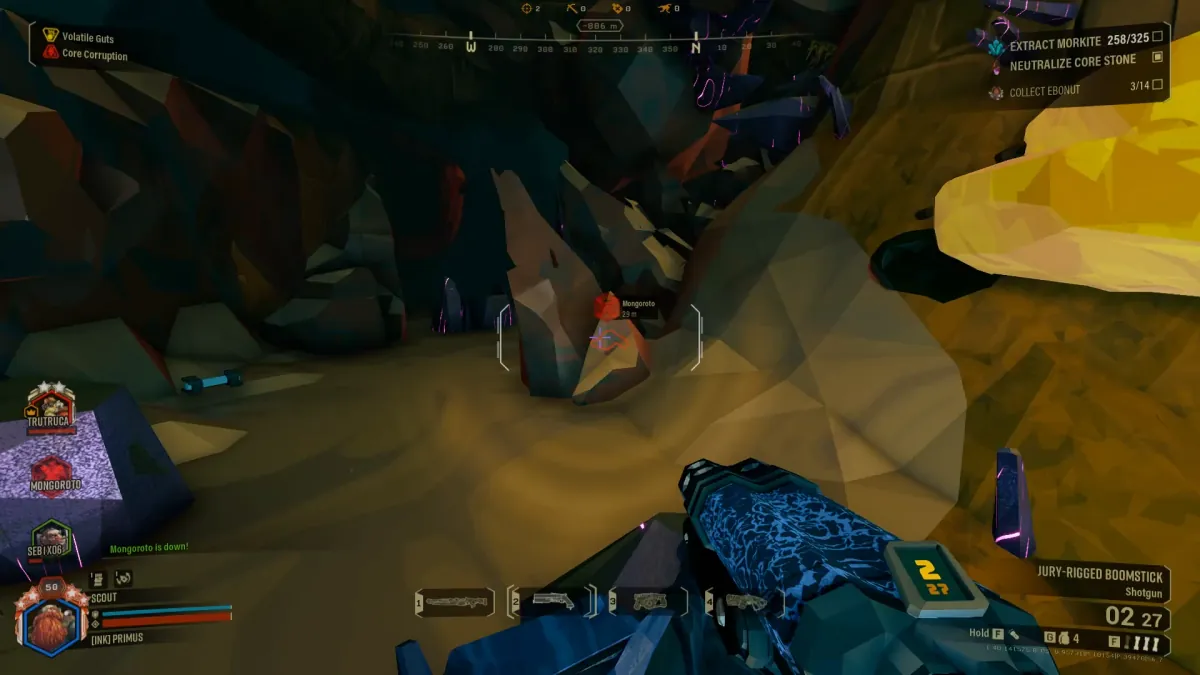
OP Rogue Core Engineer: Stop Core Spawn Crawlers in Corruption
Engineers can completely prevent Core Spawn Crawlers from leaving their spawn points in Core Stone Corruption missions. This tactic denies enemy swarms before they even emerge, securing the objective.
 OP
OP Rogue Core Mission Control Voice Issues Explained
Mission Control's voice issues in Rogue Core are due to recording conditions and hardware, not AI. Miners noted an uncanny, metallic sound in recent voicelines.
 OP
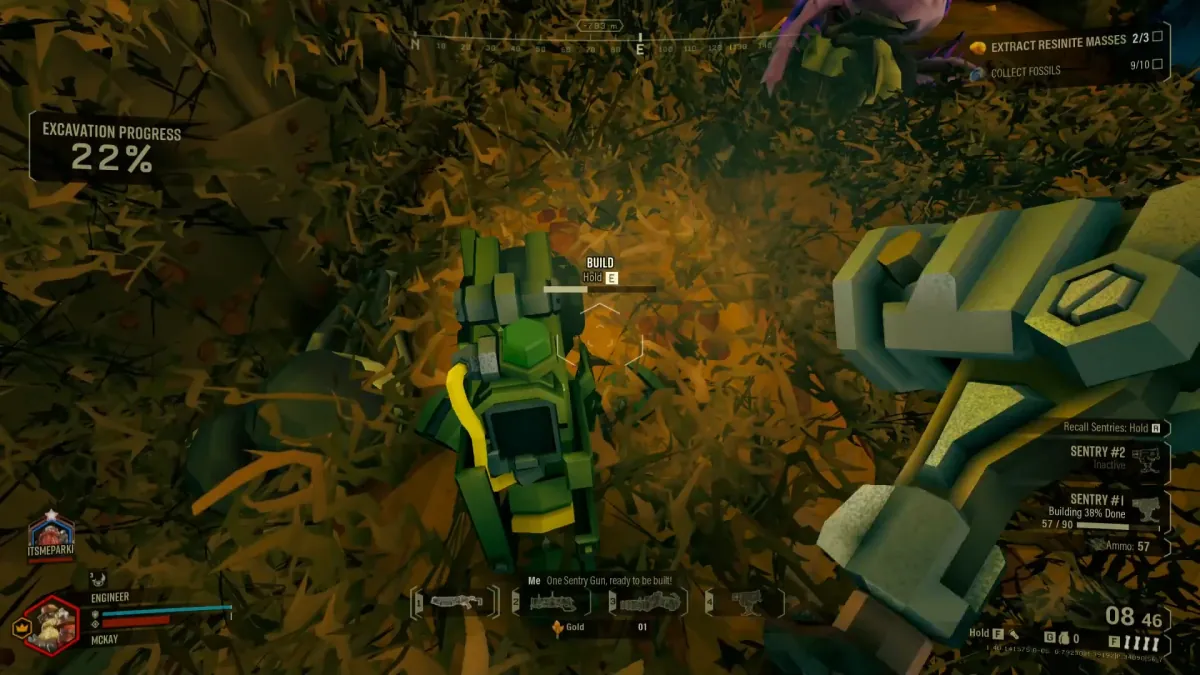
OP C4 Discipline: A Driller's Guide to Efficient Explosives
The Driller's Satchel Charge is a powerful weapon for strategic terrain manipulation and area denial. Proper use ensures mission efficiency, while misuse wastes vital resources and endangers the team.
 OP
OP Official 'Diggy Diggy Hole' Voice Line Confirmed: Lore & Origin
Management confirms the 'Diggy Diggy Hole' voice line is an official in-game asset. This confirms a long-standing community suspicion regarding a popular cultural reference during mineral extraction.
 OP
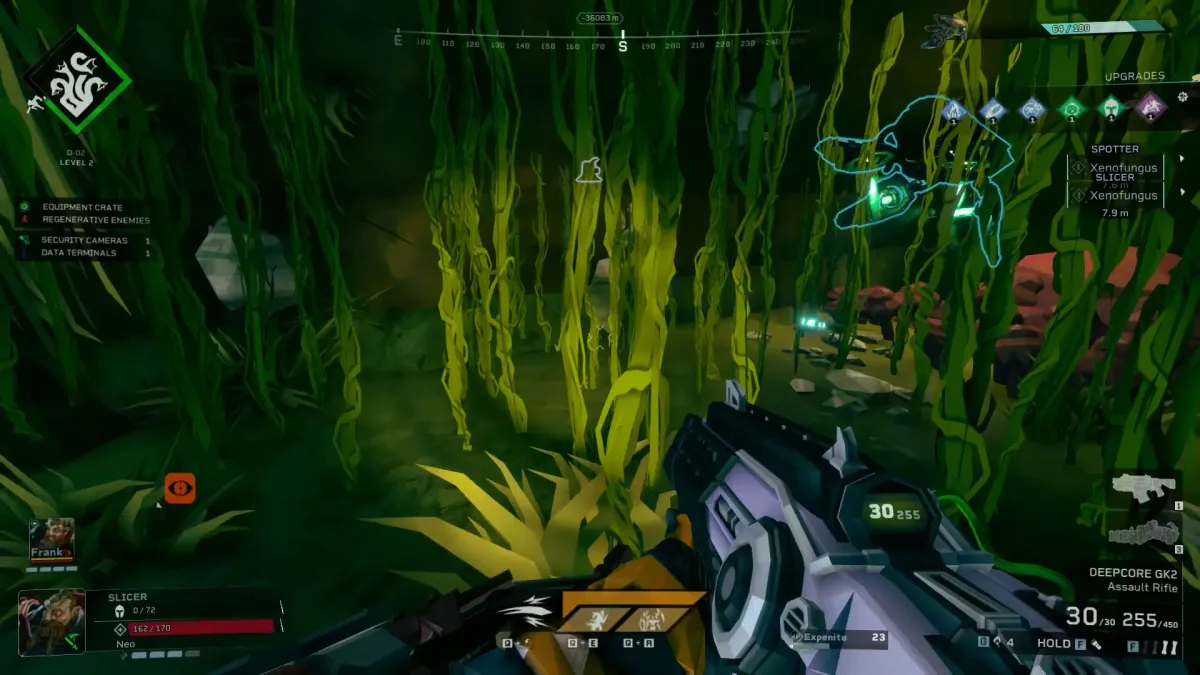
OP Rogue Core: How Management Reacts to MUSHROOM!
Learn if shouting 'Mushroom!' still vexes Management in Rogue Core, and what new entities react. The outpost's 'clanker-omega' has unique responses to this deep-rooted tradition.
 OP
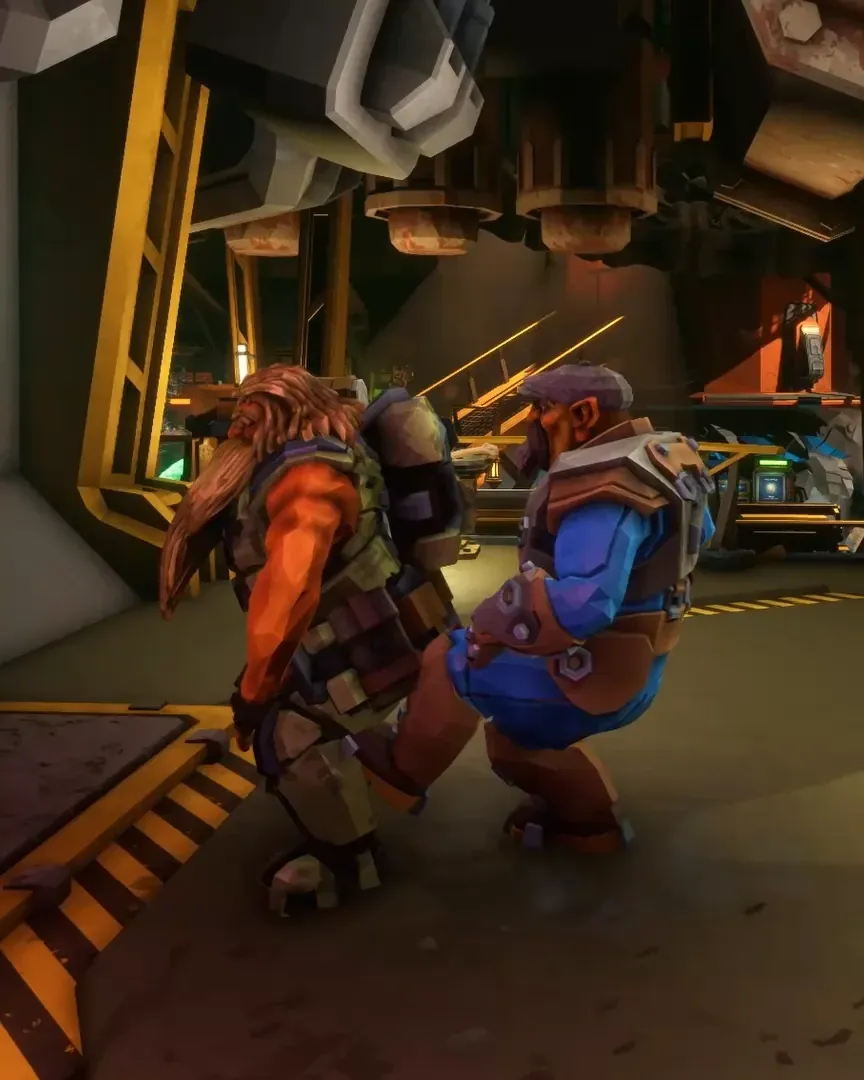
OP Deep Dive Hazard Evasion Training Protocol
Miners are engaging in specialized drills to improve hazard evasion for Deep Dive missions. This training focuses on maintaining optimal movement through hazardous terrain.
 OP
OP Drilldozer: Tactical Deployment & Survival Protocols
The Drilldozer is the primary objective on Escort Duty missions; its protection dictates mission success. Coordinated positioning and clear communication are paramount for defending it against all threats and ensuring team survival.
 OP
OP OFF-DUTY HAZARDS: MAINTAINING MINER FOCUS
Even off Hoxxes IV, the mental toll of Deep Rock Galactic persists. This alert details the insidious grip of the deep and strategies for maintaining a focused combat mind.
 OP
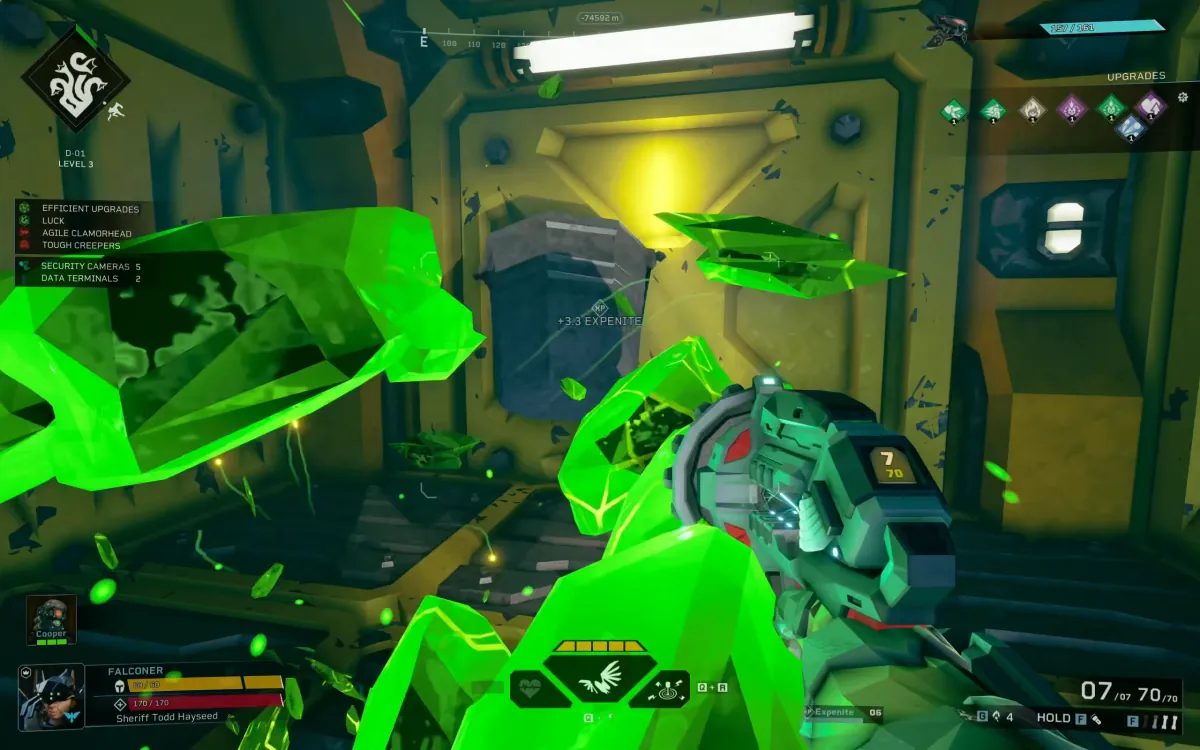
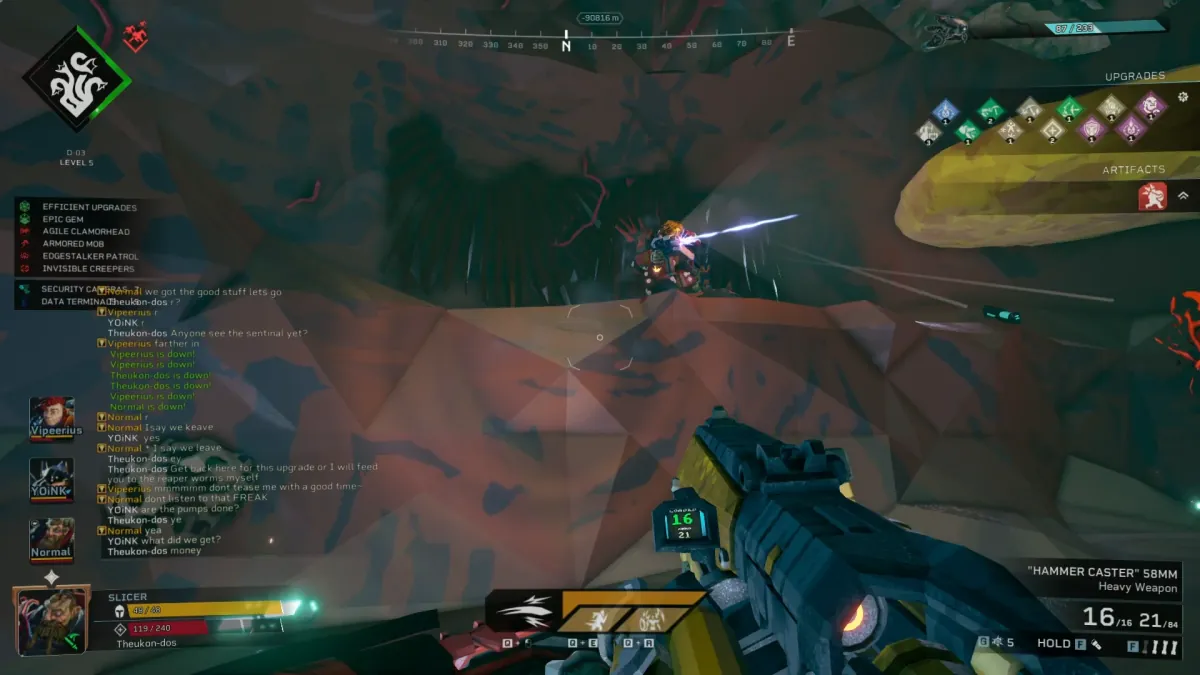
OP The Bucket Lift: Vertical Ascent & Descent Protocol on Hoxxes IV
This intel examines the tactical implications of 'bucket' style vertical transports, common environmental hazards on Hoxxes IV. Miners must prioritize situational awareness and proper team positioning during these exposed ascents and descents.
 OP
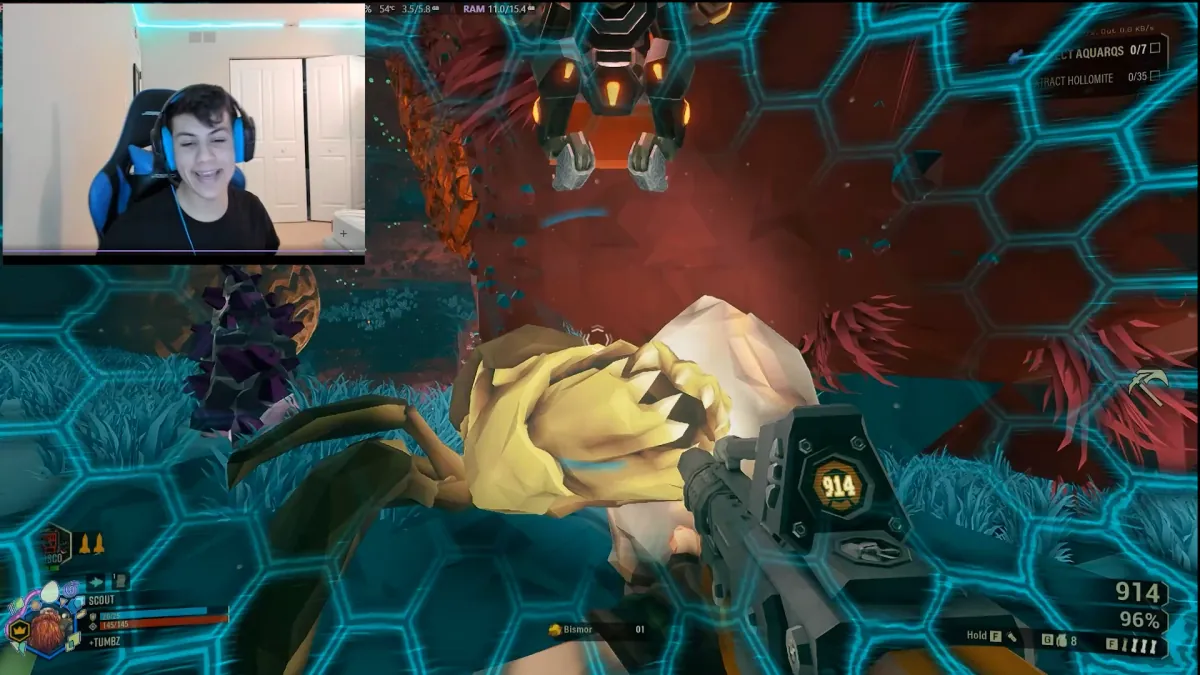
OP Driller Melee & Axe Mastery: Maximize Boss DPS
This intel report details advanced Driller strategies for maximizing Single Target damage against high-priority threats and Glyphid bosses. It covers leveraging critical vulnerabilities and maximizing damage output in close quarters with specific builds.
 OP
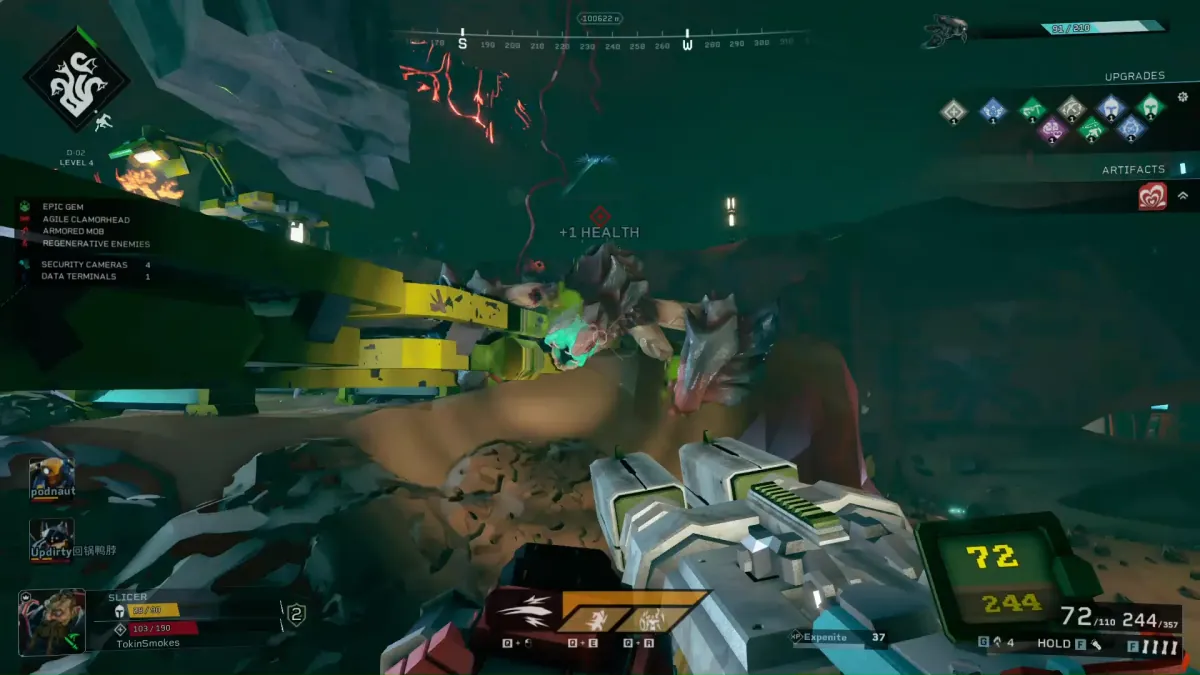
OP Reclaimer Protocol: Navigating Rogue Core Depth 4 Challenges
Rogue Core's Depth 4 presents a brutal challenge, demanding a radical shift from standard Deep Rock Galactic operations. Reclaimers face significantly reduced mining efficiency, making every swing count for survival.
 OP
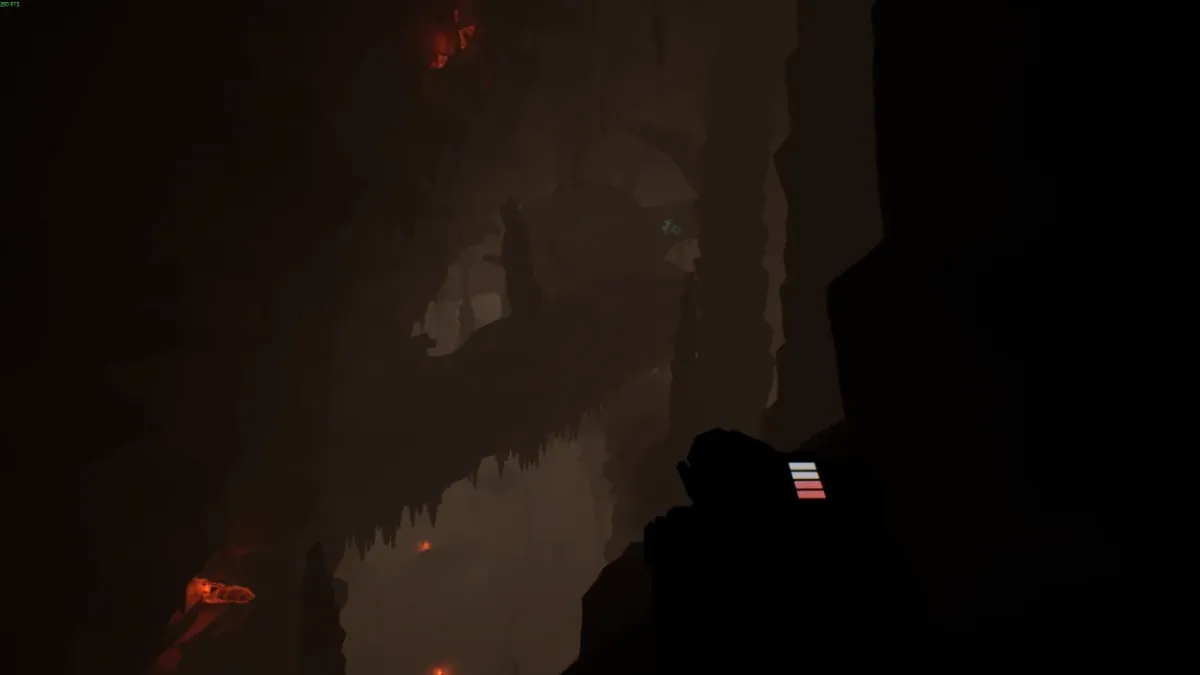
OP Hoxxes IV: Tactical Assessment of Extreme Cave Generation
Large, open cave systems on Hoxxes IV can be visually impressive but demand rigorous tactical assessment. Prioritize team lighting and maintain constant environmental awareness to mitigate risks in these treacherous zones.
 OP
OP Rogue Core: Autocannon Visibility Obscuration Alert
Miners are reporting a critical visual bug with the Autocannon in Rogue Core, where rounds explode immediately upon firing, obscuring vision. This obstruction stems from specific interactions with gas cloud upgrades, causing significant tactical disadvantage.
 OP
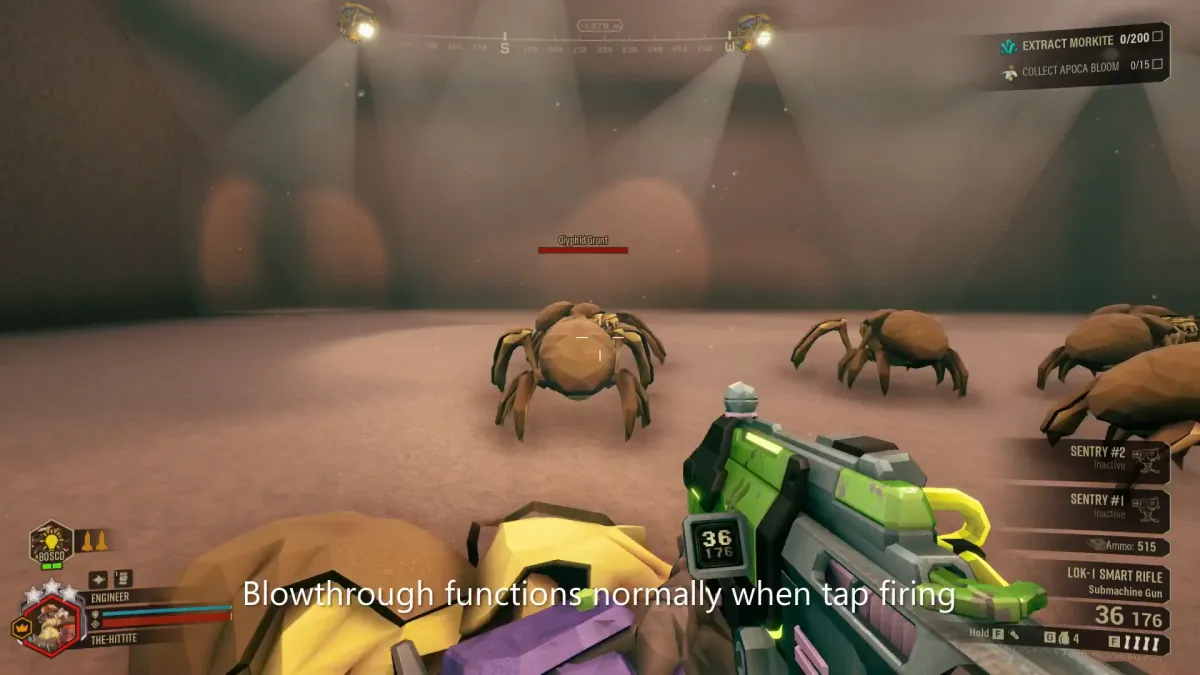
OP LOK-1 Blowthrough: Mastering Peculiar Penetration
The LOK-1's blowthrough mechanic is deceptively complex, requiring precise targeting to maximize its piercing potential. Understanding its unique projectile path is key to effective crowd control and resource management.
 OP
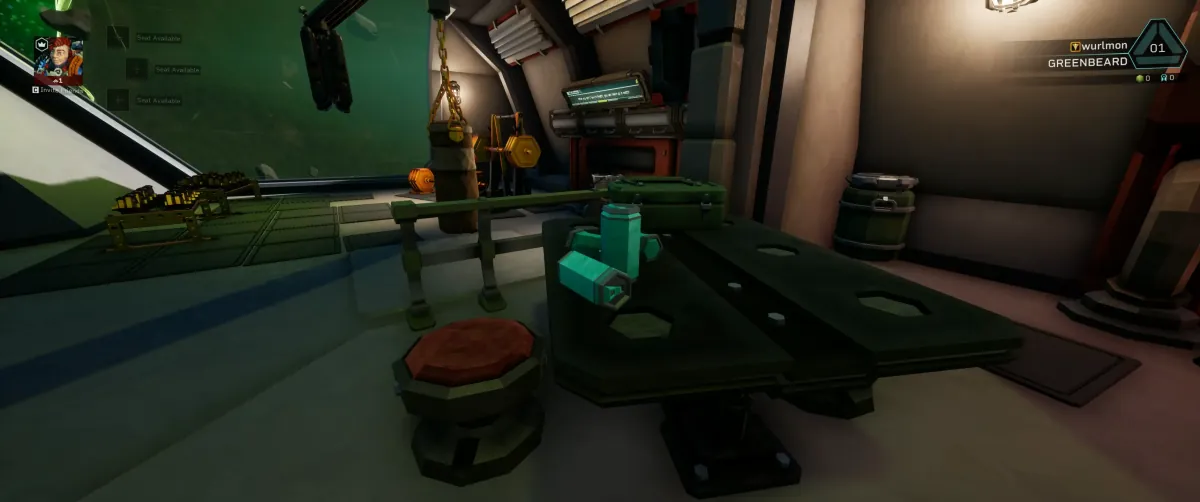
OP ALERT: Unidentified Rival Omega Unit Confirmed in Rogue Core Zones
Visual intel confirms a new autonomous unit, the Omega, strongly resembling Rival Tech. Its observed function in non-standard facilities raises alarms regarding Management's transparency.
 OP
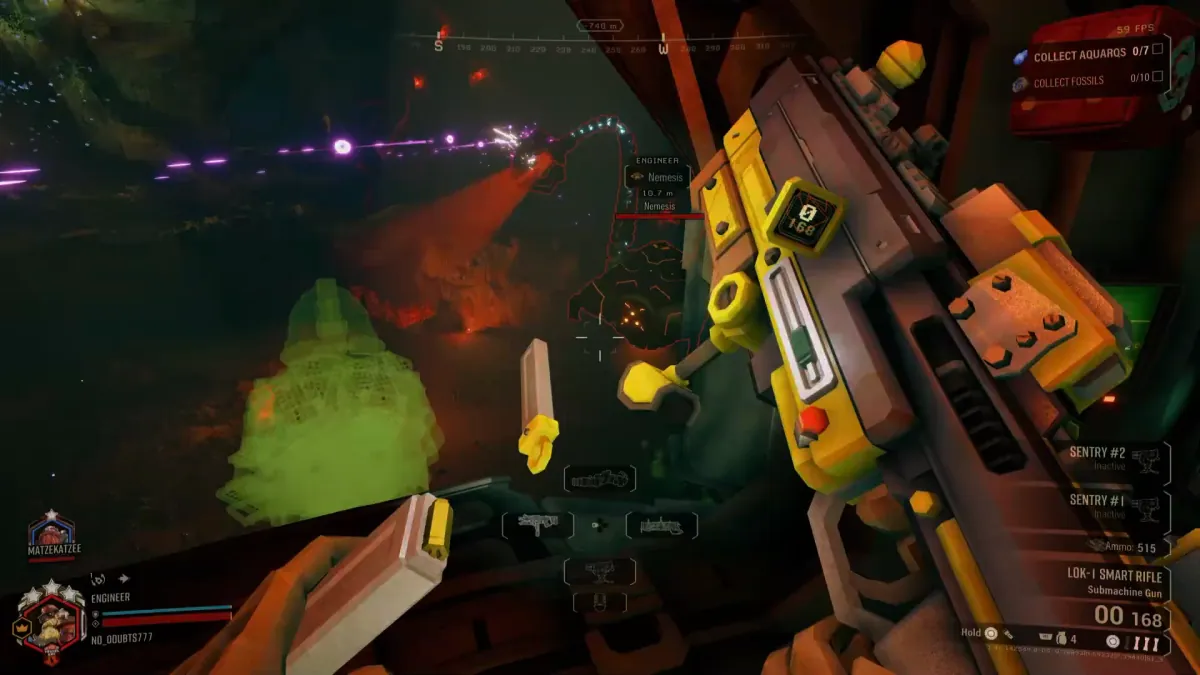
OP Minehead: Industrial Demolition for Large Target Elimination
The Minehead structure itself can be weaponized for significant battlefield advantage. Utilize its raw power to neutralize even the most resilient threats on Hoxxes IV.
 OP
OP Collateral Damage Protocols: Mitigating Friendly Fire on Hoxxes IV
This brief outlines the critical importance of avoiding friendly fire and preserving team assets. Effective situational awareness is paramount to ensure operational efficiency and the survival of all Dwarves.
 OP
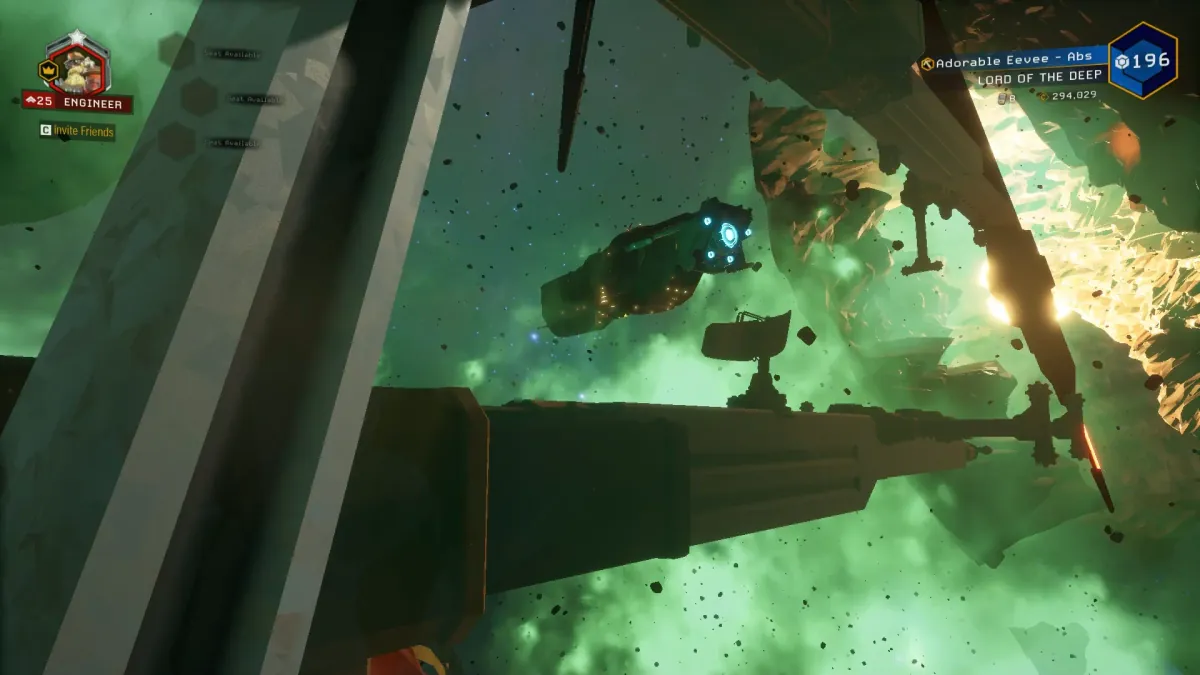
OP Space Rig Anomaly: Rogue Core Presence Detected
Visual intel confirms new anomalies on the Space Rig, signaling Deep Rock Galactic's covert cross-promotional activities with a new venture. Miners must remain vigilant and aware of all environmental changes, even those not directly hostile.
 OP
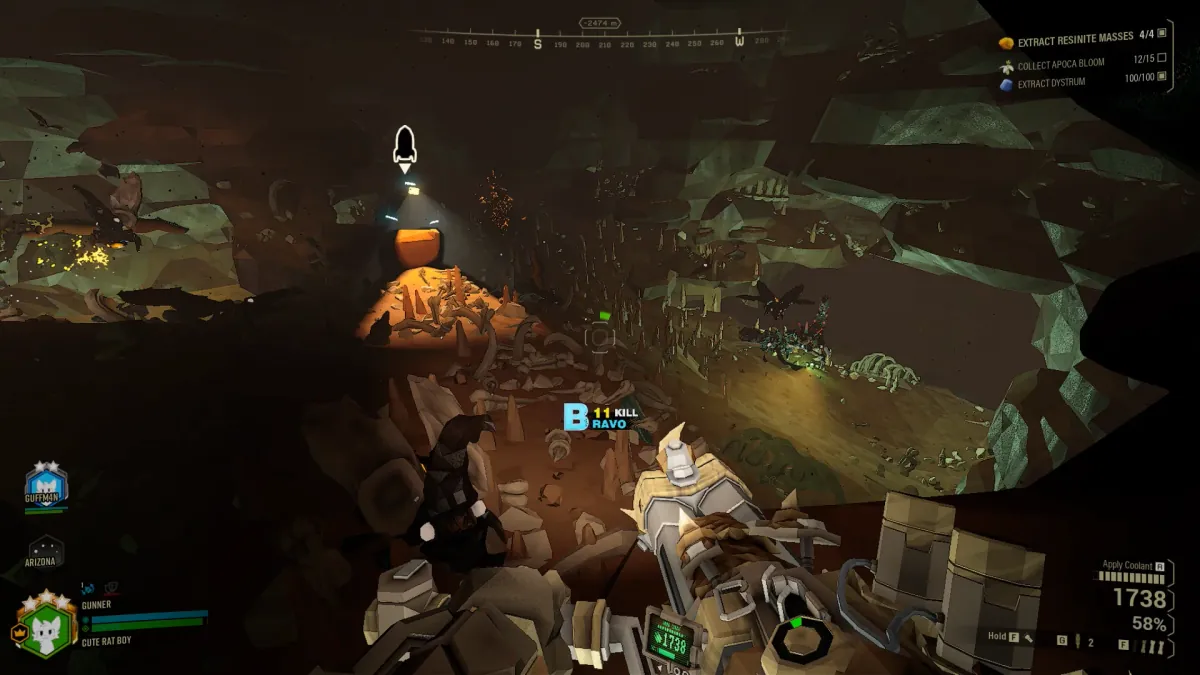
OP Unplanned Descent Protocol: Mitigating Lethal Falls
Environmental hazards are a primary killer on Hoxxes IV, often exacerbated by enemy knockbacks. Miners must maintain constant situational awareness to avoid critical fall damage and immediate fatality.
 OP
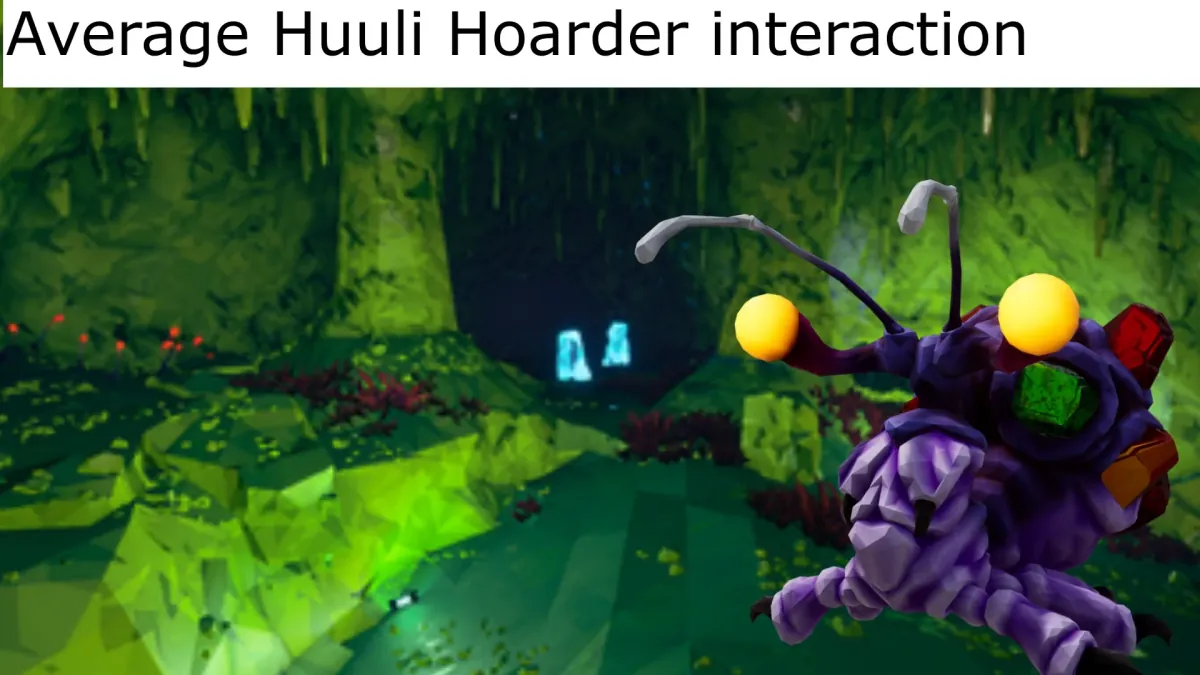
OP Huuli Hoarder Engagement Protocols: Maximizing Nitra Recovery
Huuli Hoarders are prime targets for critical Nitra acquisition. Efficient engagement requires coordinated Teamwork to secure resources without unnecessary expenditure.
 OP
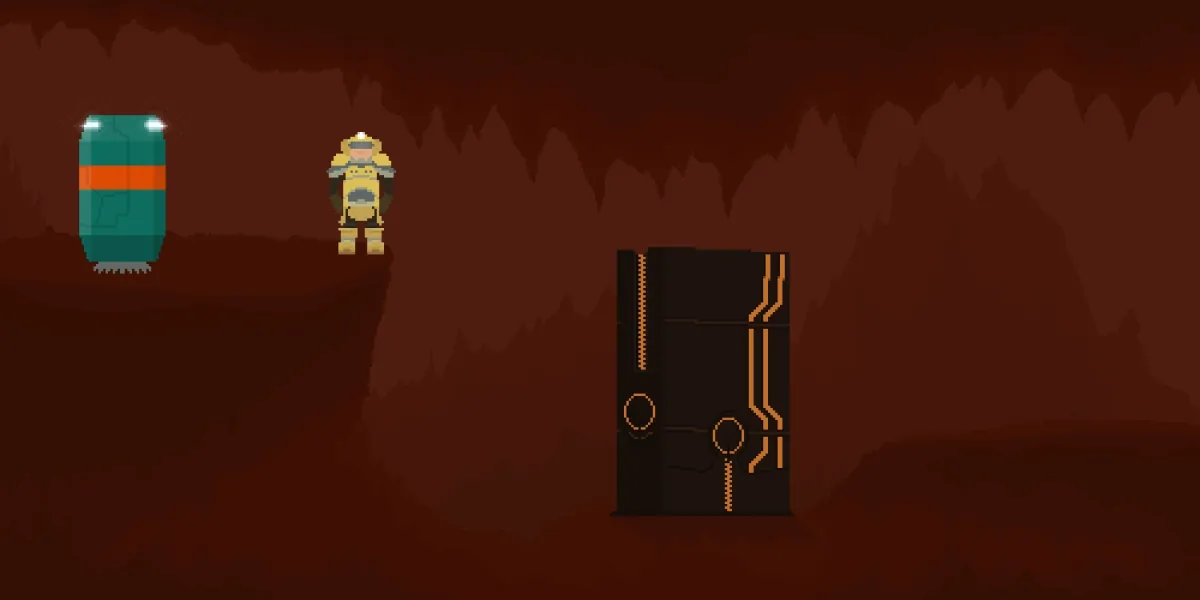
OP Hoxxes IV: Mastering Destructible Terrain for Tactical Superiority
Exploit the inherent instability of Hoxxes IV to your advantage. Clever Miners utilize tactical destruction to reshape the battlefield, creating lethal traps and strong defensive positions.
 OP
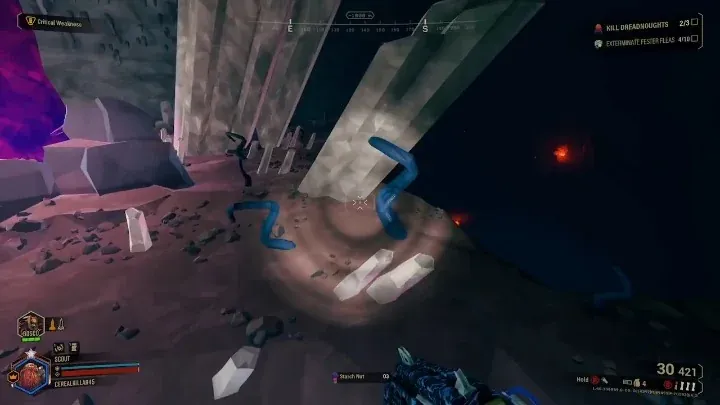
OP Driller C4 Protocols: Mitigating Friendly Fire Incidents with Scouts
Driller C4 provides unmatched terrain manipulation and crowd control capabilities. Proper communication and situational awareness are critical to prevent friendly fire, especially with the agile Scout.
 OP
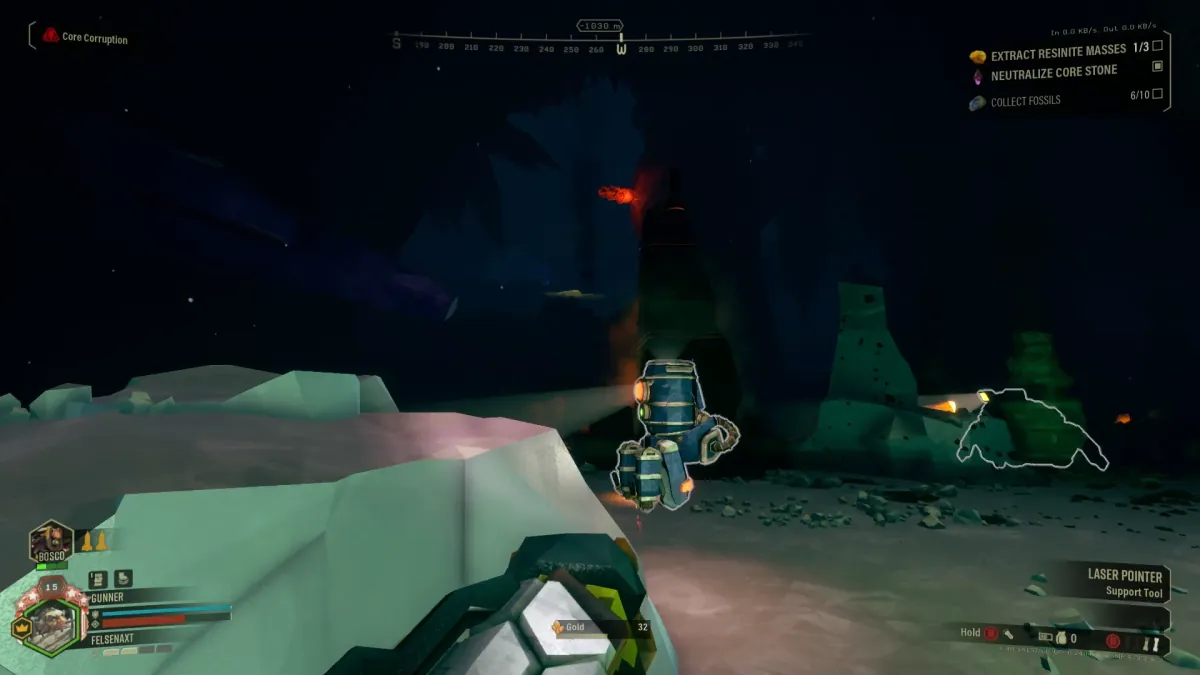
OP Bosco's Mining Logic: Obstruction Hazards
Management's drone, Bosco, exhibits critical flaws in its mining protocols. Understanding these limitations is vital for maintaining mission efficiency during solo operations.
 OP
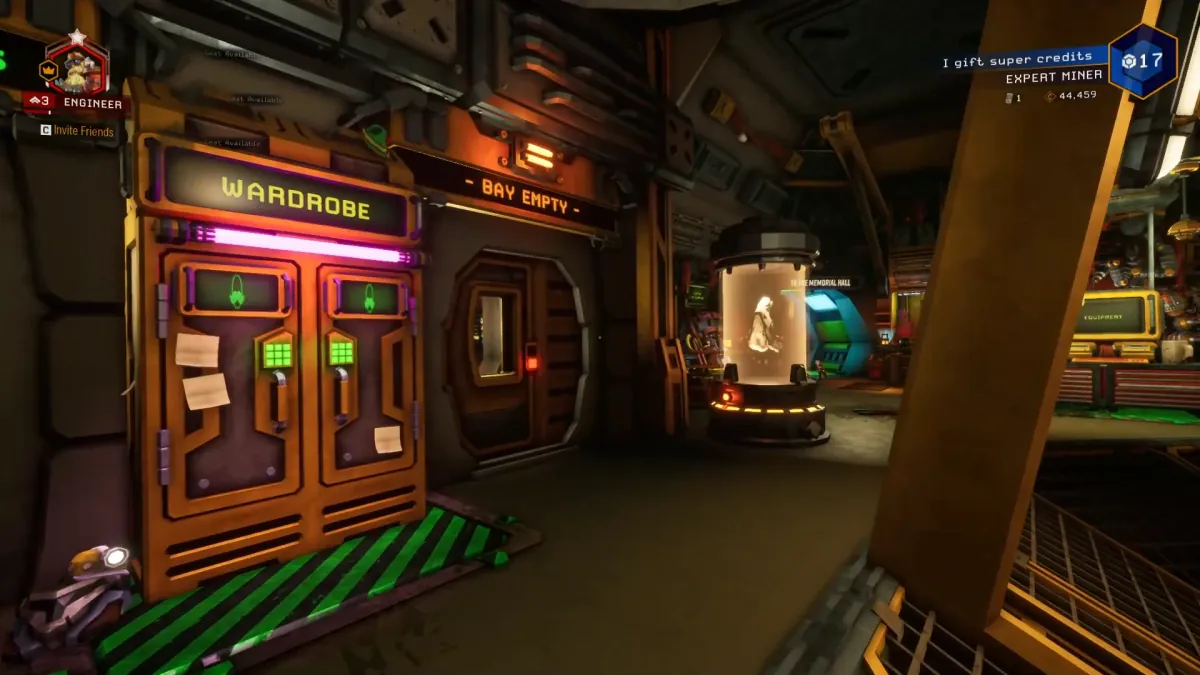
OP Unsanctioned Field Consumables: A Review of Management Directives
This intel highlights a direct intervention by Management regarding unsanctioned field consumables. Miners must discern official Field Protocol from personal initiative when encountering unknown substances.