Rogue Core Risk Vector Stacking: Advanced Combos and Counters
Advanced Risk Vector stacking in Rogue Core: which combos multiply danger, the reward math, Gatekeeper interactions, and the builds that survive stacked enemy-adders.
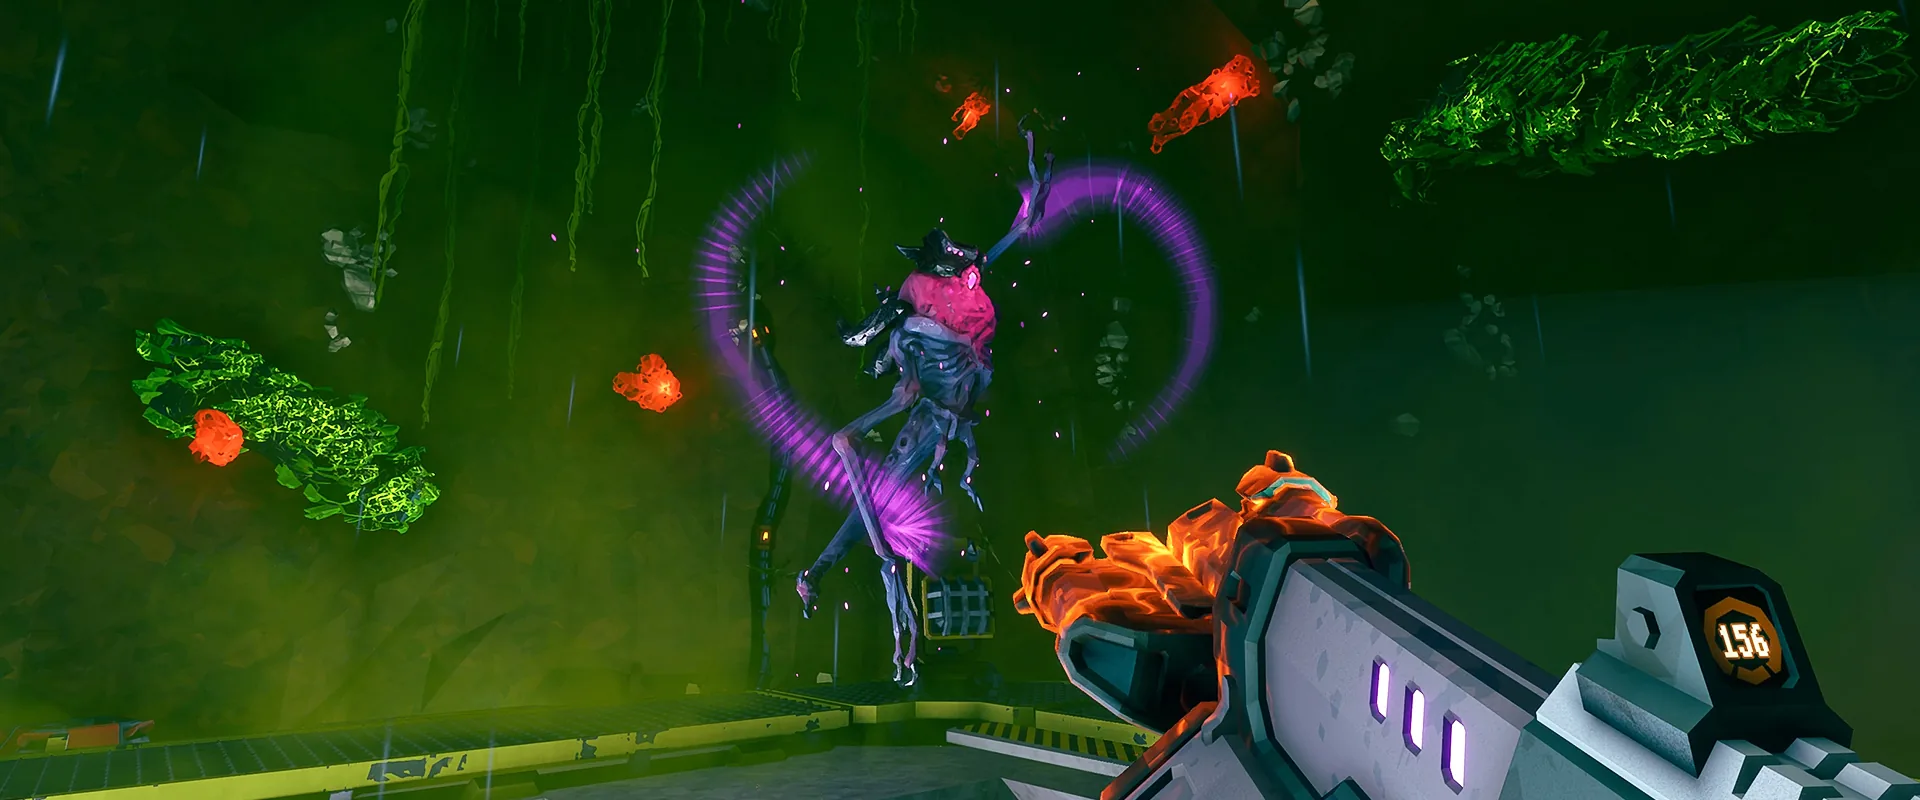
Combat Summary
- Official: Update 1.2 (July 9, 2026) reworked Risk Vectors: enemy-adding vectors hit much harder, stacking multiple vectors has “very real consequences” (Ghost Ship Games’ own wording), and vector spawns now reinforce Gatekeeper boss fights.
- Community-tested: Vectors multiply rather than add — two enemy-adders do not feel like twice one, they feel like a different game. The advanced skill is not avoiding vectors; it is knowing which stacks your Builds can handle and which ones will end the run.
- The short version: never stack two enemy-adders unless the squad is built for it and everyone knows the plan; an enemy-adder plus a utility vector is the spicy-but-viable middle ground; double utility vectors are nearly free value. For the full rankings, see our Risk Vectors tier list.
- The direct answer: stack Risk Vectors for reward when your build has crowd-clear to spare and the Threat Levels are low; unstack (or skip vectors entirely) when heading into Gatekeeper fights or Threat Levels 4–5.
Stacking Math: Multiply, Don’t Add
Official: Risk Vectors are opt-in run modifiers that trade extra challenge for extra reward. Update 1.2 reworked them so the enemy-adding vectors — Edgestalker Patrol, Scorcher Horde — inject spawns with real, felt impact.
Community-tested: the reason stacking is the advanced topic is that the danger curve is multiplicative. One Edgestalker Patrol is pressure; two is not double pressure — it is overlapping patrols arriving from angles your positioning cannot cover simultaneously. Add a Scorcher Horde on top and the horde events start chaining into patrol windows, so the run never gives you a breather to reload, reposition, or revive. Each vector does not add enemies so much as it removes your recovery windows, and recovery windows are what keep runs alive.
This is why the official warning lands the way it does: “very real consequences” is the polite version of “the math stops being linear.”
The Three Stack Patterns
Pattern 1: Double enemy-adder — the run-ender
Community-tested: Edgestalker Patrol stacked with Scorcher Horde (or double patrols) is the single scariest modifier combination in the game right now — S-tier in our tier list precisely because of the stacking behavior.
Take this stack only when all three are true: the squad drafted dedicated crowd-clear (not “someone has area damage,” but a build whose job is emptying corridors), everyone knows the stack is active and has agreed to the plan, and the Threat Levels are 3 or below. If any one of those is false, the stack is not brave — it is a donation. At Threat Levels 4–5, where stage waves already stack (official: previously a bug, now an intended feature), a double enemy-adder stack means fighting stacked waves inside stacked vectors. Our TL4–5 wave-stacking guide covers that nightmare; do not voluntarily add vectors to it.
Pattern 2: Enemy-adder + utility — spicy but viable
Community-tested: one enemy-adding vector paired with a non-enemy utility vector is the sweet spot for experienced squads. You get meaningful extra reward for a challenge your Builds can actually absorb. The utility vector changes the run’s texture without removing recovery windows, and a single enemy-adder is manageable with a plan: bring crowd control, do not split the squad, and treat horde events as the run’s tempo-setters rather than surprises.
This is the default recommendation for squads that want vector value without vector roulette.
Pattern 3: Double utility — nearly free value
Community-tested: two non-enemy vectors are the safest stack in the game. They still change the run — utility vectors are real modifiers, not flavor — but they will not end a run on their own. For squads learning vector play, or for any squad heading into content that is already hard enough, double utility is how you collect extra reward without gambling the mission.
The Gatekeeper Interaction: Why Vectors Matter Most at Bosses
Official: since Update 1.2, Risk Vectors spawns join the enemy pool assisting Gatekeepers during boss fights. Whatever you picked for the mission shows up when the Gatekeeper does.
Official: Update 1.2 also gave every Gatekeeper counterattacks, so boss fights already demand more respect than they used to.
Community-tested: this interaction is the advanced player’s real vector calculation. A stack that felt fine across three biomes becomes a different fight at the Gatekeeper: vector spawns reinforcing a counterattacking boss, with no room to kite and no recovery windows, is the hardest content in the game outside Threat Levels 4–5 wave stacking. Plan vectors backwards from the boss: if the Gatekeeper fight is the run’s wall, the vector loadout that gets you there comfortably may be the one that kills you there. When in doubt, run lighter vectors on Gatekeeper-heavy depths and heavier vectors on depths you outgear.
Threat Level Scaling: Vectors Get Worse as Difficulty Rises
Community-tested: vector danger scales with Threat Levels, and it scales faster than the reward does.
- Threat Levels 1–2: vectors are close to free value. Enemy-adders are noticeable but easily handled; this is where to learn each vector’s behavior. Our climb guide for Threat Levels 1 to 3 covers the fundamentals underneath.
- Threat Level 3: the transition. A single enemy-adder here demands a real plan — crowd control drafted, squad staying together. Stacking starts to bite.
- Threat Levels 4–5: vectors compound with wave stacking. An enemy-adder on TL4 is effectively a second stacking mechanic layered over the first. Full playbook in our TL5 survival guide — the short version is that TL4+ vector play is a specialist activity, not a default.
The practical rule: drop one vector tier for every Threat Levels tier above 3. What was “spicy but viable” at TL2 is “run-ending” at TL4.
Builds That Survive Stacks
Community-tested: if the squad wants vector value at real difficulty, the Builds have to be built for it — not just good builds, but vector-proofed builds.
- Dedicated crowd-clear is non-negotiable. One player whose build exists to empty corridors. The Slicer is the natural pick — see our Slicer guide — but any build with area damage and sustain works if it commits fully.
- Sustain over greed. Vector runs are marathons of pressure; the Expenite spend order is defense-first. Our Expenite farming guide covers the income — on vector runs, spend it like the run is already going wrong.
- Mobility for everyone. Stacked vectors punish static positioning hardest. Every build needs an exit plan from every fight.
- Ammo economy is a survival stat. More enemies means more bullets spent; our Ammo Economy Guide is required reading before any serious vector stack.
- Someone holds a throwable. The Grenade Locker auto-unlocks at Alpha Clearance (official) — see our Grenade Locker Guide. In vector runs, a throwable is the emergency brake.
The Reward Side: What Stacking Buys You
Official: vectors trade challenge for reward — that is the entire design. The advanced question is whether the trade is worth it, and the community-tested answer is: it depends on the pattern.
- Double utility: almost always worth it. Real reward, minimal risk.
- Enemy-adder + utility: worth it when the squad is built for it and the Threat Levels are appropriate. The reward meaningfully accelerates the run’s power curve.
- Double enemy-adder: worth it only as a deliberate challenge or when the squad outgears the content. The reward does not scale with the risk past a point — you are paying exponential danger for linear reward.
Community-tested rule of thumb: if the stack makes you nervous in the lobby, the reward is not worth it. Vector value comes from stacks you can play confidently, not from stacks you survive by luck.
Verification status: the 1.2 rework details, “very real consequences” wording, vector-spawn Gatekeeper reinforcement, Gatekeeper counterattacks, Grenade Locker unlock, and TL4–5 wave stacking are official patch facts; stack patterns, scaling behavior, and reward assessments are community-tested. Updated October 23, 2026.
Continue Reading
Don't deploy without all the intel. Check out this related file:
Guardian Threat Level 5 Guide: The Frontline Anchor for Max Difficulty →