Rogue Core Spotter Guide: Best Builds and Team Tactics
How to play the Spotter in Rogue Core: the information Reclaimer. Build priorities, weapon rules, and the Falconer pairing that wins co-op.
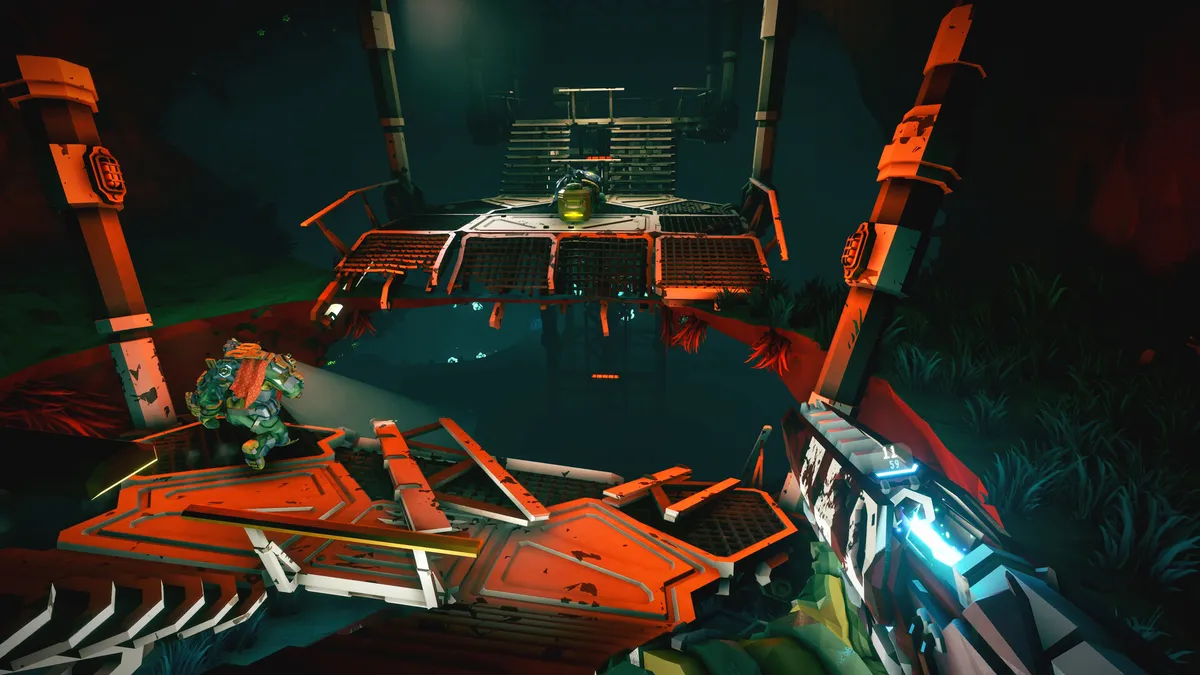
Combat Summary
- Community-tested: The Spotter is the A-tier pick for Co-op in the current Update 2 meta — and a C-tier pick for solo. It is the information class: knowing where the next wave spawns, where the elites are, and when the boss will counterattack is worth more than raw DPS in coordinated play.
- What it does: The Spotter sees the fight before it happens. Its kit turns fog-of-war chaos into called targets and timed responses.
- How to build it: Prioritize information and response tools in your Builds: vision, marking, elite detection, and anything that lets the squad act on what you see. Pair with a Falconer for the strongest Co-op duo in the game, and play Threat Levels 4–5 from a safe mid-line. For the full class ranking, see our Rogue Core Class Tier List.
What the Spotter Actually Is
Official: Rogue Core ships with five Reclaimer classes: Falconer, Spotter, Guardian, Slicer, and Retcon.
Community-tested: Since the Update 2 difficulty rework (September 2, 2026), the community consensus tier list rates the Spotter A-tier in Co-op and C-tier solo. The Spotter is the game’s second force multiplier after the Falconer — weak alone, because information is less valuable when you are the only one acting on it, and devastating in a squad, because four players acting on perfect information beat four players guessing.
The short version: The Spotter trades personal damage for team knowledge. If your squad listens, you win. If they do not, pick something else.
Build Priorities for Co-op
1. Information first, everything else second
In-game verified: Enhancement pools are per-player, so the Spotter can draft the full information package without costing the squad damage.
Prioritize, in order:
- Vision and detection — anything that reveals enemies, shows wave spawns, or highlights elites and specials. A Spotter that sees the next wave coming is worth more than another gun.
- Marking and callouts — upgrades that let you share what you see. Information that stays in your head helps nobody.
- Positioning safety — just enough survivability to keep watching the fight. A dead Spotter sees nothing.
2. The Falconer pairing
Community-tested: The Spotter pairs brutally well with the Falconer. The Spotter feeds information; the Falconer turns it into squad damage. This is the highest-ceiling duo in Co-op play — two information players who make the other two players twice as effective. See our Falconer Guide for the other half of the combo.
3. Expenite and artifacts
Official: Expenite flows from veins, events, and enemy drops — see our Expenite Events Guide. Community-tested: At the Specter Core, the R.E.P.D. lets you choose your Artifact — pick options that punish what you reveal, like area denial on the elites you mark. Our Artifact Tier List ranks every option.
Weapons: Upgrade Rules for Spotter
Official: The Update 2 patch fixed the x2 magazine upgrade double-dip bug — magazine stacking now works as written.
The Spotter weapon rule: precision and range over volume. You fight from the mid-line or backline, and your targets are the ones you called — elites, specials, and the things about to flank your squad.
- Favor accurate, longer-range options that let you delete what you mark without leaving your sightline. The sustain math is in our Ammo Economy Guide.
- Keep a throwable ready. The Grenade Locker auto-unlocks at Alpha Clearance (official), and Impact Axes returned in Update 2 (official) — see our Grenade Locker Guide.
- Do not build for close-range brawling. That is the Guardian’s job. If enemies are reaching you regularly, your positioning is wrong — fix the position, not the gun.
Playing by Threat Level
Official: Update 2 replaced the old pacing with Threat Levels. Official: On Threat Levels 4–5, stage waves can now stack — previously a bug, now an intended feature.
- Threat Levels 1–3: The Spotter is a luxury here — nice, but the fights are simple enough that raw damage usually wins. Use these runs to learn spawn patterns and elite tells. See Threat Levels Explained.
- Threat Levels 4–5: This is where the Spotter earns the A-tier. Stacked waves mean the squad is fighting blind chaos — unless you are there to call it. Watch the spawn points, call the overlap moments, and keep your eyes on the boss’s counterattack tells (see our Gatekeeper boss guide). Our Threat Level 4–5 survival guide has the full playbook.
Solo Play (C-tier, but Playable)
Community-tested: Solo is the Spotter’s weak mode — information is less valuable when you are the only one acting on it. Still functional: knowing what is coming helps anyone, and the kit was designed for a team. If you must solo as Spotter, play slow, pre-aim the spawns you reveal, and accept that a Slicer or Guardian would clear the same run faster.
Three Mistakes New Spotters Make
- Hoarding information. Calling targets late — or never — turns you into a weak damage dealer with no excuse. Talk constantly: spawns, elites, boss tells.
- Fighting on the frontline. You are not the Guardian. If you are trading shots at close range, you are not watching the fight, and a Spotter that is not watching is just a bad Slicer.
- Building full damage. Your personal DPS will never match the damage classes. Every damage upgrade you take is an information upgrade you did not — and the squad feels that loss more than you feel the gain.
Is Spotter Right for You?
Pick the Spotter if you play Co-op, like being the brain of the squad, and have teammates who listen. It is at its absolute best next to a Falconer — the two together are the strongest duo in Rogue Core. Skip it if you mostly play solo or queue with strangers who ignore callouts. Compare all five in the Class Tier List.
Continue Reading
Don't deploy without all the intel. Check out this related file:
Rogue Core Falconer Guide: Best Co-op Builds and Weapons →