Rogue Core Guardian Guide: Frontline Builds and Weapons
How to play the Guardian in Rogue Core: the dependable frontline Reclaimer. Build priorities, weapon rules, and solo vs co-op tactics.
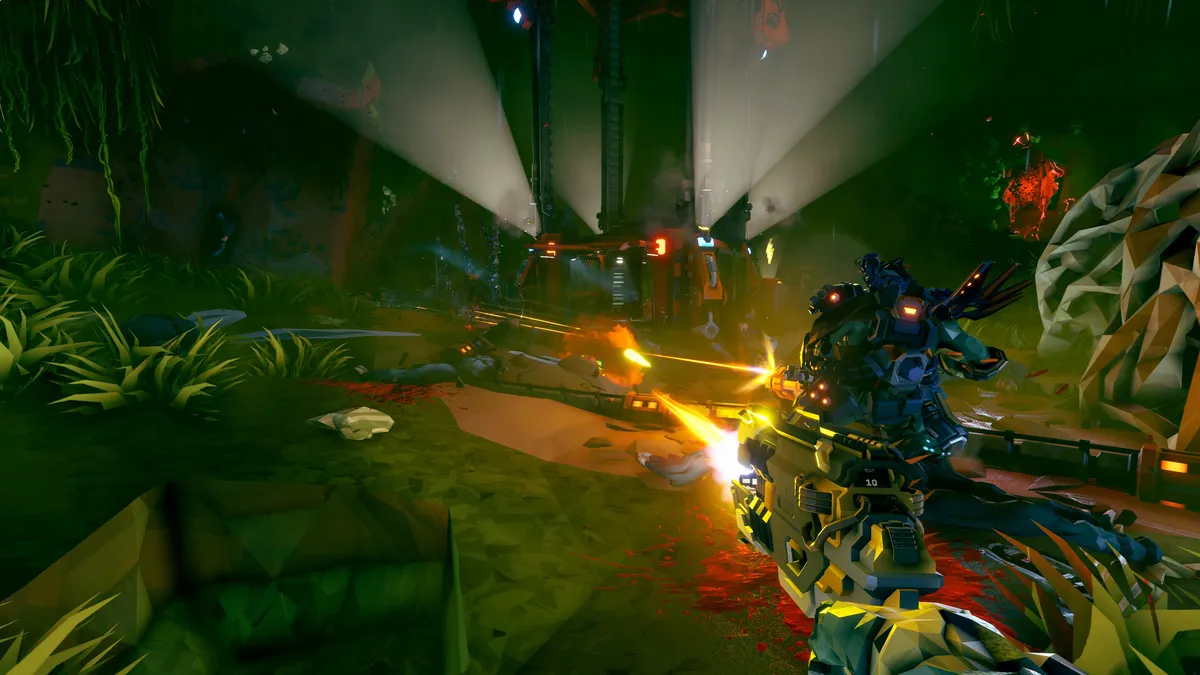
Combat Summary
- Community-tested: The Guardian is the safest all-rounder in Rogue Core — A-tier in solo, B-tier in Co-op in the current Update 2 meta. It holds ground, protects squaddies, and never feels bad to have around.
- What it does: The Guardian is the dependable frontline. It survives mistakes that would end other classes’ runs — and in solo, one mistake is the whole run.
- How to build it: Prioritize survivability and sustain in your Builds: damage reduction, health recovery, and crowd control before raw DPS. Play the frontline, keep exits covered, and let the damage dealers work behind you. For the full class ranking, see our Rogue Core Class Tier List.
What the Guardian Actually Is
Official: Rogue Core ships with five Reclaimer classes: Falconer, Spotter, Guardian, Slicer, and Retcon.
Community-tested: Since the Update 2 difficulty rework (September 2, 2026), the community consensus tier list rates the Guardian A-tier solo and B-tier in Co-op. The Guardian is a self-contained class — strong alone, dependable in a squad, but not the force multiplier that Falconer or Spotter are. It does not elevate a team the way the top two do; it simply never lets the team down.
The short version: Guardian is the pick when you want to survive. Solo players who would rather finish the run than speedrun it should start here.
Build Priorities
1. Survive first, kill second
In-game verified: Enhancement pools are per-player, so the Guardian can take the full defensive package without costing the squad anything.
Prioritize, in order:
- Damage reduction and health — anything that keeps you standing through a bad wave. On Threat Levels 4–5, where waves stack, the Guardian is the player who is still alive when the second wave lands on top of the first.
- Crowd control — slows, staggers, and area denial. A Guardian that controls space is worth two that just shoot.
- Damage last — you bring enough by existing. Let Falconers and Slicers chase the damage rolls; your job is to be unkillable.
2. Expenite spending
Official: Expenite flows from veins, events, and enemy drops. The Guardian benefits most from upgrades that extend effective health and sustain — see our Expenite Events Guide for the three income streams and our Grenade Locker Guide for throwable options (the Locker auto-unlocks at Alpha Clearance, official).
3. Artifacts for the frontline
Community-tested: At the Specter Core, the R.E.P.D. lets you choose your Artifact — the Guardian should pick defensive or zone-control options. Our Artifact Tier List ranks every choice; area-denial picks like S-tier Nuclear Optics pair naturally with a class that holds ground.
Weapons: Upgrade Rules for Guardian
Official: The Update 2 patch fixed the x2 magazine upgrade double-dip bug — magazine stacking now works as written.
The Guardian weapon rule: uptime and control over burst. You are the wall. Your weapon should clear space around you and keep firing while you reposition.
- Favor weapons with strong crowd control and sustained fire — burst weapons leave gaps, and gaps are where squads die. The sustain math is covered in our Ammo Economy Guide.
- Keep a throwable for emergencies. Impact Axes returned in Update 2 (official) and the Grenade Locker is free at Alpha Clearance — a panic throw buys the seconds your squad needs to recover.
- Do not build like a Slicer. Greedy, fast, alone — that is the solo damage fantasy, and it is the opposite of your job. Your DPS matters less than your presence.
Playing by Threat Level
Official: Update 2 replaced the old pacing with Threat Levels. Official: On Threat Levels 4–5, stage waves can now stack — previously a bug, now an intended feature.
- Threat Levels 1–3: The Guardian is nearly unkillable here. Play aggressively, learn the maps, and practice holding doorways and sightlines. See Threat Levels Explained.
- Threat Levels 4–5: Stacked waves are the Guardian’s exam. Hold the anchor position, call out when you are about to break, and never chase kills into the second wave’s spawn. Our Threat Level 4–5 survival guide has the full playbook.
Solo vs Co-op Play
- Solo (A-tier): The Guardian is the safe solo pick. It cannot match the Slicer’s speed, but it survives mistakes that end other classes’ runs — and in solo, one mistake is the whole run. Play patient, clear methodically, and let your sustain carry you through Threat Levels you have no business surviving.
- Co-op (B-tier): Anchor the frontline. Protect the Falconer and Spotter — they are your force multipliers, and they are squishier than you. A Guardian that keeps the information players alive is doing its job even when its own damage looks average.
Three Mistakes New Guardians Make
- Chasing kills off the line. Every step you take away from your anchor is a step your squaddies’ cover disappears. Let the damage come to you.
- Building full damage. A Guardian that dies in two hits is just a slow Slicer with extra steps.
- Ignoring the second wave. On Threat Levels 4–5, the stacked wave kills more Guardians than any boss. When the first wave ends, reset your position immediately — do not loot, do not reload in the open.
Is Guardian Right for You?
Pick Guardian if you play solo and want the safest learning curve, or if your Co-op squad needs an anchor. Skip it if you want to top damage charts — that is the Slicer’s job, and the Guardian was never trying to compete. Compare all five in the Class Tier List.
Continue Reading
Don't deploy without all the intel. Check out this related file:
Rogue Core Falconer Guide: Best Co-op Builds and Weapons →