Rogue Core Rifts Explained: Volatile Energy and Wave Spawns
What are Rifts in Rogue Core? How per-wave Rifts and volatile Rift energy from the Voidkin Dominator work, and the positioning rules that keep you alive.
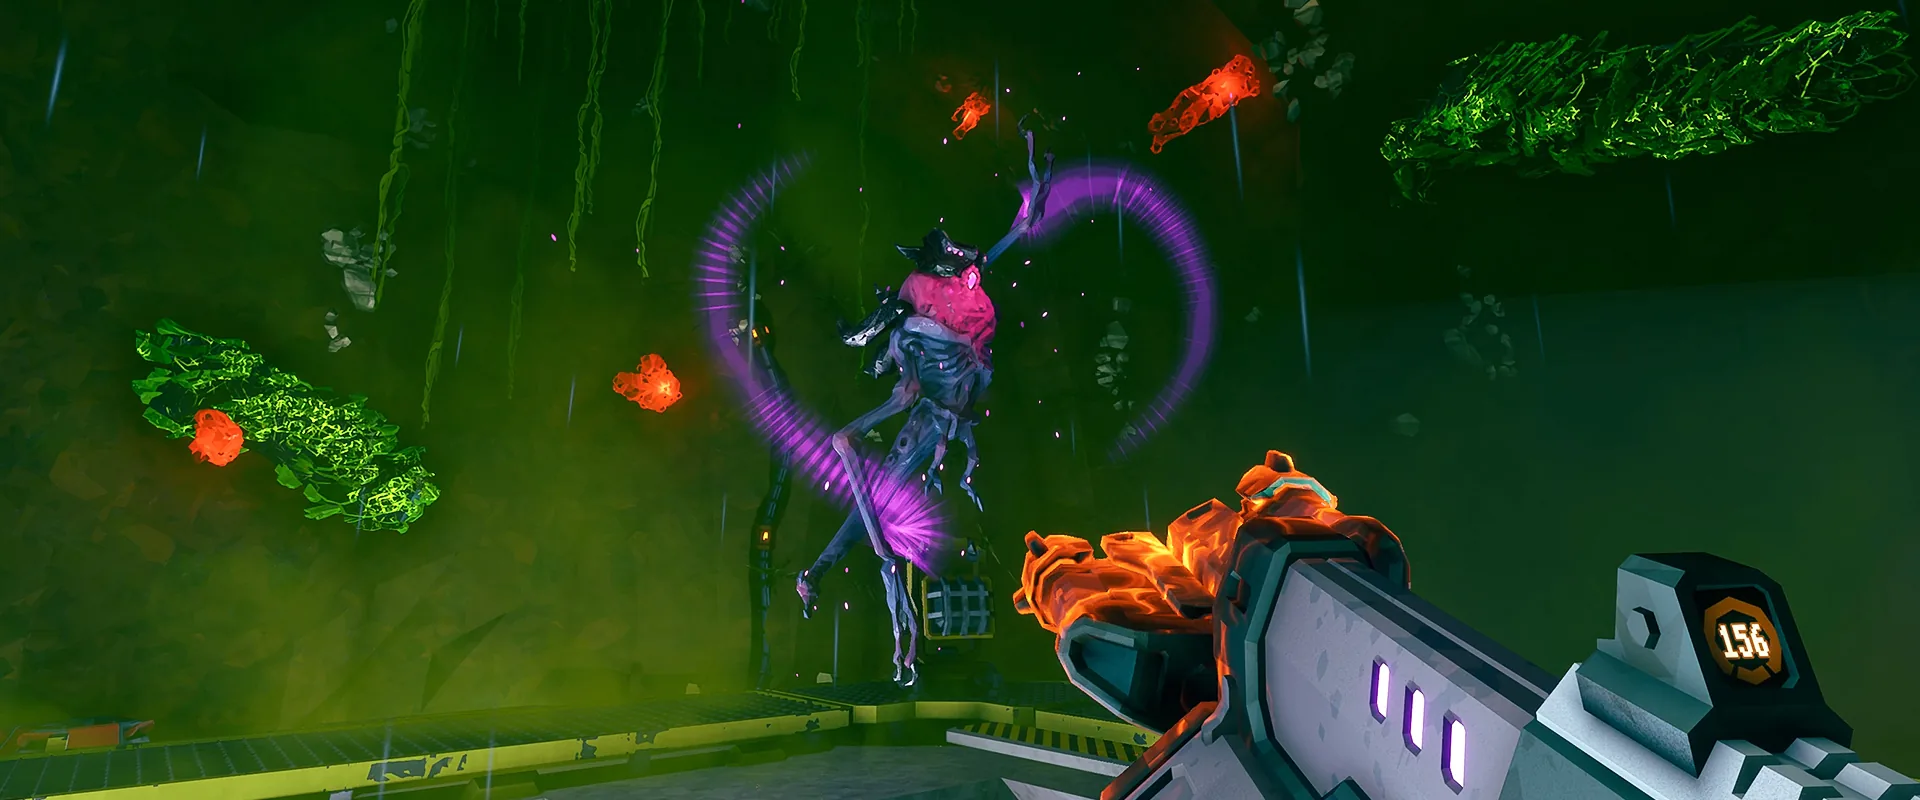
Combat Summary
- Official: Since the Update 2 patch (September 2, 2026), Rifts in Rogue Core spawn and follow per wave — every combat wave reshapes where the rifts are and where they drift. Rifts are battlefield Hazards tied to the volatile energy of the Corespawn.
- Official: The Voidkin Dominator adds its own zones to the mix: its projectiles leave lingering patches of volatile Rift energy, and it explodes when it dies.
- How to handle them: Treat Rifts as moving terrain, not enemies. Fight in open ground, keep your exit routes open, kill the Dominator from mid-range while strafing, never stand where two zones overlap, and back off its corpse before the detonation. Against Rifts, positioning beats DPS every time.
What Rifts Are
Official: Rifts are environmental hazards in Rogue Core that appear on the battlefield during combat. The only hard facts come from the Update 2 patch notes, which changed their behavior: Rifts now spawn and follow per wave instead of behaving as they did before.
Community-tested: In practice, Rifts are zones of unstable energy that punish you for standing in or near them. They are not enemies you can shoot — you cannot kill a Rift. Your only interaction with them is positional: move around them, or take the damage. Most players first notice them when a seemingly safe patch of floor suddenly becomes painful mid-wave, which is exactly why understanding the wave cycle matters.
Speculation: What “follow” means exactly is still unclear. It may mean Rifts drift toward the player, reposition along the wave front, or simply despawn and reappear at new spots each wave. We describe all three interpretations below so you can read the battlefield either way.
How Rifts Spawn and Follow Per Wave
Official: The Update 2 change is the key line: Rifts now spawn and follow per wave. Each wave is a fresh roll of where Rifts appear and how they move.
Community-tested: Between waves there is a short calm window. Use it. When the next wave starts, the Rift layout will not be the one you just fought in — new Rifts spawn as the wave begins, and players report them drifting across the arena as the wave progresses. That drift is slow enough to track with your eyes, but fast enough that the “safe corner” you found two minutes ago is no longer safe.
Speculation: The community’s working theory is that Rift placement reacts to wave pressure — that they follow where the fighting is heaviest — but nobody has pinned down whether they track players or simply follow a preset pattern per wave. Treat their movement as unpredictable until proven otherwise, and never plan a fight around a Rift staying where it is.
Community-tested: One pattern does hold up across reports: Rifts never seem to overlap the spawn point of a fresh wave’s heaviest enemies at wave start, which gives you a few seconds to read the new layout before the pressure lands. Check the floor before you check the enemy list.
Volatile Rift Energy: The Dominator’s Zones
Official: The Voidkin Dominator — the tankier, long-range cousin of the Voidkin Drifter added in Update 2 — fires projectiles that leave lingering zones of volatile Rift energy, and it explodes when killed. This is the only enemy-confirmed source of new Rift zones during a wave.
Community-tested: These zones are the most dangerous Rifts on the field because the Dominator places them deliberately where you want to be: lanes of approach, cover positions, and the space right behind you. They linger for several seconds after the projectile lands, long enough to turn a corridor into a no-go zone mid-fight. Multiple zones can layer across a single lane, and walking through layered zones burns down health faster than standing in one.
Community-tested: The Dominator’s death explosion is the second half of the threat. Players consistently report that chasing the kill is the top cause of Dominator deaths: you finish it at close range, the corpse detonates, and a kill you already paid for takes you down with it. The explosion radius is generous enough that “just outside melee” is not safe.
Speculation: Whether the Dominator’s volatile zones interact with ambient per-wave Rifts — stacking damage, refreshing each other’s duration, or triggering when they overlap — is unknown. No testing has confirmed any interaction, so the safe assumption is that each zone is dangerous on its own and layered zones should simply never be stood in.
Positioning Rules That Keep You Alive
This is Combat fundamentals applied to the Rift problem. None of this is official data; it is community guidance that holds up across hundreds of reported encounters:
- Fight in the open, never in a corner. When ambient Rifts drift and Dominator zones land on top, a dead-end cavern becomes a trap. Always fight with at least two exit directions.
- Kill the Dominator while moving laterally. Strafe across its line of fire rather than backing straight up. Straight retreats walk you into the zones you just dodged; lateral movement keeps the floor readable.
- Burst it, don’t tickle it. The Dominator is explicitly tankier than the Drifter. Chipping from across the room gives it time to fill the arena with zones. Commit damage when you engage so the fight ends before the terrain turns unplayable.
- Never stand where two zones overlap. One zone is an inconvenience; two layered zones are a health drain that kills faster than most enemies on the field.
- After the kill, walk away. The corpse detonates. Put distance between you and the body before looting, reviving, or moving on. Make this a reflex, not a decision.
- Clear the small enemies first when you can. Grunts body-blocking you inside a Rift zone is how full-health runs end — the Rift does the damage while the swarm does the pinning.
Playing the Wave Rhythm
Official: Rifts follow the wave cycle, and the Voidkin Dominator appears as part of Update 2’s enemy roster. Everything in this section is community guidance built on those two facts.
The rhythm of a Rift-heavy fight looks like this: the calm between waves is your planning window — glance at the floor and note where Rifts are drifting before the next wave spawns. As the wave starts, new Rifts appear, and the first thing to identify is the Dominator if one is present. It gets priority not because it deals the most direct damage, but because every minute it lives is more volatile zones on the floor.
Community-tested: Early in a wave, kill the Dominator fast while the floor is still readable. Mid-wave, the field is at its worst: ambient Rifts have drifted, zones have layered, and your safe space has shrunk. This is when you slow down — smaller engagements, no greedy pushes, keep moving. Late wave, when only stragglers remain, is the recovery window: clear what’s left before the next wave’s fresh Rift layout spawns.
Community-tested: On higher Threat Levels, everything above compresses. Rift drift and zone pressure stay the same in kind but the margin for error shrinks — at Threat Level 4 and above, treat every Rift zone as lethal ground rather than a hazard you can briefly cross.
What We Still Don’t Know
Speculation: Several questions have no confirmed answers yet, and honest guides should say so:
- Whether Rift placement tracks players, follows the wave front, or is fully random per wave.
- The exact linger duration of the Dominator’s volatile zones and the exact radius of its death explosion — no datamined numbers exist.
- Whether ambient Rifts and Dominator zones interact when they overlap.
- Whether any weapon overclock or modification clears, shrinks, or resists Rift zones. Nothing in the patch notes suggests any do.
- Whether future patches will keep the per-wave behavior or change it again — Update 3 is targeted for late October 2026, and its patch notes could move any of this.
When those answers land, this guide will be updated. Until then, the rules above — fight in the open, strafe laterally, kill the Dominator fast, walk away from the corpse — are enough to carry you through every Rift-heavy wave in the game.
Continue Reading
Don't deploy without all the intel. Check out this related file:
DRG Promotion: What It Does & Why You Need It →