Rogue Core Death Mitosis Guide: How to Survive Splitting Corespawn
Death Mitosis splits every Corespawn into two baby zombies on death. Learn the real HP math, the best cleave and AoE builds, and when this Update 2 Alteration is worth taking.
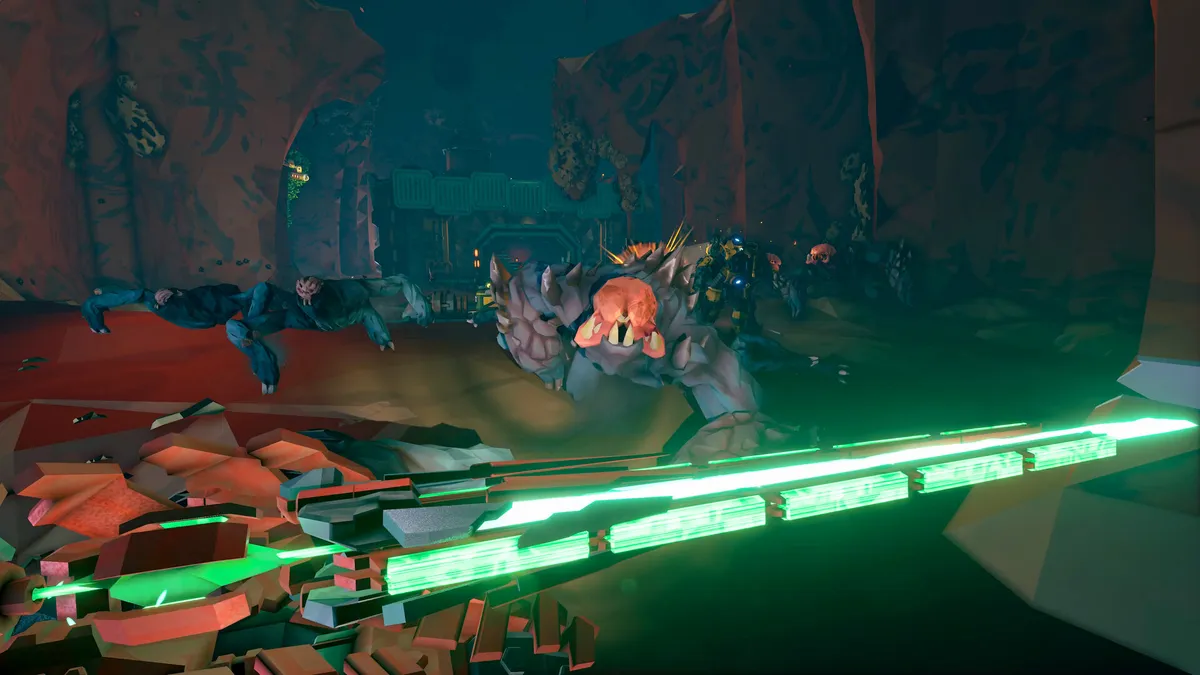
Combat Summary
- Official: Death Mitosis is one of the four new Alterations added in Update 2 (September 2, 2026). Every Corespawn splits into two “baby zombies” when killed, while enemies have less HP overall.
- Official: The alteration applies to the whole run once selected — every Corespawn pack you meet will double in number before it is fully dead.
- Tactical read: This is a swarm-comp dream and a single-target-build nightmare. Bring cleave, area damage, and anything that punishes density; leave your boss-melting single-target loadout at the door.
Death Mitosis turns every Corespawn fight into a population explosion. Kill one, get two. The headline trade-off — less HP per enemy — looks generous until you realize total HP per pack can climb while your ammo budget stays the same. If your squad runs flamethrowers, shotguns, grenades, and crowd control, this alteration converts your kit into a score multiplier. If your squad is built around deleting one big target at a time, expect a long, loud, embarrassing mission. This guide breaks down the real math, the builds that thrive, and the squad agreements that keep a Death Mitosis run from collapsing.
What Death Mitosis Actually Does
Per the official Update 2 patch notes, the Death Mitosis alteration has two components that fire together: Corespawn enemies split into two smaller “baby zombies” on death, and enemies across the board have reduced HP. The baby zombies are individually weak — they die to a stiff breeze — but they are fast, numerous, and they bite. The split happens on death regardless of how the kill lands: bullets, burns, explosions, and melee all trigger it.
The practical effect is that every Corespawn engagement now has two phases. Phase one is the “real” fight against the original pack. Phase two is the cleanup wave of babies, which arrives exactly when your magazines are empty and your cooldowns are spent. Squads that plan for phase two — holding a grenade, saving a reload, positioning near a chokepoint — cruise. Squads that treat the original pack as the whole fight get swarmed by the leftovers.
The HP Math: Why “Less HP” Is Misleading
The reduced enemy HP sounds like a gift. It is not, quite. Consider a pack of five Corespawn, each with a nominal 100 HP: 500 HP to chew through normally. Under Death Mitosis, say each drops to 70 HP (350 total), then splits into two babies at roughly 30 HP each (another 300). You now face 650 effective HP — plus twice the targets demanding your attention, plus the time cost of target-switching. The exact numbers are Ghost Ship’s to tune, but the structure of the math is fixed: splitting adds bodies, and bodies cost time and ammo.
Where the alteration genuinely helps: overkill waste disappears. A weapon that deals 200 damage to a 70-HP enemy wastes most of its punch — but against babies, that punch lands exactly where it counts. High-damage, low-fire-rate weapons that normally overkill feel efficient here. The trap is mistaking “enemies die fast” for “the fight is easy.” Track total ammunition spent per room, not kills per second, and the real economy of the alteration becomes clear.
Builds That Thrive Under Death Mitosis
Cleave and pierce weapons are the top tier. Anything whose shot continues through the first target into the second converts the split from a problem into free value: the baby wave spawns already lined up behind its parent. Shotguns with wide spreads, piercing rifles, and beam weapons that chain between targets all overperform their baseline here.
Area damage is the second pillar. Grenades, explosive barrels, burn patches, and frost fields punish density — and Death Mitosis manufactures density on demand. Time your AoE for the moment the babies pop, not for the initial pack: the babies cluster tightly around the kill point, which is exactly the shape area damage wants.
Crowd control turns the cleanup phase from a scramble into a harvest. Slows, stuns, and knockbacks applied as the split triggers keep the babies from scattering into the squad’s flanks. A controlled pack of babies is a resource; an uncontrolled one is a wipe.
What to bench: pure single-target boss melters. Precision rifles, single-shot heavies, and long-cooldown nukes built for Gatekeepers will feel awful clearing baby waves. If someone in the squad insists on bringing one, they need a secondary that sprays — no exceptions.
For a broader sense of where your weapons sit in the current meta, check the best weapons tier list — then mentally promote every cleave and AoE option one tier for Death Mitosis runs.
Solo vs Squad Play
Solo Reclaimers face the harshest version of this alteration. Nobody is covering your reload, and the baby wave arrives on your schedule alone. The winning solo approach is kiting through chokepoints: funnel the pack into a corridor, kill the front rank, and let the babies stack into a line your piercing weapon deletes in one trigger pull. Mobility tools outrank raw DPS for solo — you need to be somewhere safe when phase two spawns.
Squads should assign roles before the first room. One Reclaimer runs dedicated crowd control and calls the split timing; the rest hold fire on the original pack until the CC player is positioned. The classic failure is four players each killing one Corespawn simultaneously, producing eight babies in four directions at once. Stagger your kills — finish the pack together, in one place, with the AoE already cooking. See the full Alterations guide for how Death Mitosis compares to the other three run modifiers when the squad votes.
When to Take It — and When to Skip It
Take Death Mitosis when: the squad’s loadouts are already AoE-heavy; you are climbing Threat Levels 1–3 and want faster clears; your team communicates kill timing; or you are specifically farming and want denser fights per minute.
Skip it when: the squad is built for Gatekeeper bossing with single-target loadouts; you are pushing Threat Levels 4–5 where wave stacking already floods the arena — splitting on top of stacking is how runs end; or the team is new and still learning basic positioning. Baby zombies punish sloppy spacing harder than almost anything else in the game.
Common Mistakes
- Reloading right after the pack dies. The fight is only half over. Reload during the approach, not during the split.
- Chasing babies into side rooms. They scatter if you let them. Hold the chokepoint and let them come to you.
- Bringing a boss build to a swarm alteration. The single most common Death Mitosis complaint is a loadout problem wearing an alteration costume.
- Simultaneous multi-kills without a plan. Coordinated burst is good; four uncoordinated kills producing babies in every direction is not.
- Ignoring the timer. More bodies means more time per room. On pace-sensitive missions, the slow bleed of extra cleanup phases can cost you the objective.
Patch Notes
- Update 2 (September 2, 2026): Death Mitosis introduced as one of four new Alterations — Corespawn split into two baby zombies on death, enemies have less HP.
- No hotfix changes to Death Mitosis as of October 19, 2026.
Verification status: Official Update 2 patch notes. Tactical advice is gameplay analysis, not developer statements. Updated October 19, 2026.
Continue Reading
Don't deploy without all the intel. Check out this related file:
Rogue Core Alterations Ranked: Best to Worst Run Modifiers →