DRG: Mining Through High Threat Encounters & Objectives
Learn to effectively manage major threats without losing mission progress in Deep Rock Galactic. Prioritize mining and objectives even when huge enemies appear, ensuring mission success.
Combat Summary
When a large, high-threat entity appears mid-mission, your priority isn’t always to stop and fight. True Greybeards know how to keep the mission moving.
- Maintain Objective Progress: Don’t let an unexpected boss or high-threat enemy halt your primary objective. Keep mining, refining, or gathering while managing the threat.
- Divide & Conquer: Assign specific roles. One or two Miners can kite and draw aggro while the rest continue work or prepare defenses. This is a core aspect of effective Combat Tactics.
- Leverage Environment: Use natural choke points, high ground, or pre-dug escape tunnels to manage enemy movement and create safe zones for objective work.
Best Use Case
This approach is critical when a major enemy – like a Glyphid Dreadnought, Omen Exterminator, Korlok Tyrant-Weed, or a new Rogue Core threat – spawns during a time-sensitive objective or when you’re far from a resupply. Your goal is to keep valuable resources flowing and avoid getting bogged down in an extended, ammo-draining fight that stalls the mission. This is about disciplined Objective Focus during pressure moments.
Mission Tactics
First, assess the threat. Can it be ignored for a short period, or does it demand immediate attention? Often, a single Gunner or Driller can hold a bottleneck, while the Scout and Engineer continue working. Miners must learn to multitask. If you’re running low on Nitra, the highest Mission Strategy is often to prioritize gathering it, even if it means temporary disengagement from the large enemy.
- Kiting & Aggro Management: Designate a Miner to draw the enemy’s attention and keep it away from active objective areas. Scouts excel at this with their mobility.
- Opportunistic Damage: Don’t waste ammo. Hit the enemy when its weak points are exposed or when it’s pathing through an area where it can be efficiently damaged by multiple team members.
- Resource Prioritization: If you’re running low on health or ammo, a tactical retreat to resupply or find red sugar is more valuable than dying to the threat. Effective High Threat Management includes knowing when to reset.
Common Mistakes
A rookie mistake is to drop everything and empty clips into the enemy, regardless of its position, vulnerability, or the impact on your objective. This wastes precious time and ammo, often leading to a failed mission. Another error is neglecting smaller swarms while focusing solely on the large enemy; the little ones will quickly overwhelm a distracted team.
When To Avoid It
Some high-threat encounters are designed to be immediate blockers. If an enemy must be eliminated to activate a pumpjack, repair a pipeline, or progress through an event, then full engagement is necessary. This guide applies when the enemy is an interruption to an ongoing process, not the goal itself.
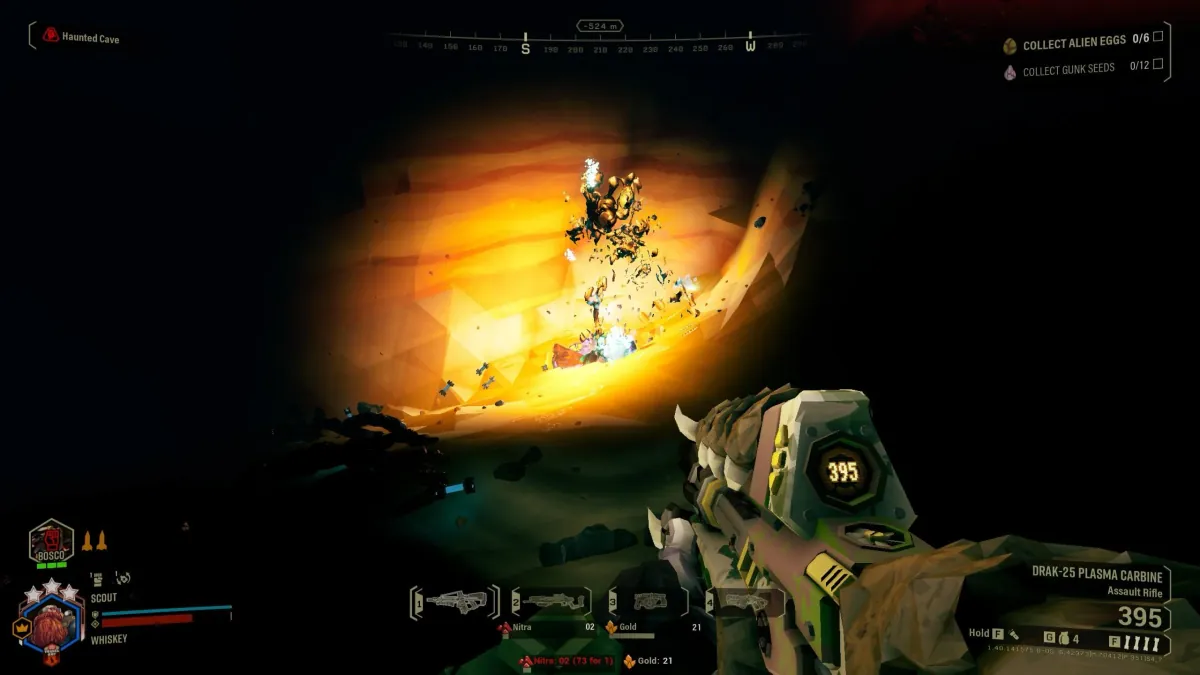
📸 Field Visuals


Continue Reading
Don't deploy without all the intel. Check out this related file:
Rogue Core: Assessing Readiness for the Next Deployment →