Spitball Infector Guide: Identifying & Eliminating Its Weak Spots
The Spitball Infector is a priority target; eliminate its weak spots quickly to prevent area denial. Learn to identify and counter this dangerous enemy on Hoxxes IV.
Combat Summary
- Prioritize the Spitball Infector immediately upon visual or audio confirmation, as its ranged attacks deny critical areas.
- Focus fire on the glowing pustules; these are the true Weak Spots that bring it down fast.
- Utilize terrain and your team’s unique mobility to flank or close the distance, minimizing exposure to its acidic projectiles.
Identifying the Threat
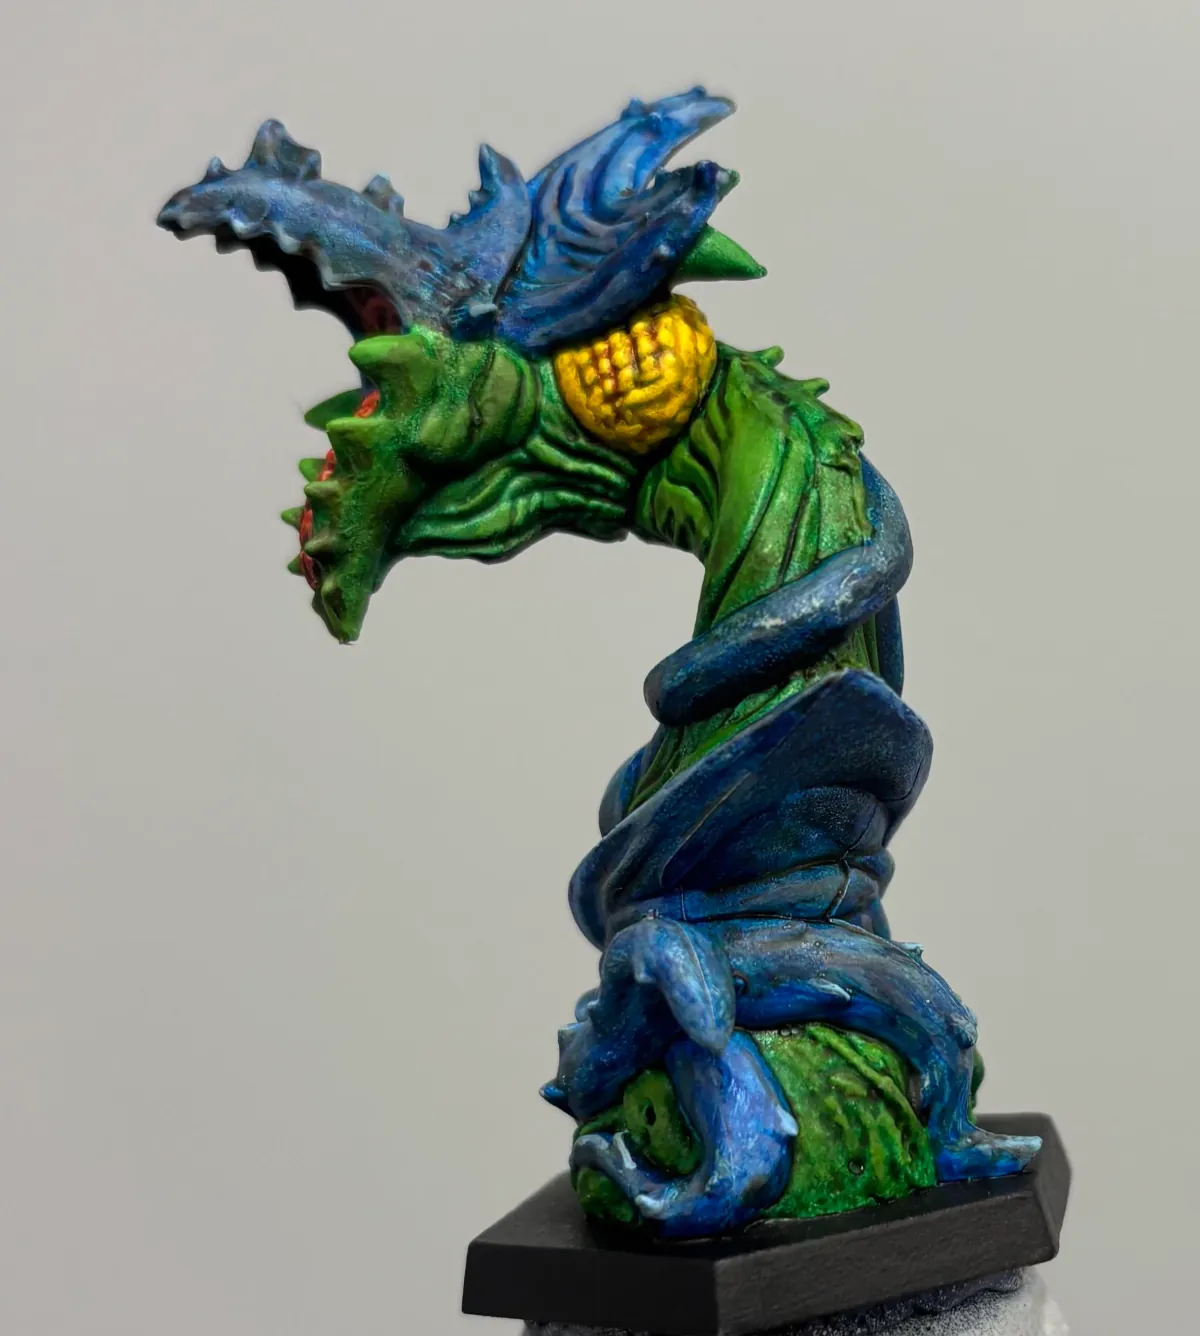
The Spitball Infector is a stationary, organic turret found throughout Hoxxes IV. It’s easily recognizable by its large, bulbous body and the distinct glowing, bright orange-yellow sacs that are its weak points. When provoked, it launches potent acid projectiles that create persistent hazardous puddles, capable of sectioning off entire combat zones. Its slow movement means it usually picks a spot and stays there, making it predictable but dangerous if left unchecked.
Engaging Weak Spots
Its glowing pustules are your primary targets. Each Infector typically has several of these vulnerable spots on its body. These sacs explode upon taking sufficient damage, dealing splash damage to the Infector itself and often revealing new sacs or speeding up its demise. Aim for the brightest points on its surface; these are where your damage will be most effective. Weapons with high single-target damage or sustained fire are excellent for popping these sacs rapidly.
Counter-Tactics & Target Prioritization
- Ranged Advantage: Gunners and Engineers excel at long-range weak point targeting. Autocannons, miniguns, and smart rifles can shred its sacs quickly.
- Driller’s Demolition: Drillers can bypass its tough outer shell entirely. A well-placed C4 charge from a Driller Tactics specialist will detonate multiple sacs simultaneously, often killing the Infector instantly. Flamer and Cryo Cannon streams are also effective once close.
- Scout’s Precision: Scouts can quickly reach vantage points, allowing for easy targeting of sacs from above or behind, minimizing exposure to acid. M1000 Classic and GK2 are great for precision shots.
- Avoid the Ground: The acid pools linger and stack damage. Do not stand in them. Use platforming, ziplines, or simple strafing to avoid its projectiles and the resulting terrain hazards.
Common Mistakes
Miners often make the mistake of firing into the Infector’s heavily armored body without targeting the sacs. This wastes ammunition and gives the creature more time to deny valuable terrain. Another common error is rushing directly into its acid fields, suffering unnecessary damage. Maintain distance if possible, or use your environment to approach safely.
When to Avoid It
While generally a high-priority target, if your team is already overwhelmed by a large swarm and the Infector is far off or not immediately threatening a critical path, it might be safer to temporarily disengage, clear the immediate threat, and then refocus. Retreating to safer ground or luring the swarm away from the acid pools is often a better play than fighting both at once in a contained, acid-filled space. Don’t let Management’s demands for efficiency override common sense.
📸 Field Visuals


Continue Reading
Don't deploy without all the intel. Check out this related file:
Driller Satchel Charge Guide: Avoid Friendly Fire, Maximize Swarm Clear →