Rogue Core Tactical Hiding: Master Environmental Defense for Survival
Mastering environmental cover is key to surviving intense swarms and ambushes in Rogue Core. Learn tactical hiding to use terrain to your advantage, mitigate damage, and reposition efficiently.
Combat Summary
- Utilize terrain features like pillars, ledges, and tight tunnels to create defensive chokepoints and break enemy line of sight.
- Always seek high ground or enclosed spaces during large swarms to limit enemy access and maximize area-of-effect damage.
- Environmental hazards can be turned into advantages; use them to control enemy movement or block paths.
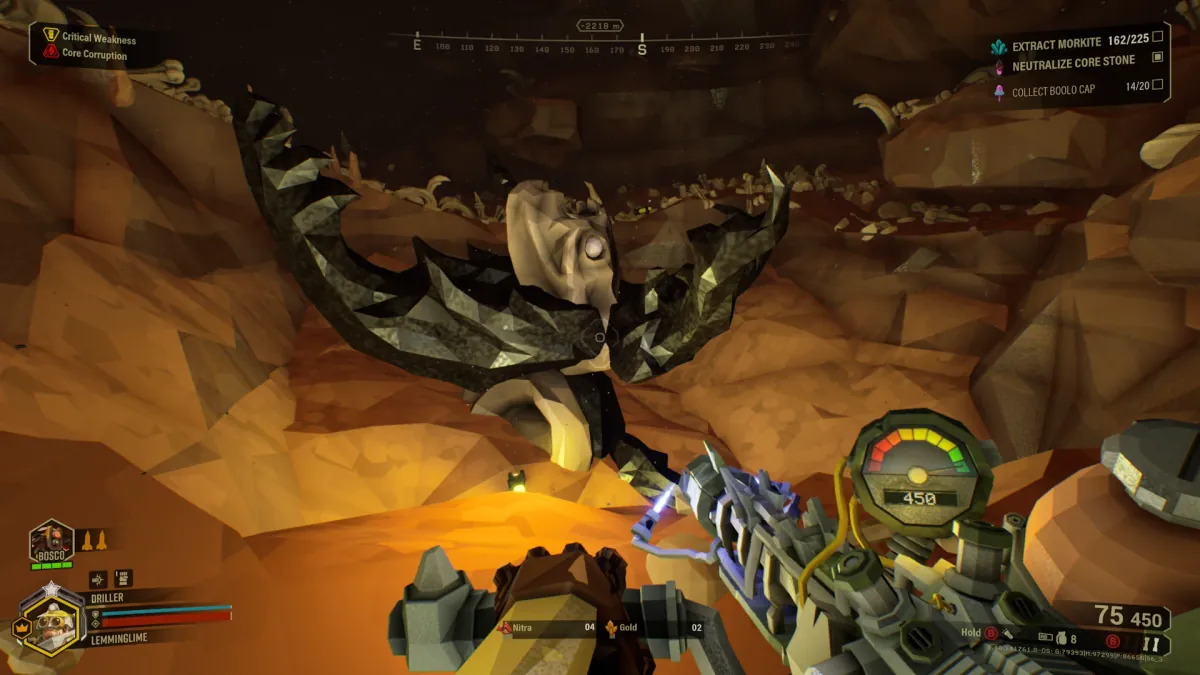
“Perfectly hidden” isn’t about disappearing, it’s about using the environment to your advantage. This tactical approach is crucial for solo Survival Guide scenarios or when your team is overwhelmed by a Rogue Core Tactics swarm. Use natural rock formations, discarded machinery, or even carved tunnels to create temporary safe zones. These Defensive Positions allow for health regeneration, shield cooldown, and focused fire on fewer targets. Effective Environmental Cover can turn a losing fight into a manageable one.
Mission Tactics
When the swarm alarm sounds, don’t just stand in the open. Scan your surroundings immediately for natural chokepoints or elevated ground.
- Chokepoints: Narrow tunnels or rock bridges are excellent for funneling Glyphids, letting Driller and Engineer shine with area denial. Gunners can place shields strategically at entrances.
- High Ground: Ledges and platforms force melee enemies to path around or climb, buying precious time. It also gives Scouts clear firing lines.
- Breaking Line of Sight: Against ranged Mactera or Praetorians, ducking behind a pillar can force them to reposition, giving you a window to reload or heal.
- Dynamic Cover: Remember that the terrain can be modified. Driller can carve escape tunnels or reinforce existing cover. Engineer can create platforms for quick vertical repositioning.
Common Mistakes
- Static Defense: Don’t get rooted in one spot. True tactical hiding involves being ready to relocate if your position is compromised or swarmed from multiple angles.
- Ignoring Team Position: A “perfectly hidden” dwarf alone is a dead dwarf. Ensure your chosen spot still allows for team cohesion and revive potential.
- Underestimating Hazards: Just because you’re hidden doesn’t mean you’re safe from acid, fire, or flying enemies. Always be aware of environmental threats beyond the bugs.
Continue Reading
Don't deploy without all the intel. Check out this related file:
Driller Satchel Charge Guide: Avoid Friendly Fire, Maximize Swarm Clear →