How to Navigate Resinite Mass Caves for Smooth Extractions
Learn how to manage tricky cave generation in Resinite Mass missions to ensure efficient movement and smooth extractions. Avoid getting trapped by poor terrain.
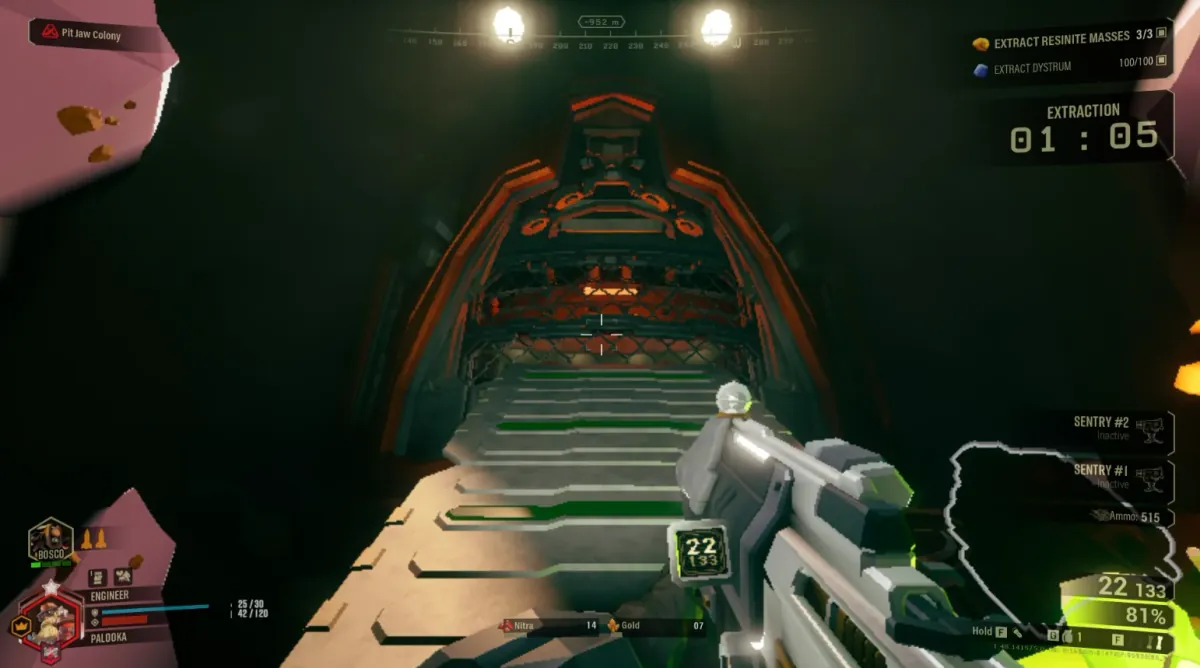
Combat Summary
- Prioritize Verticality: Utilize Driller drills and Scout grappling hooks to bypass convoluted paths and chokepoints created by erratic cave generation.
- Clear Molly’s Path Early: Proactively create or widen tunnels and clear obstacles for Molly, especially during critical Extraction Tactics.
- Maintain Situational Awareness: Keep a constant eye on the terrain, the objective, and the clock, adapting your Cave Navigation strategy to avoid getting boxed in.
Deep Rock Galactic’s procedural generation, while offering endless variety, can sometimes lead to ‘unpolished’ cave structures that turn a routine Resinite Mass mission into a death trap, particularly during extraction. This guide covers how to identify and overcome these terrain challenges.
Resinite Mass Cave Challenges
Resinite Mass missions often feature complex, multi-layered caves with unpredictable elevation changes and narrow passages. While this adds to the challenge of Deep Rock Galactic Missions, it can lead to situations where Molly struggles to pathfind, or Miners get isolated from the team. The most significant threat is during extraction, where an optimized route is critical to survival under duress.
Navigating Rough Terrain
Efficient movement is key. Every Miner has a role in managing difficult terrain:
- Driller: You are the undisputed master of terrain manipulation. Use your drills to create direct routes through rock, bypass dead ends, and open up chokepoints. C4 can also be invaluable for clearing large sections or connecting distant caves. Prioritize making paths for Molly and slower teammates.
- Scout: Your primary role is quick reconnaissance and light pathfinding. Use your Grappling Hook to scout ahead, identify clear paths, and mark obstacles. Your flares are crucial for illuminating complex areas, revealing hidden routes or dangers.
- Engineer: Platforms are your friend. Use them to create bridges over chasms, fill in problematic holes, or create makeshift cover points. Strategically placed platforms can smooth out Molly’s path or provide safe landing zones for the team.
- Gunner: While not a primary pathfinder, your Shield Generator can create vital breathing room in tight, contested spaces. Ziplines offer essential vertical and horizontal traversal for the entire team, especially useful when drills aren’t available or suitable.
Extraction Tactics for Difficult Caves
The final push to the Drop Pod is where poor cave generation bites hardest. Do not wait for Molly to get stuck. As soon as the call for extraction is made:
- Anticipate Molly’s Route: Based on the mission start and terrain you’ve covered, try to predict Molly’s path. She generally takes the most direct, albeit sometimes convoluted, route to the Drop Pod.
- Pre-Clear Key Obstacles: Send a Driller ahead to widen chokepoints or drill a new tunnel through a particularly nasty section. Engineers can lay platforms, and Gunners can set up ziplines to speed up the team’s return.
- Stay Together: Fragmenting the team on the run-back makes everyone vulnerable. Communicate and coordinate your movements. Use cover and the terrain to your advantage when engaging pursuing Glyphids.
Miner’s Chatter
Community feedback consistently highlights Molly’s pathfinding AI as a source of frustration in dense or poorly generated caves. Miners frequently recommend proactive terrain management, especially for Drillers, and suggest staying close to Molly during the return journey to clear her path of minor obstacles or enemies. The consensus is that preparation and teamwork are the only reliable counters to problematic cave layouts during extraction.
Continue Reading
Don't deploy without all the intel. Check out this related file:
Driller Satchel Charge Guide: Avoid Friendly Fire, Maximize Swarm Clear →