Driller Satchel Charge Tactics: Maximizing Explosive Swarm Clear
Master Driller Satchel Charge tactics for efficient swarm clear and terrain manipulation. Learn best practices to maximize explosive damage against large enemy groups.
Combat Summary
- Position Satchel Charges in tight corridors or below large enemy groups for maximum splash damage and area denial.
- Utilize explosives for instant Swarm Clear, creating vital breathing room and managing overwhelming threats.
- Leverage C4 for rapid excavation of high-value targets or to create emergency escape routes during intense engagements.
Best Use Case
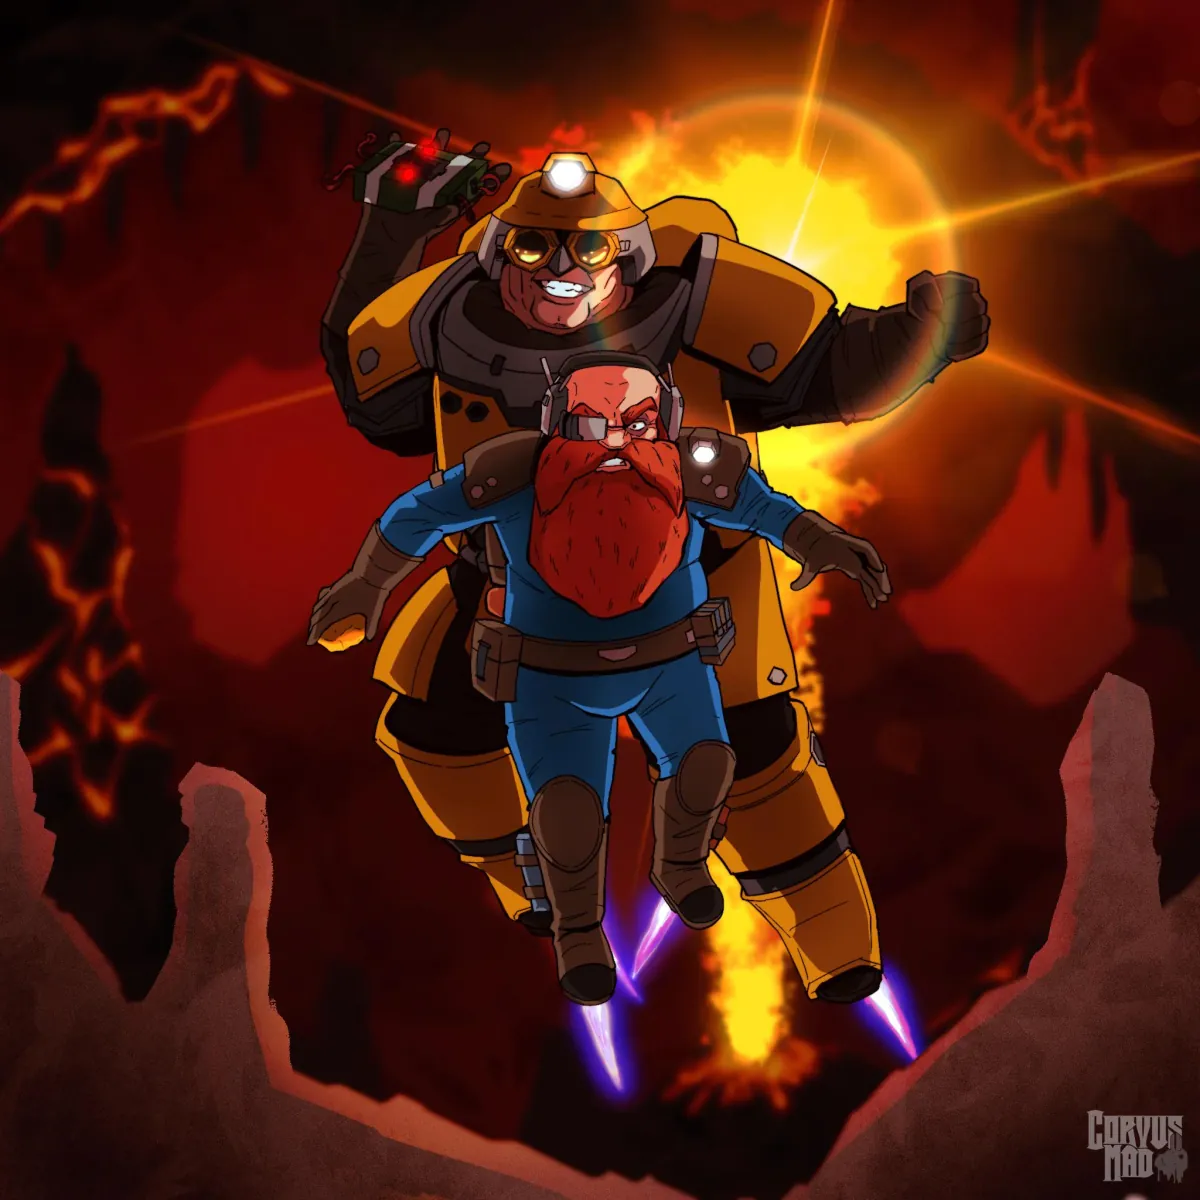
The Driller’s Satchel Charge is your ultimate problem solver for large, clustered enemy formations. It’s exceptional for eliminating grouped Glyphids, particularly when defending objectives, initiating an ambush, or covering a strategic retreat. A well-placed C4 can instantly wipe out an entire wave, conserving precious primary weapon ammo and preventing team overruns. This is a core part of effective Driller Combat Tactics in any operation.
Mission Tactics
- Choke Point Traps: When a Swarm Clear is detected, identify or create a narrow tunnel. Position yourself strategically and drop your C4 just as enemies pour through the choke. Detonate for devastating effect, turning a critical vulnerability into a killing zone.
- Vertical Blasts: If enemies are above you on a ledge or ceiling, aim your C4 for the ground directly beneath them. The explosion will bring down foes and create a debris field, often clearing multiple layers of threats simultaneously.
- Objective Defense: On missions like Salvage, Escort, or On-Site Refining, C4 is invaluable for quickly clearing areas around critical objectives such as the Uplink, Drilldozer, or Liquid Morkite pumps. Use it to prevent enemies from overwhelming your position, then follow up with primary fire for any stragglers. For any Deep Rock Galactic operation, knowing when and where to deploy a Satchel Charge is key to mission success.
Common Mistakes
- Friendly Fire: The Satchel Charge has a massive blast radius. Always confirm your team’s position before detonating. A downed Miner is a far greater liability than a few extra Glyphids remaining in the swarm.
- Wasting Charges: Do not use C4 on single targets, small groups, or targets that can be easily dispatched with your primary or secondary weapons. Save these powerful explosives for large swarms or high-priority threats that demand instant neutralization.
- Poor Placement: Detonating too early or too late, or placing the charge too far from the main enemy clump, will drastically reduce its effectiveness. Practice with its fuse delay and blast radius to ensure maximum impact.
Continue Reading
Don't deploy without all the intel. Check out this related file:
Driller Satchel Charge Guide: Avoid Friendly Fire, Maximize Swarm Clear →