DRG Team Synergy: Coordinated Class Tactics Guide
Master Deep Rock Galactic team synergy by understanding each Miner's role for maximum survival. Learn coordinated class tactics to push deeper into Hoxxes IV.
Combat Summary
- Each class brings unique capabilities; identify and leverage them for robust DRG Team Synergy.
- Stay aware of your team’s position, especially in combat, to enable effective Coordinated Class Tactics.
- Prioritize objectives and resource management as a cohesive unit to maximize Teamplay efficiency and overall survival.
Management expects results, not excuses. On Hoxxes IV, solo heroics often end with a messy resupply call. True survival comes from understanding your fellow Miners and operating as a cohesive unit. This guide breaks down effective Deep Rock Galactic Tactics for any mission, ensuring you don’t end up as Glyphid chow due to poor coordination. Master your Class Roles and support your team; it’s the only way to make it back to the Space Rig in one piece.
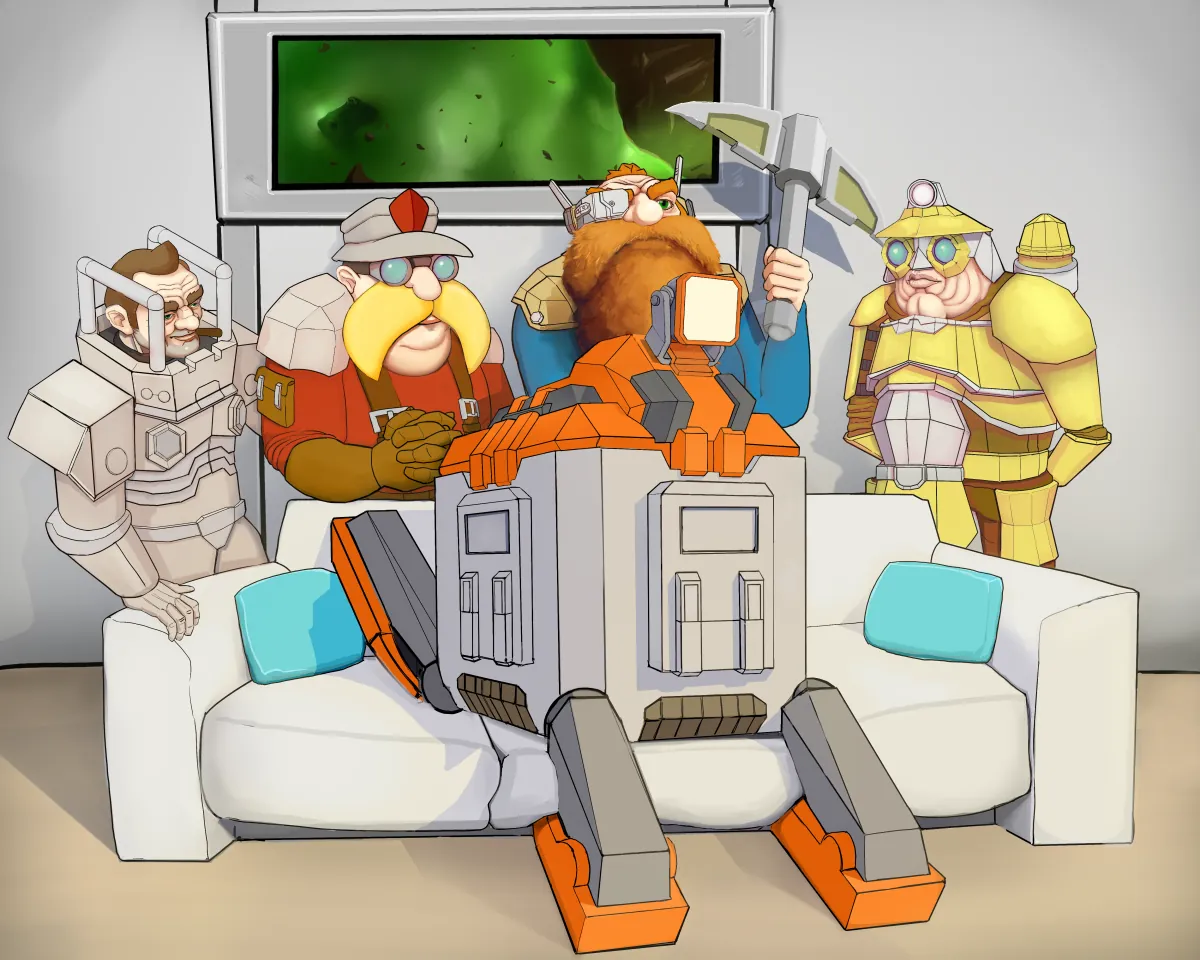
Understanding Class Roles for Maximum Synergy
Every Miner has a job, and knowing it is half the battle. Ignore these core responsibilities at your peril, and your team’s.
- Scout: Your eyes and ears. Lights up caverns, prioritizes high-value targets like Mactera Spawn or acid spitters, and quickly gathers hard-to-reach Morkite or objectives. Their speed is critical for quick revives and distraction, but they need cover.
- Engineer: The platform master and area denial expert. Creates safe footing for the Scout, sets up defensive perimeters with turrets, and provides crucial crowd control with grenades. Their job is to control the battlefield.
- Gunner: The immovable object and primary shield provider. Keeps the swarms off the team with heavy firepower and deploys shields to revive downed Miners, block projectiles, or provide breathing room during retreats. Your anchor.
- Driller: Terrain manipulator and close-quarters specialist. Carves tunnels for quick movement, creates escape routes, and excels at clearing large groups of Grunts with flamethrowers or cryo cannons. Your problem solver for environmental hazards.
Mission Tactics: Moving as a Unit
Effective Coordinated Class Tactics means more than just shooting the same bug. It’s about movement, positioning, and mutual support.
- Stick Together: Spreading out too thin is a death sentence, especially on higher hazards. Move as a group, ensuring no Miner is left unsupported during an unexpected swarm.
- Use Pings: See a high-priority target? Ping it. Need Nitra? Ping it. Over-communicating is better than under-communicating. Pings are instant intel.
- Engineer & Scout: The classic pairing. Scout lights up a ceiling, Engineer platforms it, Scout mines. Efficient, fast, and safe resource gathering.
- Driller’s Tunnels: Don’t just drill to objectives. Drill back to the Drop Pod, create strategic chokepoints, or bypass difficult terrain. These are vital for survival and retreat, demonstrating peak Teamplay effectiveness.
- Gunner’s Shield Placement: A well-placed shield can turn the tide. Use it for revives, to create a safe zone during a big swarm, or to cover a retreat. Don’t be stingy with it when a Miner is down.
Common Mistakes to Avoid
- Lone Wolfing: Thinking you can take on a whole swarm by yourself, only to go down far from the team. You’re not Rambo, Miner.
- Ignoring Alerts: When someone pings a Praetorian or an incoming swarm, act on it. Don’t tunnel vision on mining.
- Wasting Resources: Calling a supply drop when only one Miner needs ammo, or spamming grenades unnecessarily. Resources are for the team, not just you. This damages overall DRG Team Synergy.
- Lack of Communication: Not using the laser pointer for pings, not calling out dangers, or not responding to call-outs. Silence kills.
When To Prioritize Teamplay
Always. On Hoxxes, every mission demands strong Class Roles and coordinated efforts. However, missions like Salvage Operations, Escort Duty, and On-Site Refining in higher hazards will punish uncoordinated teams ruthlessly. Your life, and the team’s bonus, depends on it.
Continue Reading
Don't deploy without all the intel. Check out this related file:
Driller Satchel Charge Guide: Avoid Friendly Fire, Maximize Swarm Clear →