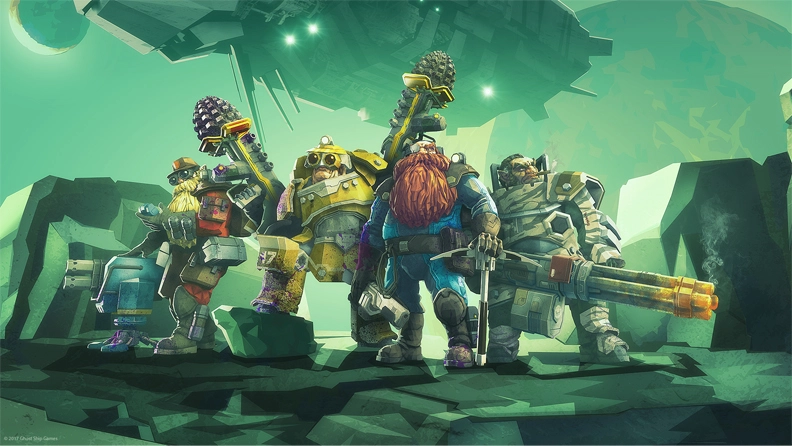
DRG & Rogue Core: Safe Teammate Revival Tactics
Learn safe Teammate Revival tactics in Deep Rock Galactic and Rogue Core. Prioritize clearing threats and using class utilities to get your brothers back into the fight.
Combat Summary
- Clear Threats First: Before attempting any Teammate Revival, always eliminate immediate enemy threats in the revive zone.
- Use Class Utilities: Gunner shields, Engineer platforms, Driller tunnels, and Scout mobility are crucial for securing or accessing downed Dwarves.
- Communicate & Retreat: If the situation is overwhelming, regroup and create a safer approach. Sometimes a full retreat to a more defensible position is the best strategy for the whole team’s Survival Guide.
When a brother goes down on Hoxxes IV or in the Core Fragment depths, your first instinct is to rush in. That’s how Management gets more bodies for the grinder. Don’t be a fool. Prioritize the mission and your own survival; a living Miner can revive, a dead one can’t. These tactics apply equally to Deep Rock Galactic and initial Rogue Core Tactics explorations, where the stakes are even higher.
Prioritizing Safety First
Rushing a revive is a quick way to double the body count. Before you even think about hitting that button, sweep the area. Clear any Glyphid Swarmers, Acid Spitters, or Mactera that could instantly down you as you commit to the revive animation. Use your primary weapon and grenades to create a temporary safe zone. If a Praetorian or Oppressor is nearby, kite it away or focus fire with your team before returning for the revive.
Utilizing Class Utilities for Revival
Every class has tools vital for a safe Teammate Revival:
- Gunner: Your Shield Generator is the ultimate revive tool. Drop it directly on the downed Dwarf for instant protection, allowing you to revive safely while your team continues to clear enemies outside the bubble.
- Engineer: Platforms can create elevated revive spots, blocking incoming attacks or providing a safe bridge over hazardous terrain. Turrets provide covering fire while you focus on your downed ally.
- Driller: Drill a tunnel to bypass dense enemy formations or reach a far-off teammate safely. A well-placed tunnel can also serve as a quick escape route if things go south after the revive.
- Scout: Your Grappling Hook allows for rapid access to downed teammates in precarious positions. Use flares to illuminate the area, revealing hidden threats before you commit.
Calling for Backup & Effective Communication
If you’re the one hurting, pinging your location with V (default key) lets your team know exactly where you are. Use the laser pointer to highlight the path to you if it’s not obvious. For the living, effective Teamwork means constantly communicating threat levels and coordinating pushes. Don’t be afraid to pull back if a revive attempt is too risky. A strategic retreat can save the entire mission.
Common Revival Mistakes
- Ignoring Environmental Hazards: Don’t revive a Dwarf lying in a poisonous cloud or under falling rocks without first neutralizing the threat or moving them.
- Tunnel Vision: Focusing solely on the revive target and getting flanked by smaller enemies is a common pitfall. Keep your head on a swivel.
- Wasting Resources: Don’t blow all your grenades or ammo trying to secure a revive if the situation is clearly unwinnable. Sometimes, letting a teammate bleed out and regrouping for a more controlled second attempt (if using Iron Will or similar) is the lesser of two evils.
Continue Reading
Don't deploy without all the intel. Check out this related file:
Rogue Core: Assessing Readiness for the Next Deployment →