Deep Rock Galactic Ossuary Depths Guide: New Biome Enemies and Layouts
Ossuary Depths is Season 6's tomb-like biome of giant bones, and this guide explains its layout, enemies, and the Ossium Raid event so your team survives it.
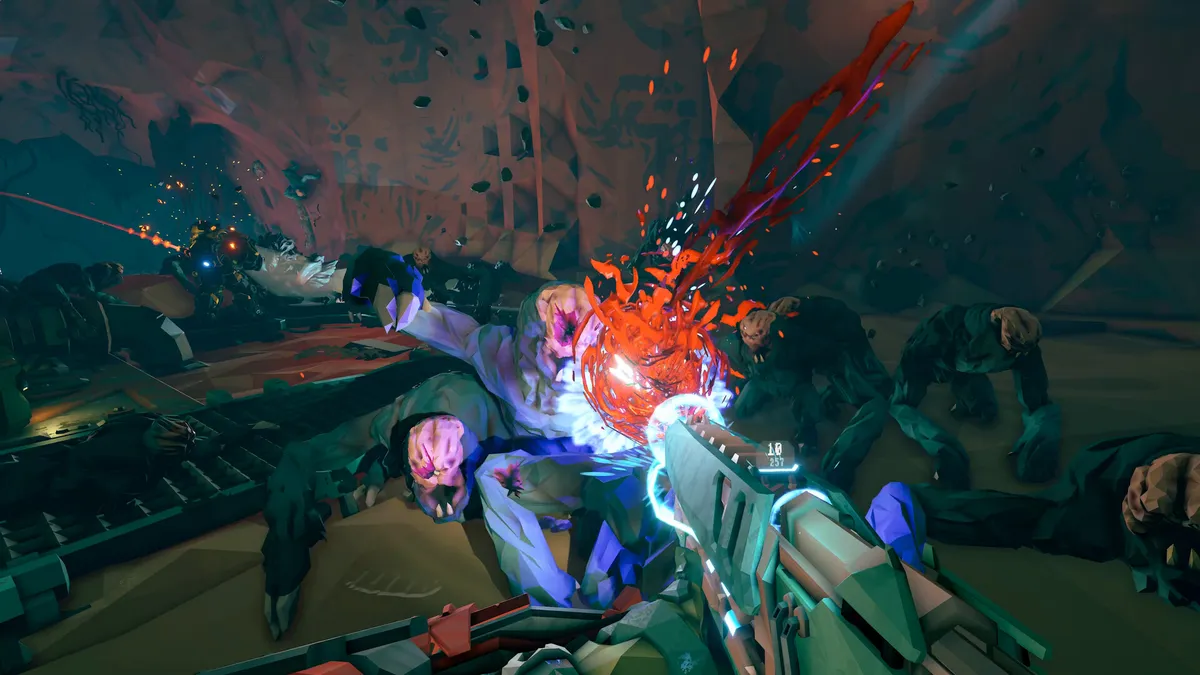
Combat Summary
Ossuary Depths is the tomb-like biome added to Deep Rock Galactic in Season 6, Relics of Hoxxes: a cavern system built from giant bones, where ribcages form tunnels, skulls mark chambers, and narrow bone bridges cross open drops. To survive it, keep your team together, keep moving through open ground, watch the ceiling for flying attackers, listen for rumbling underfoot before an ambush, and never chase a fleeing Bone Collector alone. Light the room before you fight in it, hold high ground when swarms arrive, and save crowd control for grouped flyers and ambushers rather than spending it on single targets. Bring a plan for the Ossium Raid event before you start the mission, because the event pulls the whole team into a timed defence around a cache, and a team that is scattered when it triggers will struggle to regroup under pressure.
What the Biome Is
Ossuary Depths arrived with Season 6, Relics of Hoxxes, which launched on PC on 2026-01-29 and on consoles on 2026-02-12. The biome is a burial ground on a scale that dwarfs the dwarves: colossal skeletons lie half-buried in rock, and the playable space winds through and around their remains. Expect tall chambers with bone arches overhead, sloping tunnels lined with vertebrae, and sudden open pits where the floor falls away. The layout changes from mission to mission, so no two runs play exactly the same way. For the full Season 6 picture, including the other new content that arrived alongside this biome, read the Season 6 overview.
Ribcages break sight lines, which means enemies can close distance before you see them, and teammates can lose track of each other around a single large skull. Bone bridges and ledges create natural choke points, but they also create fall hazards when knockback or a panicked retreat sends a dwarf over an edge. Treat every large bone structure as both cover and obstacle: useful for blocking a charge, dangerous when it hides an ambush point or blocks your escape route. Movement discipline matters more here than raw firepower, and the teams that do best are the ones that clear rooms methodically rather than sprinting from objective to objective.
Layouts and How to Read Them
Most Ossuary Depths missions follow a pattern of linked chambers connected by bone tunnels, with one or two large open areas where the biggest fights happen. Learn to read three layout features quickly. First, wide chambers with high ceilings favour flying enemies and swarms, so enter them with flares ready and a fallback position in mind. Second, narrow tunnels limit how many enemies can reach you at once, which makes them good places to regroup, revive, and reload, but bad places to get caught during a swarm if the tunnel is also your only exit. Third, raised bone platforms and ledges give gunners and scouts strong firing positions, provided someone watches the approach routes, because enemies can climb or fly up to those spots just as easily as you can.
Verticality deserves special attention. Drops between levels are common, and falling damage is a real cost of careless repositioning. Scouts should place grapple routes that the whole team can use, not just solo shortcuts, and engineers should think about platform placement as team infrastructure. When the team needs to retreat, agree on a direction before the fight starts, since a retreat into an uncleared chamber is often worse than holding a known position.
Enemies of Ossuary Depths
Three creatures define this biome, and each one punishes a different mistake. Learning their behaviour is the fastest way to stop dying here, and every tactic in this section reflects community-tested guidance rather than official statistics, since no enemy health values have been published for these creatures.
Ossiran Scrab
The Ossiran Scrab is a flying creature that attacks in groups. It uses the high ceilings of bone chambers to circle above the team, then dives or fires from angles that ground-focused players rarely check. The key danger is numbers: a single Scrab is manageable, but a group can split your attention, force constant dodging, and punish anyone who stands still to mine or revive. Keep one player watching the ceiling during fights in open chambers, and use area damage or focused fire to break up groups before they spread out. Flares help enormously, because Scrabs are much easier to track against a lit ceiling than against dark bone. Do not chase a lone Scrab into an uncleared chamber, since the chase often leads the whole team into a second group.
Ossiran Pit Jaw
The Ossiran Pit Jaw is an underground ambusher. It waits beneath the floor and strikes when dwarves pass overhead, which makes open ground deceptive: the safest-looking path across a chamber floor can be the most dangerous one. The warning signs are sound and ground movement, so call out rumbling ground the moment you hear it. When a Pit Jaw surfaces, create distance immediately rather than standing over the breach point, then focus fire while it is exposed. Melee-focused responses are risky, because the creature can retreat underground and strike again from a new angle. Keep moving across open floors, and be especially careful around objective sites, where the team naturally stops and clusters. A Pit Jaw that surfaces under a clustered team during an objective defence can turn a controlled fight into a scramble.
Bone Collector
The Bone Collector is the biome’s most distinctive creature, and the one most tied to its event content. When threatened, it flees toward its cache, and pursuing it leads the team to crystallized Ossium and to the Ossium Raid event. The temptation is to chase it immediately, but an unplanned chase is one of the most common ways teams get into trouble here: the Collector’s route can cross uncleared ground, split the team between fast and slow players, and arrive at a cache site while the team is low on ammunition or health. Instead, note the direction it flees, finish the current fight, reload, and then move to the cache as a group. If the team is already split when the Collector appears, let it go; another opportunity is worth more than a wipe caused by chasing it alone.
The Ossium Raid Event
The Ossium Raid event centres on the Bone Collector’s cache and its crystallized Ossium. When the event triggers, the team must defend a position while waves of enemies converge, which tests positioning, ammunition management, and calm target selection all at once. Before triggering the event, clear the surrounding area as far as practical, place defensive platforms and turrets on high ground with overlapping fields of fire, and agree on who handles flying enemies and who handles ground attackers. Stock up on ammunition and health, because resupply during the event is harder than resupply before it.
During the event, hold the high ground and protect the cache site rather than chasing kills into the dark. Swarms will try to pull defenders out of position, and the strongest response is disciplined fire from a compact perimeter with clear escape routes. Call out Scrab groups early so they are broken up before they dive, listen for Pit Jaw rumbling under the defence position, and keep at least one player free to revive rather than committing every gun to damage. If the perimeter collapses, fall back to a pre-chosen secondary position instead of scattering in all directions. After the event, loot the crystallized Ossium, regroup, and restock before moving on.
Class Tips and Loadouts
Every class has a clear job in Ossuary Depths. The Scout’s flares and grapple routes are the team’s eyes and mobility, especially in tall chambers where Scrabs operate and across drops where the rest of the team needs safe crossings. The Engineer turns bone platforms and ledges into defensible positions, and turret placement on high ground pays for itself during the Ossium Raid event. The Gunner provides the sustained fire that breaks up Scrab groups and holds choke points in tunnels, while the Driller’s tunnels offer the team a safe retreat or a shortcut that avoids the most dangerous open ground. No single class solves this biome alone: whoever has the clearest view calls targets, whoever is nearest to a downed teammate revives, and nobody mines alone in an uncleared chamber.
For weapons and equipment, favour versatility over narrow specialization. Area damage helps against grouped flyers, reliable mid-range fire helps against ambushers that surface at a distance, and mobility tools matter more than usual because the biome constantly asks the team to reposition between chambers, ledges, and tunnels. Bring enough light-generating options to keep large chambers lit during fights, since darkness is what lets Scrab groups and ambushers do their worst work.
Hazards, Objectives, and Mission Flow
Beyond its creatures, Ossuary Depths punishes teams that ignore the basics. Fall damage, friendly separation, and ammunition shortages cause more failed runs here than any single enemy, because the biome’s scale encourages players to wander. Stick to a simple mission rhythm: scout the next chamber before the whole team enters it, clear enemies before starting an objective, complete the objective, then regroup and restock before moving on.
Seasonal content also overlaps with this biome in ways worth planning around. If you are playing during a seasonal event window, check the Halloween 2026 guide for event-specific objectives and rewards that may share your mission time, and decide before launch whether your run is a biome-learning run, an event run, or both. As with any Deep Rock Galactic biome, the Season 6 content rewards teams that learn one new system at a time, and biomes like this one are best learned over several runs rather than mastered in a single attempt.
Verification note
Official facts in this guide: Season 6 is titled Relics of Hoxxes; it launched on PC on 2026-01-29 and on consoles on 2026-02-12; Ossuary Depths is a tomb-like biome built from giant bones; its creatures are the Ossiran Scrab, which flies and attacks in groups, the Ossiran Pit Jaw, which ambushes from underground, and the Bone Collector, which flees toward its cache; the Bone Collector’s cache relates to the Ossium Raid event and crystallized Ossium. No season end date has been announced, and no enemy health values are stated here because none have been published. All tactics, positioning advice, class roles, and event strategies in this guide are community-tested guidance based on player experience, not official statements, and they should be adapted to your team’s loadouts and to the specific layout of each mission.
Continue Reading
Don't deploy without all the intel. Check out this related file:
Deep Rock Galactic Habits That Will Get You Killed in Rogue Core →