Deep Rock Galactic: Original Crew Class Synergy Explained
Learn how the four core Deep Rock Galactic classes combine for optimal class synergy. Understanding each Dwarf's role is crucial for survival on Hoxxes IV.
Combat Summary
- Optimal team play leverages distinct class roles: terrain manipulation, defense, swarm control, and high-reach utility.
- A Driller creates paths and clears swarms, while an Engineer provides crucial platforms and area denial with turrets.
- The Gunner delivers heavy firepower and protective shields, and a Scout illuminates threats and gathers vital, hard-to-reach resources swiftly.
Listen up, Miners. If you’re a greenbeard trying to wrap your head around proper Team Composition on Hoxxes IV, you need to understand the four core classes. Management might send us anywhere, but the ‘original crew’ setup is tried, tested, and essential for survival in Deep Rock Galactic. Forget fancy builds for a moment; master the basics of Class Synergy, and you’ll keep more limbs attached.
Core Class Roles
Each Dwarf has a specialized toolkit vital for mission success. Ignoring these roles is a fast track to a collapsed vein and a costly rescue bill.
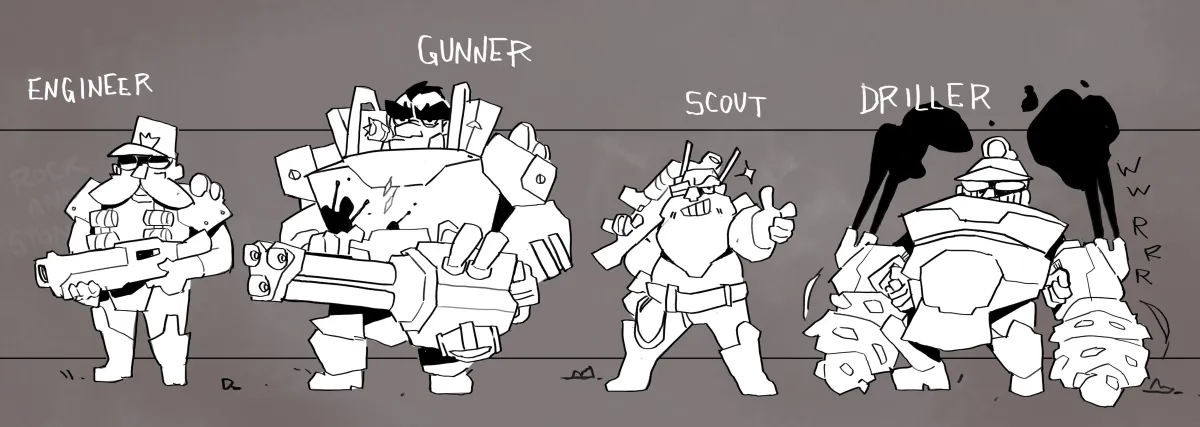
- The Driller: Our expert in terrain manipulation. If there’s rock in the way, the Driller’s drills make a path. Their flamethrower or cryo cannon handles swarms with terrifying efficiency, often leading the charge or holding flanks.
- The Engineer: Defensive powerhouse. Platforms for vertical traversal, turrets for constant fire support, and the PGL for burst damage. An Engineer makes sure the team can reach minerals and defends crucial chokepoints.
- The Gunner: The shield-bearer and heavy hitter. When a swarm overwhelms, a Gunner’s shield is an instant safe zone. Their minigun or autocannon chews through large targets and dense groups, providing continuous fire on demand.
- The Scout: Agility and illumination. The Scout’s grappling hook gives unmatched mobility for high-value targets and quick escapes. Their flare gun turns the darkest cave into daylight, revealing threats and valuable resources for the team.
Synergy in Action
This isn’t about solo heroics; it’s about what happens when these tools combine. This is where true Class Synergy shines.
- Engineer + Scout: The classic mineral-gathering duo. A Scout grapples to high-up veins, while the Engineer provides a stable platform beneath them, allowing for safe mining. The Scout’s flares illuminate the entire area, making sure no gold or Nitra is missed.
- Driller + Gunner: A deadly offensive pair. The Driller carves a path directly to objectives or through dense swarms, while the Gunner provides cover fire and shields to ensure the Driller doesn’t get overwhelmed mid-drill. This combination can push through almost any obstacle.
- All Four Classes: The ultimate defense. The Scout spots incoming threats from afar, the Driller creates tunnels or choke points, the Engineer sets up turrets and platforms, and the Gunner lays down suppression and shields where needed. This layered defense is how you survive Hazard 5.
Essential Team Play Tips
For new recruits joining a Deep Rock Galactic crew, remember these basic New Player Tips to avoid becoming bug food:
- Communicate: Ping targets, call out incoming enemies, and request platforms or shields. Even a simple V for ‘Rock and Stone!’ can boost morale.
- Share Nitra: Nitra means resupplies. Don’t hoard it. Your team depends on it for continued operations.
- Stay Together: Spreading out too thin means individual dwarves are vulnerable. Move as a unit, especially during swarms.
- Use Your Tools: Don’t forget your primary gadgets. Flares, shields, platforms, and drills are there for a reason. Utilize them proactively, not reactively.
Management expects results. We expect you to live. Master the original crew’s Class Synergy, and you’ll keep those paychecks coming.
Continue Reading
Don't deploy without all the intel. Check out this related file:
Greenbeard Inefficiency: Optimizing Specialized Tool Deployment →