Deep Rock Galactic: Essential Dwarf Gear & Utility Tips
Mastering your basic Deep Rock Galactic gear is critical for mission success. Learn key tips for primary weapons, secondary tools, and utility items to survive Hoxxes IV.
Combat Summary
- Your primary and secondary weapons are for direct combat, but your unique Utility Tools are often the key to mobility, area control, and team support.
- Effective use of all your Dwarf Gear is paramount, especially resource management for limited charges and Nitra for resupplies.
- Mastering your kit means understanding how each piece supports your Deep Rock Galactic team’s objectives and how to apply effective Tactics in varied situations.
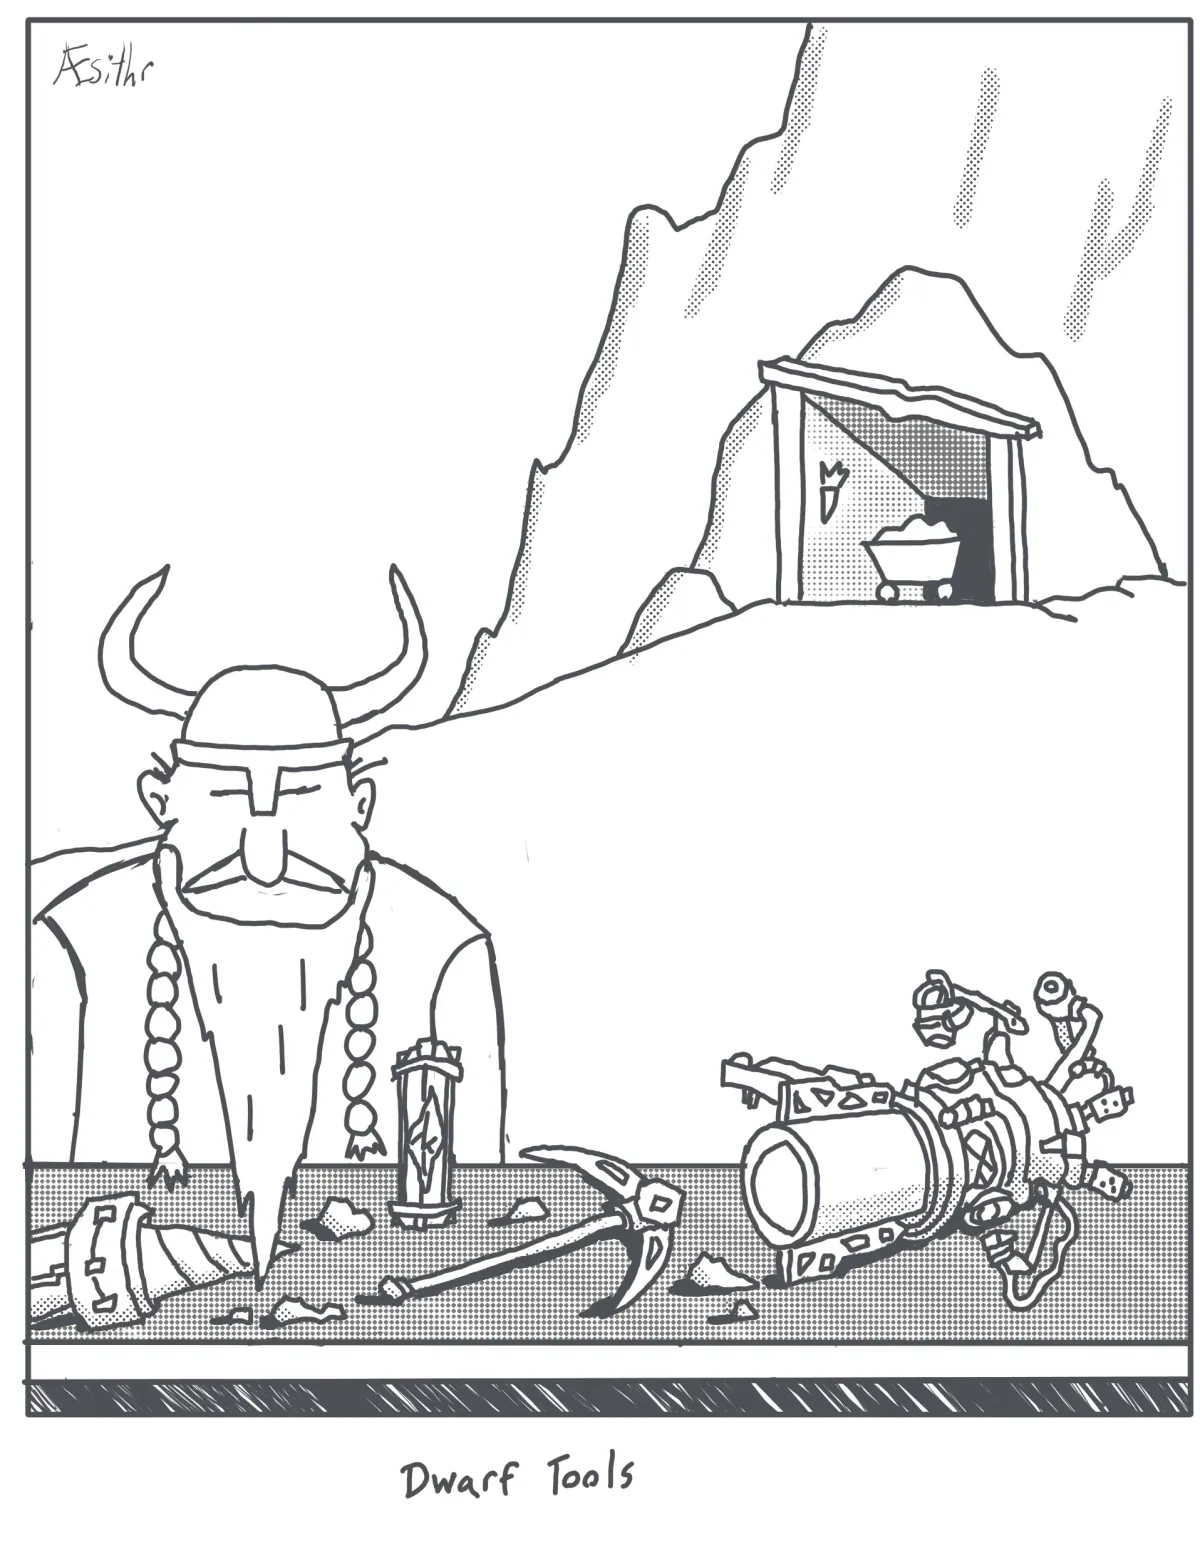
Every Miner arriving on Hoxxes IV comes equipped, but not every Miner truly uses their kit to its fullest potential. Management certainly won’t teach you this; they just want minerals. Your life depends on understanding and mastering every piece of equipment, from your primary blaster to your most specialized utility.
Essential Gear Breakdown
Every Dwarf carries a primary weapon, a secondary weapon, a traversal tool, a support tool, a pickaxe, flares, and a comms unit. While weapons handle the bug problem, it’s the traversal and support tools that define your effectiveness and enable unique Class Specific Tips for each role. Don’t just spam them; think about their charges and cooldowns.
Maximizing Utility Tools
- Traversal Tools: Whether it’s the Driller’s drills, the Scout’s grappling hook, the Engineer’s platform gun, or the Gunner’s zipline, these are your means of navigating complex cave systems. Use them not just to move, but to create advantages. Cut off enemy paths, establish high ground, or quickly escape a swarm.
- Support Tools: Your team relies on these. The Driller’s Reinforced Power Drills clear paths and make bunkers. The Scout’s Flare Gun illuminates critical areas and reveals high-up resources. The Engineer’s Sentry Turrets provide vital suppressive fire and choke point defense. The Gunner’s Shield Generator offers invulnerability in dire situations, for revives or objective defense.
Common Mistakes
New Miners often forget their utility tools or use them inefficiently. Forgetting to use your flares as a Scout, ignoring your sentries as an Engineer, or saving your shield as a Gunner for too long can cost the mission. Conversely, spamming traversal tools without thought for critical pathing or resource preservation is equally wasteful. Remember, every charge counts, especially deep within a Rogue Core mission where resupplies might be scarce.
When To Avoid It
There’s no ‘avoiding’ your Dwarf Gear; it’s what keeps you alive. However, when and how you use it matters. Avoid deploying a Gunner’s shield when a single bug is present; save it for a major swarm or a downed teammate. Don’t drill an aimless tunnel as a Driller if a natural path is quicker. Efficiency is key to survival.
Continue Reading
Don't deploy without all the intel. Check out this related file:
Driller Satchel Charge Guide: Avoid Friendly Fire, Maximize Swarm Clear →