Intel Archive: Weapon Guide
Explore 11 Rogue Core Outpost intel files tagged Weapon Guide, with Deep Rock Galactic tactics, builds, and field reports.
 OP
OP LOK-1 Smart Rifle: Essential Tips & Tricks
Master the LOK-1 Smart Rifle's targeting system for maximum combat efficiency. Learn to optimize your overclocks and mods to deal with any threat on Hoxxes IV.
 OP
OP Best Engineer Builds: Early Game Weapon Guide
Discover the best Engineer builds for early game content, optimizing your weapons and resources. Prioritize viable loadouts to dominate all mission types on Hoxxes IV.
 OP
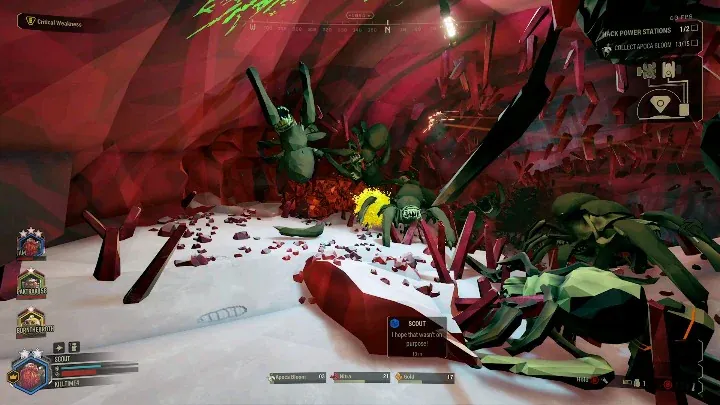
OP Scout Explosive Bolts: Pheromone Combo for Swarm Clear
Master the Scout's Explosive Bolts by pairing them with Pheromone Canisters to effectively clear Glyphid swarms. Grouped enemies explode, maximizing damage.
OP DRG: Do Explosions Hit Weak Spots? Autocannon Guide
Explosions in Deep Rock Galactic do not directly hit weak spots but deal full damage to the enemy. Learn how this impacts your Autocannon strategy and general DRG Explosion Mechanics.
 OP
OP Best Driller Secondary for Single-Target Damage
The EPC, especially with specific Overclocks, provides superior single-target burst for Driller. The Subata with Explosive Reload offers reliable, consistent damage.
OP Gunner Thunderhead AutoCannon Guide: Is It Really Low Tier?
The Thunderhead AutoCannon is a strong primary for the Gunner, offering excellent crowd control and sustained damage. Learn builds and tactics to master it, proving it's far from low tier.
OP Driller Subata 120: Finding Its Niche and Effective Use
The Subata 120 is often overlooked, but it excels as a precise tool for igniting enemies and triggering specific overclocks. Learn to leverage this Driller secondary for critical support and clean-up.
 OP
OP Leadstorm Minigun Overclock Guide: Gunner Ammo & Damage Tips
This guide outlines the Leadstorm Minigun Overclock's immense damage and surprisingly efficient ammo economy for the Gunner. Learn how to maximize its destructive potential.
OP Driller's Scorching Tide Overclock: Tactical Efficiency and Target Elimination
Scorching Tide sacrifices ammo efficiency for high-impact burst damage, ideal for swiftly eliminating high-priority armored threats. It demands precise usage against [Single Target](/tags/single-target/) enemies, rather than for general [Crowd Control](/tags/crowd-control/).