Hazard 5 Swarm Management: Overwhelming Glyphid Hordes
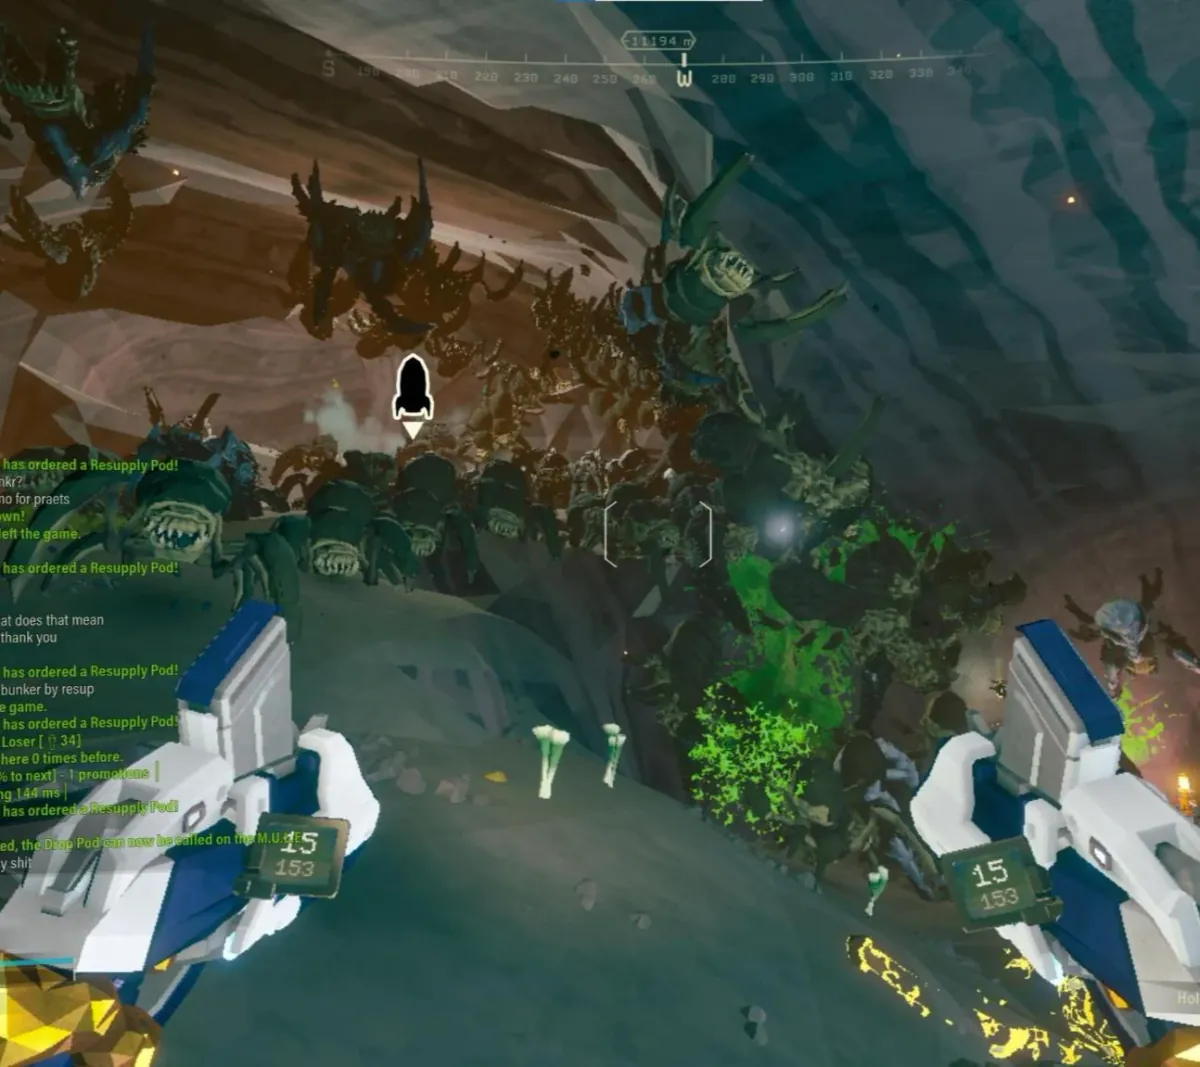
Hazard 5 often presents overwhelming Glyphid numbers, demanding precise area denial and focused fire. Effective resource management is critical to survive these relentless assaults.
⚔️ Combat Summary
- Hazard 5 Swarm Management demands peak Team Coordination to survive the relentless hordes.
- Prioritize effective Crowd Control to prevent the Team from being overrun by Glyphids.
- Strict Resource Management of ammo and Nitra ensures sustained combat readiness through prolonged engagements.
Management’s intel often downplays the sheer volume of Glyphids encountered on Hazard 5 operations on Hoxxes IV. The raw data indicates Miners are experiencing swarms that new recruits might deem “unreasonable.” Let’s be clear: this is the standard. Expect the worst, and you might just make it back to the Drop Pod.
Effective Swarm Management on Hazard 5 is not optional; it’s a matter of life and death. Every Dwarf must understand their role in the Team Coordination effort. Gunners are to establish kill zones, Engineers to deploy supporting fire and defensive structures, Drillers to manage terrain and create escape routes, and Scouts to illuminate targets and eliminate high-priority threats.
Prioritize Crowd Control at all costs. An uncontrolled horde will quickly overwhelm any Dwarf, regardless of their Overclocks. Driller’s flamethrowers or cryo-cannons, Engineer’s turrets and area denial grenades, and Gunner’s shield bubbles are invaluable. Maintaining optimal distances and funneling Glyphids into chokepoints is crucial.
Crucially, don’t waste a single bullet. Resource Management extends beyond just Nitra for resupplies. Every shot must count. Communicate ammo levels and coordinate resupply drops. Management won’t mourn lost equipment, but we mourn lost Dwarves.