Frontline Analysis: Gunner's Protective Barrier and Strategic Zone Control
This report details the critical advantages of maximizing the Gunner's Protective Barrier radius, emphasizing its role in area denial and team survivability. Learn optimal deployment strategies to enhance defensive operations across all hazard levels.
- Combat Summary:
- Target/Topic: Gunner’s Protective Barrier (Shield Generator) radius optimization.
- Recommended Hazard Level: All combat scenarios, particularly critical for Hazard Level 4, Hazard Level 5, and Elite Deep Dives.
- Loadout/Gear Focus: Prioritize Shield Generator modifications that increase radius and/or duration. Examples include “Projected Protection” (Tier 3, Radius) and “Fast Regenerator” (Tier 2, Duration).
Maximizing Area of Effect (AOE) for Team Survivability
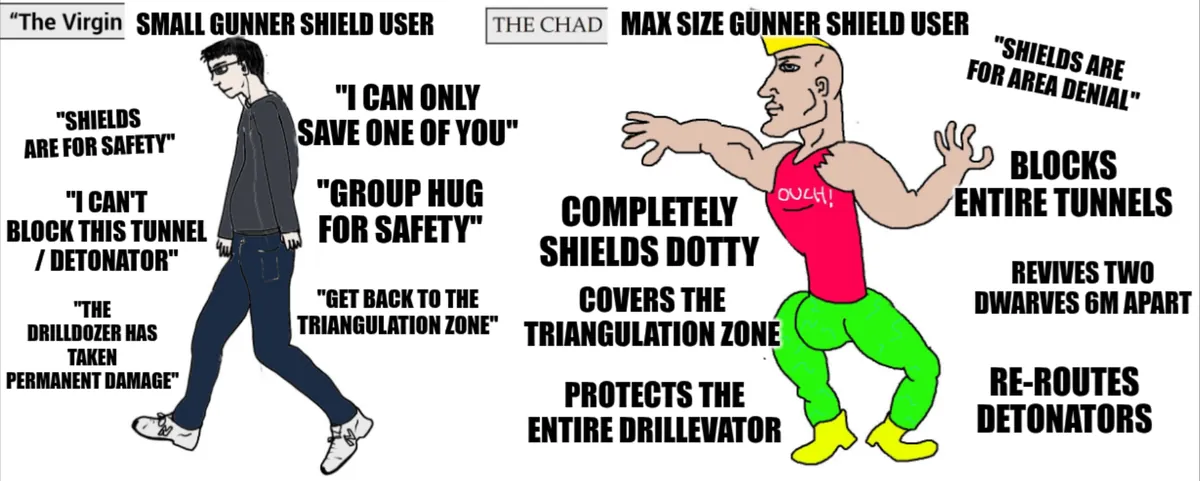
A larger Protective Barrier offers significantly enhanced utility beyond basic damage negation. The expanded safe zone provides crucial breathing room for revive operations, objective defense (e.g., Black Box, Salvage Uplink), and team repositioning during overwhelming swarms. This increased coverage directly translates to a greater margin of error for fellow dwarves, allowing more effective combat and resource management within its boundaries. Effective Shield Deployment in tight corridors or open spaces requires understanding the environment and anticipating enemy approach vectors to fully leverage the shield’s expanded footprint.
Blast Mitigation & Positional Advantage
It is critical to understand that the shield field, while blocking direct projectile and melee damage, does not inherently negate splash or explosion radius damage within its zone if the source of the explosion is also inside or originates close enough to impact targets within the shield. However, a larger barrier provides a significant tactical advantage by creating more physical distance between the dwarves and potential explosive threats. This extra space allows for quicker repositioning further from the blast origin point, effectively reducing the impact of area-of-effect attacks. Furthermore, the extended radius creates a larger safety bubble around critical points, allowing the team to better utilize cover or retreat into the shield’s perimeter before a major blast impacts. This indirectly contributes to Area Denial by forcing enemies to engage closer to the shield’s edge or risk direct exposure.
Strategic Deployment Principles
Optimal Shield Deployment is paramount. Deploy the barrier proactively in anticipated choke points or reactive scenarios where immediate team protection is required. Consider its placement to cover downed teammates, provide cover for drillers excavating, or secure vital positions during a defense objective. The primary goal is to maximize the number of dwarves under protection and secure essential tactical ground. A well-placed, larger barrier can turn the tide of an engagement by granting valuable seconds for cooldowns, reloads, and strategic re-evaluation.