Dreadnought Hiveguard: Arena Identification & Pre-Engagement Protocol
This intelligence report details critical environmental cues preceding a Dreadnought Hiveguard encounter, enabling proactive team positioning and loadout optimization. Early recognition is paramount to mitigating unexpected threats and ensuring mission success against this formidable foe.
- Combat Summary
- Target/Topic: Proactive identification and tactical response to Dreadnought Hiveguard spawn environments.
- Recommended Hazard Level: Hazard 3 and above. Critical for Hazard 4 and 5 operations where unprepared engagements are often mission-ending.
- Loadout/Gear Focus: Balanced sustained direct damage for armor, high burst damage for exposed core, strong Area-of-Effect (AoE) for Sentinel clear, and robust mobility options for repositioning and kiting.
Environmental Pre-Identification: Recognizing Dreadnought Arenas
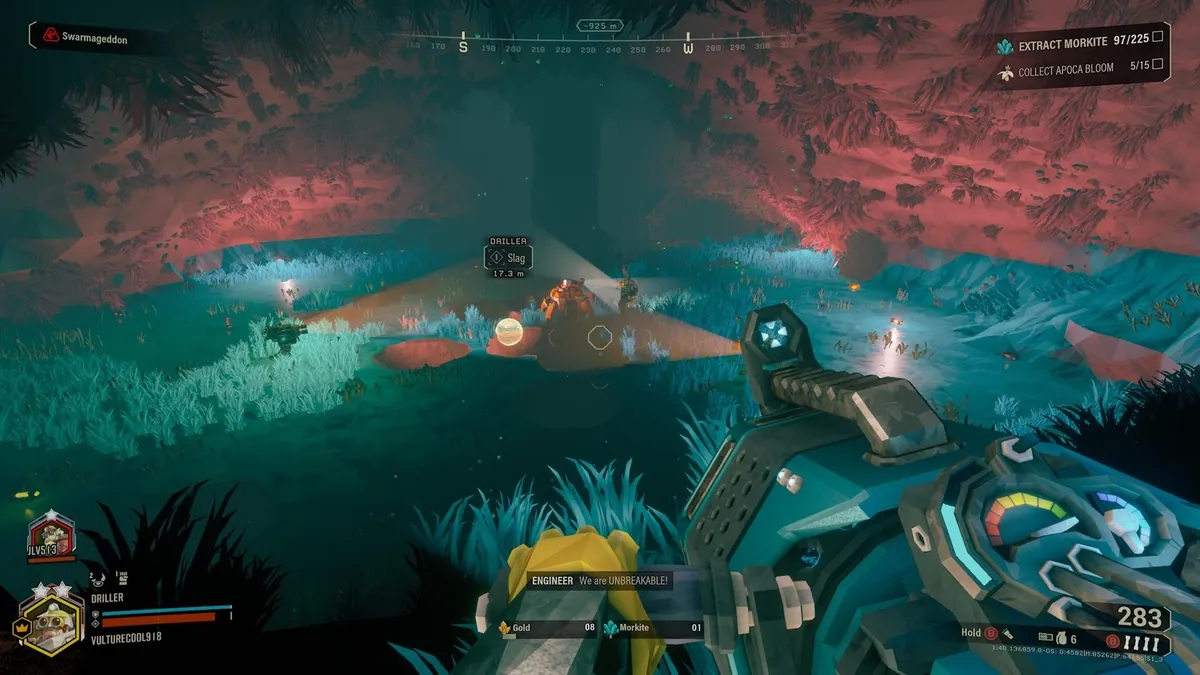
Veteran miners often develop an instinct for “boss rooms” – large, architecturally distinct caverns that strongly suggest a high-threat encounter. While not always definitive, these environments provide critical early warning for Dreadnought spawns, particularly the Hiveguard variant.
Key Environmental Cues:
- Expansive Caverns: Dreadnoughts require significant space. Look for unusually large, open areas, often with minimal debris, suggesting a clear combat zone.
- Elevated Platforms & Tiered Terrain: Many Dreadnought arenas feature natural platforms or ledges. These can be advantageous for ranged classes, but also provide cover for the Dreadnought’s sentinels or allow the Hiveguard to maintain distance.
- Multiple Entry Points: Arenas with several tunnels converging or large, open access routes often indicate a space designed for a prolonged engagement with various approach vectors.
- Unusual Formations: Sometimes the geometry itself feels “designed” rather than naturally carved. Pillars, large central depressions, or symmetrical features can be subtle indicators.
- Pre-Spawn Silence: A noticeable lull in standard ambient creature spawns or environmental sounds upon entering such a cavern can be a strong, albeit subjective, indicator of an impending boss event.
Hiveguard Specific Indicators & Initial Behavior
While environmental cues point to a general Dreadnought threat, the Hiveguard often benefits from specific counter-tactics.
Upon Hiveguard Spawn:
- Initial Stance: The Hiveguard often remains static initially, its outer armor intact, while deploying its Sentinel drones. This phase is crucial for establishing team positioning.
- Sentinel Deployment: Immediate deployment of Glyphid Sentinels is the primary tell. These smaller, aggressive units will rapidly advance to engage the team.
- Armor Vulnerability Cycle: Recall the Hiveguard’s core mechanic: it must be provoked into exposing its vulnerable backside by eliminating its accompanying Sentinels. This cycle repeats multiple times.
Pre-Engagement Protocol & Tactical Deployment
Upon identifying a potential Dreadnought arena:
- Immediate Readiness: Halt advanced exploration. All team members should be prepared for combat. Reload primary and secondary weapons, check utility tool charges, and ensure active overclocks are optimal for burst damage or crowd control.
- Strategic Positioning:
- Gunner: Establish a stable firing position with a clear line of sight to the suspected spawn point. Deploy Shield Generator reactively or proactively to establish a fallback point.
- Engineer: Deploy Turrets to cover likely Sentinel approach lanes and contribute sustained damage to the Hiveguard’s outer armor. Place platform jump-pads for rapid repositioning or to create advantageous firing angles. Proximity Mines can soften approaching Sentinels.
- Driller: Prepare to create cover or escape routes using the Drills. Subata or Colette Wave Cooker are excellent for clearing Sentinels. Cryo Cannon or Sludge Pump can slow/freeze Sentinels, making core exposure easier.
- Scout: Utilize Grappling Hook for rapid repositioning, kiting Sentinels, and quickly reaching critical vantage points for weak point targeting (once exposed). Flare Gun should illuminate the entire arena for optimal threat assessment.
- Intel Prioritization: The first few seconds are critical. Identify the Dreadnought type. If Hiveguard, immediately begin targeting Sentinels while maintaining situational awareness for the main body’s movement.
- Resource Management: Dreadnought fights are often wars of attrition. Monitor ammo and supply drop availability. Utilize terrain to minimize damage taken and conserve health.
Learning to read the environment is not a luxury, but a necessity. The difference between a controlled engagement and a chaotic retreat often hinges on anticipating the unexpected. Stay vigilant, miners. Rock and Stone.